SucculentCare in Coastal Climates: A 2-Week Survival Guide from a Fellow Plant Lover
Living by the ocean is a dream, but for mySucculentcollection, it initially felt like a nightmare. The constant salt spray, relentless humidity, and deceptively strong sun were a recipe for disaster. My plump echeverias started looking deflated, and vibrant sedums turned pale and mushy. I knew I had to adapt my care routine or lose them all. This guide is the result of my hands-on, two-week experiment to crack the code onSucculentcare in coastal climates. I’ll walk you through exactly what I did, what worked, what failed spectacularly, and how my plants look now.
The Coastal Conundrum: Why YourSucculentsAre Struggling
You brought home a drought-tolerant sun-worshipper, but in our salty air, it’s acting like a drama queen. The core issue isn’t one thing; it’s a triple threat. Humidity prevents soil from drying, inviting root rot. Salt, carried by wind and mist, draws moisture from leaves and can burn them. That bright, filtered coastal light is often weaker than it seems, leading to etiolation—those stretched, weak stems as the plant reaches for more sun.
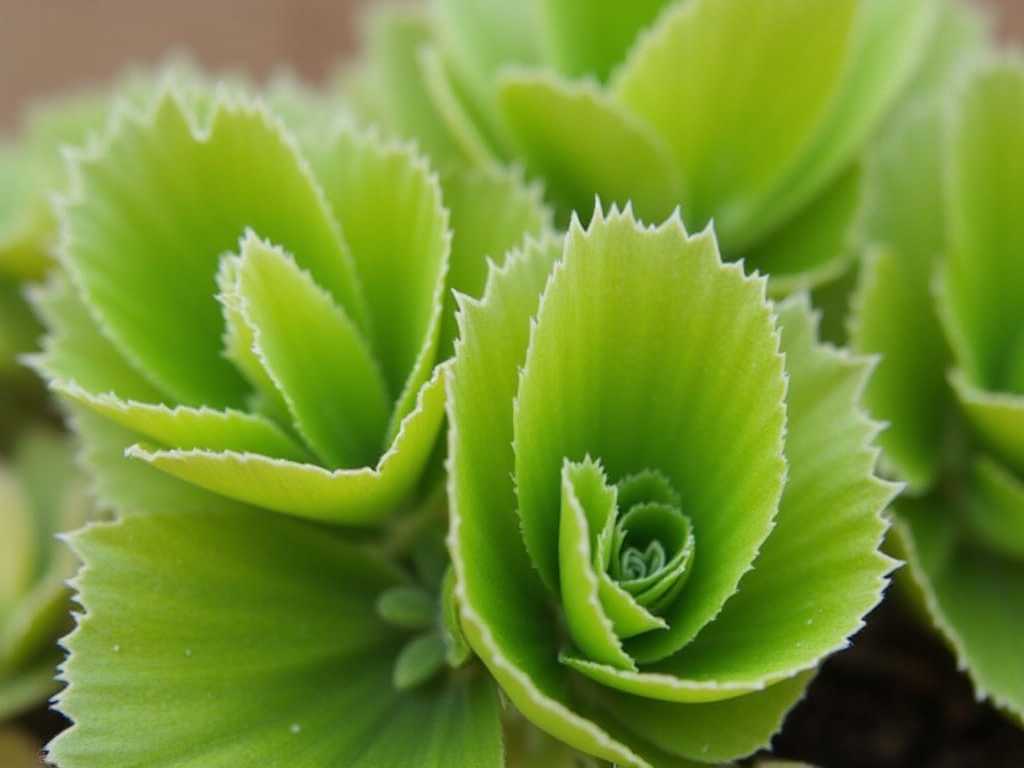
I learned this the hard way. My first mistake was treating my coastal balcony like my previous inland garden. After a week of classic “soak and dry” watering, I noticed a Haworthia’s base turning translucent. It was the start of rot.

My 2-Week Coastal Succulent Rescue Plan
I decided to take three struggling plants—an Echeveria ‘Perle von Nürnberg’, a Sedum burrito (Burro’s Tail), and a salt-scorched Aeonium—and apply a new, tailored regimen for two full weeks. Here was my daily and weekly plan.
Week 1: Diagnosis and Immediate Intervention
Day 1-3: The Great RepottingMy first step was addressing the foundation: the soil. A standard succulent mix was holding too much moisture. I created a new, ultra-fast-draining blend.
- My Mix:40% bagged succulent/cactus soil, 30% perlite, 20% coarse sand (horticultural grade, not beach sand!), and 10% small pumice. This ensured gravity, not just evaporation, would pull water through.
- The Pot Switch:I moved each plant into a terracotta pot. Its porous nature wicks away moisture from the soil, a crucial feature in humid air. Every pot had a large drainage hole.
- Root TLC:I gently removed old soil, trimmed any dark or mushy roots with sterilized scissors, and let the plants air-dry on a shaded rack for 24 hours before repotting.
Day 4-7: Strategic Placement and First WateringFinding the right light was tricky. Full, direct coastal sun often burned leaves, especially those already stressed.
- The Spot:I chose a south-east facing spot that received bright, indirect light for most of the day, with only 2-3 hours of gentle morning direct sun. A sheer curtain on a nearby window helped diffuse the harsh afternoon rays.
- The First Water:After a week from repotting, I gave them a deep but careful soak. I used collected rainwater to avoid any mineral or salt buildup from tap water. The key? I watered only at the soil line, avoiding the rosettes of the Echeveria and Aeonium entirely. I placed the pots in a sink until water ran freely from the bottom, then immediately returned them to their bright spot with excellent airflow.
Week 2: Observation, Adjustment, and Salt Management
Day 8-10: The Salt Problem EmergesA morning after a windy night, I saw a fine, gritty film on the Aeonium’s leaves—ocean salt. This was a new challenge. According to the Royal Horticultural Society (RHS), salt deposits can block sunlight and damage leaf tissues. I couldn’t change the air, but I could mitigate it.
- My Solution:Every 7-10 days, on a calm, overcast morning (to avoid sunburn on wet leaves), I began gently rinsing the foliage with a soft spray of rainwater or distilled water. I’d tilt the plant to let the water run off, not pool in the crown, and then place it in good airflow to dry quickly. This simple step made a visible difference in leaf sheen and health.
Day 11-14: Signs of Life and Final AdjustmentsBy the second week’s end, the changes were clear.
- The Echeveria:Its center showed tight, new pink growth. The older outer leaves firmed up slightly. No further signs of rot.
- The Sedum Burrito:The plumpness returned to its trailing beads. New tiny beads began forming at the stem tips—a sure sign of happiness.
- The Aeonium:While the salt-scorched leaves wouldn’t recover, the central rosette stopped drooping and felt firm. New growth emerged from the center, clean and green.
I realized my watering schedule couldn’t be calendar-based. The “finger test” became gospel. I’d insert my finger deep into the soil. Only if it was completely dry, and the pot felt light, would I consider watering—sometimes stretching to 12-14 days between sessions.
The Pitfalls I Faced (And How You Can Avoid Them)
The Overwatering Trap:Humidity fools you. The soil surface looks dry, but an inch down, it’s a swamp. My fix? A wooden chopstick. Insert it like a cake tester; if it comes out with damp soil or debris, wait. Terracotta pots were the game-changer here.
The “Full Sun” Misconception:Coastal sun through a marine layer is intense but diffuse. I burned several leaves before understanding. The American Horticultural Society (AHS) notes that manySucculentsthrive in “bright light” which can include filtered or indirect sources. I now use a sheer curtain as a permanent filter and observe leaf color—stretching means more light, scorching means less.
Ignoring Airflow:Stagnant, humid air is a fungal disease’s best friend. I lost a Crassula to powdery mildew early on. Now, I ensure my plants are never crowded. A small, oscillating fan on low, running for a few hours a day during humid spells, has completely stopped any mildew issues.
Your CoastalSucculent CareChecklist
To make it simple, here’s the routine that saved my plants:
- Potting:Always use terracotta with a drainage hole.
- Soil:Amend commercial mix with at least 50% inorganic grit (perlite, pumice, coarse sand).
- Water:Water deeply only when the soil iscompletelydry throughout. Use rainwater or distilled water if possible. Water the soil, not the plant.
- Light:Provide bright, indirect light with some gentle morning sun. Use filtration if leaves show burn.
- Salt Maintenance:Gently rinse foliage with fresh water every 7-14 days to remove salt spray.
- Airflow:Prioritize space between plants and use a fan if natural breeze is low.
How often should I really water mySucculentsat the coast?Throw away the weekly schedule. Watering frequency forsucculents in humid conditionsis entirely dictated by soil dryness. In summer, it might be every 10-14 days; in cool, foggy winters, it could be once a month or less. Always perform the finger or chopstick test first.
Can I use succulent fertilizer by the ocean?Yes, but sparingly and wisely. A diluted, balanced liquid fertilizer (halved from the recommended strength) applied only during the active growing season (spring/early summer) is sufficient. Over-fertilizing stresses plants already coping with a harsh environment. Ensure the soil is damp before fertilizing to prevent root burn.
What are the best succulent types for a seaside environment?Focus on varieties naturally adapted to harsh conditions. My successes include many Sedums (like Sedum rubrotinctum), certain hardy Sempervivums (Hens and Chicks), and Aeoniums (which often hail from coastal cliffs). Agaves and some thicker-leaved Aloes also tend to toleratesalt air and succulentsbetter than delicate Echeverias. Start with these tougher varieties to build confidence.
Caring for succulents by the coast is less about fighting nature and more about clever adaptation. It requires a shift from a standard routine to one of keen observation and slight modification. By focusing on radical drainage, strategic lighting, salt mitigation, and disciplined watering, you can turn your coastal home into a thriving succulent sanctuary. My two-week journey brought my plants back from the brink, and with these practices, they continue to thrive, proving that even the most desert-adapted plants can find happiness by the sea.
")
发表评论