The Ultimate Care Guide for KalanchoeSucculents: My 2-Week Rescue & Revival Journal
I almost lost my first Kalanchoe to overwatering. Its leaves turned from a vibrant green to a squishy, yellow mess, and I felt that familiar pang of plant-parent guilt. If you've ever wondered why yourKalanchoeSucculentis dropping leaves, not flowering, or just looks sad, you're not alone. These resilient plants have specific needs, and getting them wrong is easier than you think. After my initial failure, I decided to treat my next Kalanchoe not just as a decoration, but as a project. I documented every step, every change, and every mistake over a critical two-week period. This guide is the result of that hands-on experience, designed to take you from confused to confident.
Understanding Your Kalanchoe: It's More Than Just a Pretty Face

Before you can care for a plant, you need to know what it is. Kalanchoes are a diverse genus ofSucculents, withKalanchoe blossfeldianabeing the most common, celebrated for its clusters of bright flowers. According to the Royal Horticultural Society (RHS), these plants are native to Madagascar, meaning they thrive in conditions that mimic arid, sunny environments. This was my first "aha" moment. I was treating my tropical, humidity-loving plant the same way, and that was the root of all my problems. The American Horticultural Society's AHS plant heat zone map also indicates their preference for warm, stable temperatures, which guided my placement choices.
My Two-Week Kalanchoe Care Protocol: A Step-by-Step Diary
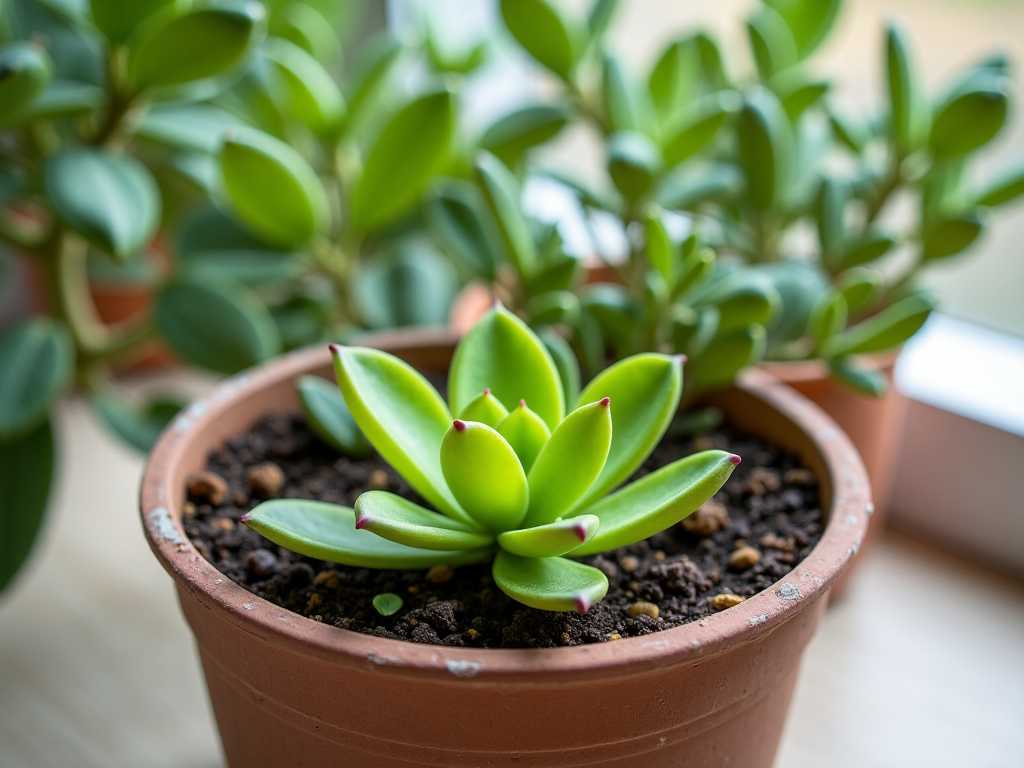
I brought home aKalanchoe blossfeldianathat was decent but stressed—slightly leggy with soil that felt perpetually damp. Here was my action plan.
Week 1: The Foundation Reset
")
My goal for the first week was stability and assessment. No drastic moves, just correction.
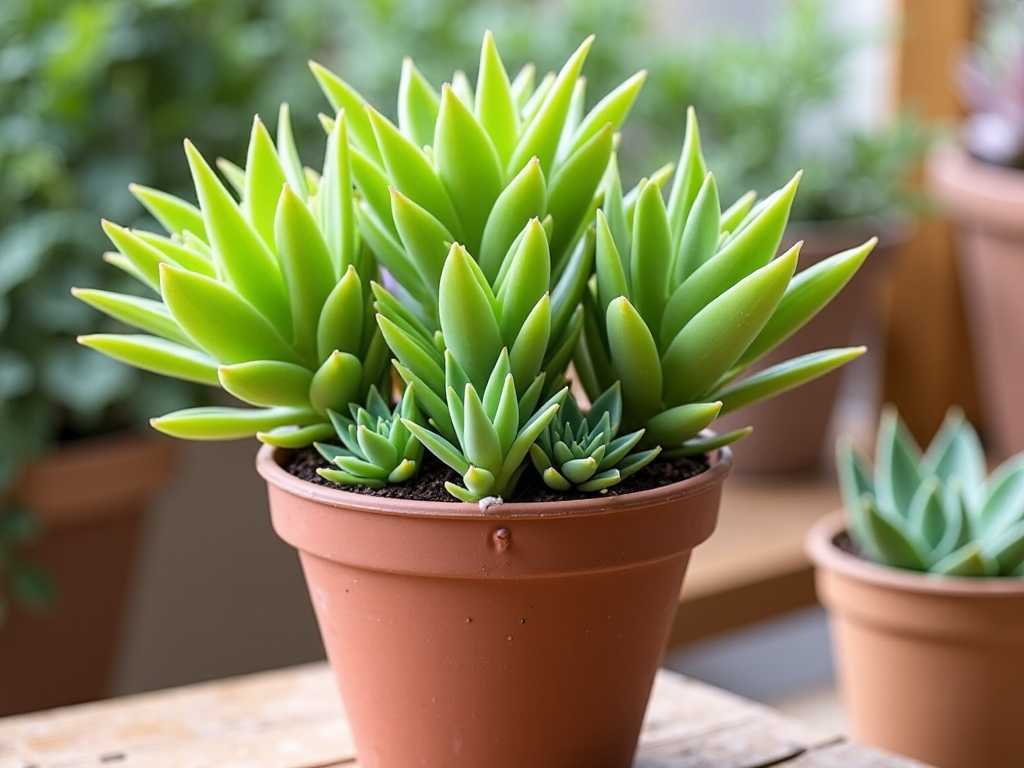
Day 1-3: The Great RepottingThe nursery pot was a no-go. The soil was dense and peaty, a death sentence for succulent roots that need to breathe. Mysteps for repotting a Kalanchoewere precise:
- I gently removed the plant, shaking off the old soil to inspect the roots. They were white and healthy, thankfully no rot.
- I chose a terracotta pot with a large drainage hole—one size up from the nursery pot. Terracotta wicks away moisture, which is crucial.
- The potting mix was my secret weapon: a 50/50 blend of standard cactus & succulent mix and perlite for extra drainage. I mixed it thoroughly.
- I repotted, ensuring the base of the stem was at the same soil level as before, then gave it onethorough watering for KalanchoeSucculentsuntil water ran freely from the bottom. I placed it on my brightest, south-east facing windowsill.
The immediate effect:The plant looked the same, but I felt better knowing its foundation was solid.
Day 4-7: Light & Water DisciplineI resisted watering again. Instead, I focused on light. I used a simple light meter app on my phone to confirm the spot received at least 6 hours of bright, indirect light daily. I also began rotating the pot a quarter-turn each morning to prevent lopsided growth. By day 7, I performed the "finger test," plunging my finger two inches into the soil. It was completely dry.
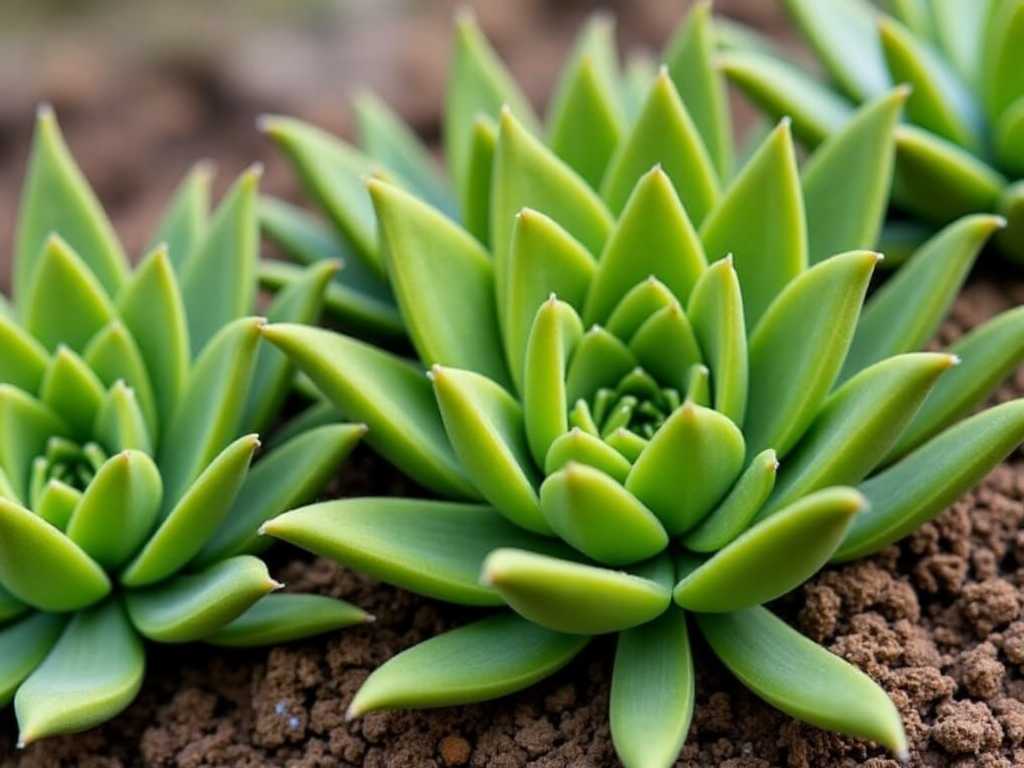
The one-week observation:The lower, slightly wrinkled leaves plumped up noticeably. The overall color deepened to a richer green. No new growth yet, but the plant just looked… sturdier.
Week 2: Observation and Adjustment
This week was about fine-tuning and watching for responses.
Day 8-10: The First Post-Repot WateringFollowing the "soak and dry" method endorsed by succulent experts, I watered deeply again, ensuring no water sat in the saucer beneath. This is theproper way to water Kalanchoe plants. The difference from week one? The water drained through my new gritty mix in seconds, not minutes.
Day 11-14: Monitoring and the First Sign of SuccessI kept up the rotation ritual. The real victory came on day 13. At the very tip of one stem, I spotted a tiny, fiery red bud. It wasn't a flower yet, but it was new growth—a sure sign the plant was happy and no longer in survival mode.
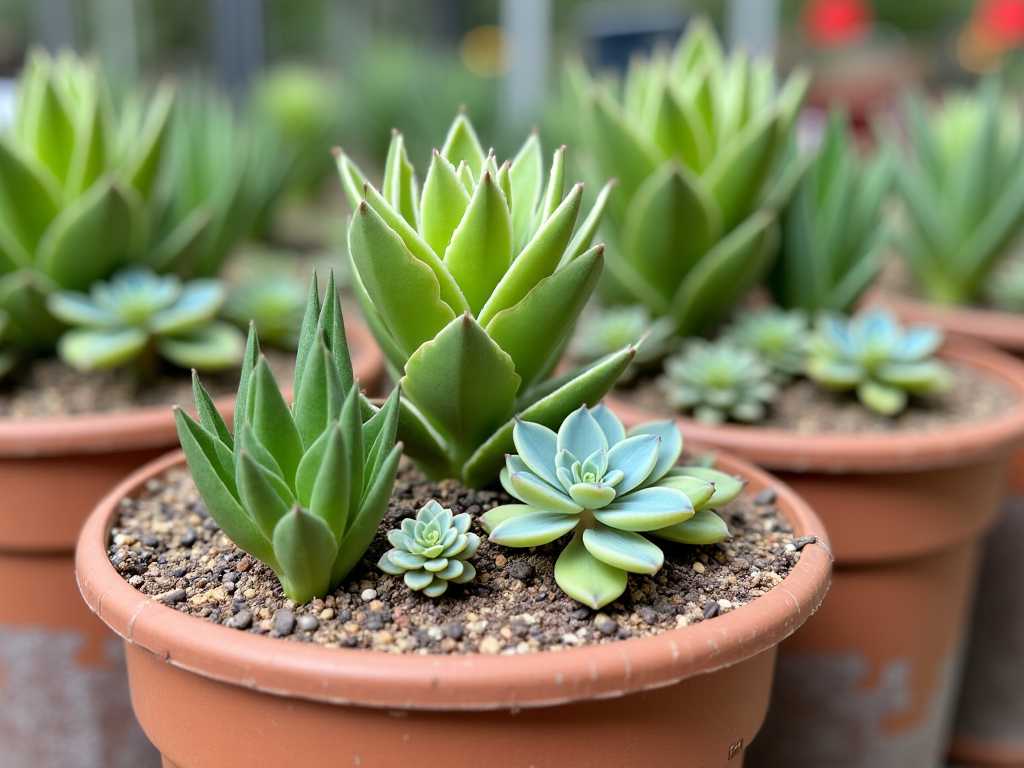
The two-week result:My Kalanchoe was transformed. The leaves were firm, uniformly colored, and the plant had a compact, robust posture. The emergence of new growth was the ultimate reward. It was thriving, not just surviving.
The Pitfalls I Encountered (And How You Can Avoid Them)
My journey wasn't flawless. Here are the mistakes I made with previous plants and how I fixed them this time.
The Overwatering Trap: My Biggest MistakeI used to water on a schedule. Every Sunday, come rain or shine. This is the fastest way to kill a Kalanchoe. The fix was simple but required discipline: I now water only when the soil is 100% dry. In my dry winter home, that might be every 10-14 days. In humid summer, it could stretch to 3 weeks. The plant, not the calendar, tells me when.
The Leggy, Reaching Plant: A Light IssueMy first Kalanchoe grew tall with wide gaps between leaves. It was etiolated—starved for light. I learned that while they tolerate some direct sun, bright indirect light is ideal formaintaining vibrant Kalanchoe leaves. My solution was the south-east window and consistent rotation. For severely leggy plants, don't be afraid to prune. You can propagate the cuttings!
The Mystery of the Non-Blooming KalanchoeI once had a plant that was green and healthy for years but never re-bloomed. I discovered Kalanchoes are photoperiodic. They need long nights (about 14 hours of darkness) for 6 weeks to set buds. To encourage flowering, I now mimic this in fall by placing the plant in a closet or unused room from 6 PM to 8 AM, ensuring no artificial light interrupts the darkness. During the day, it goes back to its sunny spot.
Sustaining Your Success: Long-Term Kalanchoe Care
After the intensive two-week reset, maintenance is straightforward.
- Feeding:In the growing season (spring/summer), I use a balanced, water-soluble fertilizer diluted to half-strength, once a month. Never in winter.
- Grooming:I pinch off spent flower stalks and any dead leaves at the base to encourage new growth and prevent rot.
- Pest Watch:I inspect leaves weekly for signs of mealybugs (white cottony spots) or aphids. A swipe with a cotton swab dipped in rubbing alcohol handles early infestations.
Your Kalanchoe Questions, Answered
Why are the bottom leaves of my Kalanchoe turning yellow and soft?This is almost always a sign of overwatering. The roots are suffocating. Stop watering immediately. Check the roots for rot (black and mushy). If present, cut away the rotten parts, let the plant callous for a day, and repot in fresh, dry succulent mix. Wait at least a week before watering again.
Can I put my Kalanchoe outside in the summer?Yes, but with caution. Acclimate it gradually over a week to avoid sunburn. Start in full shade, then move to dappled light, and finally to a spot with morning sun only. Bring it back inside well before nighttime temperatures drop below 50°F (10°C).
How do I get my Kalanchoe to flower again?This is the most common question. Remember the long-night trick. For about 6 weeks in fall, ensure it gets 14 hours of uninterrupted darkness and 10 hours of bright light daily. Reduce watering slightly during this time. Once you see flower buds forming, you can return it to normal light conditions.
Caring for a Kalanchoe is a lesson in restraint and observation. These plants ask for very little—brilliant light, infrequent but thorough drinks, and a well-draining home. By stepping back, understanding their natural rhythm, and letting the soil and the plant itself guide you, you'll be rewarded with a remarkably tough and floriferous companion. My two-week experiment proved that with the right foundation, even a stressed plant can bounce back with vigor. Start with the basics, be patient, and watch your Kalanchoe thrive.
发表评论