How to GrowSucculents in Humid Climates: My 2-Week Experiment That Actually Worked
I loveSucculents. Their sculptural forms and low-maintenance reputation drew me in, but living in a coastal area with consistently high humidity turned my passion into a constant battle. My echeverias would stretch out, my haworthias would get mushy, and my jade plants would drop leaves. The common advice—“just don’t water them”—never seemed to be enough. I was determined to find a real solution forhow to growSucculents in humid climates. This is the story of my two-week, hands-on experiment to create a microenvironment where mySucculentscould not just survive, but thrive.
My Core Strategy: Engineering the Right Environment

I realized that fighting the entire climate of my home was a losing battle. Instead, I needed to control the immediate surroundings of my plants. The goal wasn’t to increase humidity (the air had plenty), but to maximize airflow and use a substrate that dried rapidly. My plan focused on three pillars: pot and soil, strategic placement, and a disciplined watering protocol.
Week 1: The Setup and Initial Adjustments
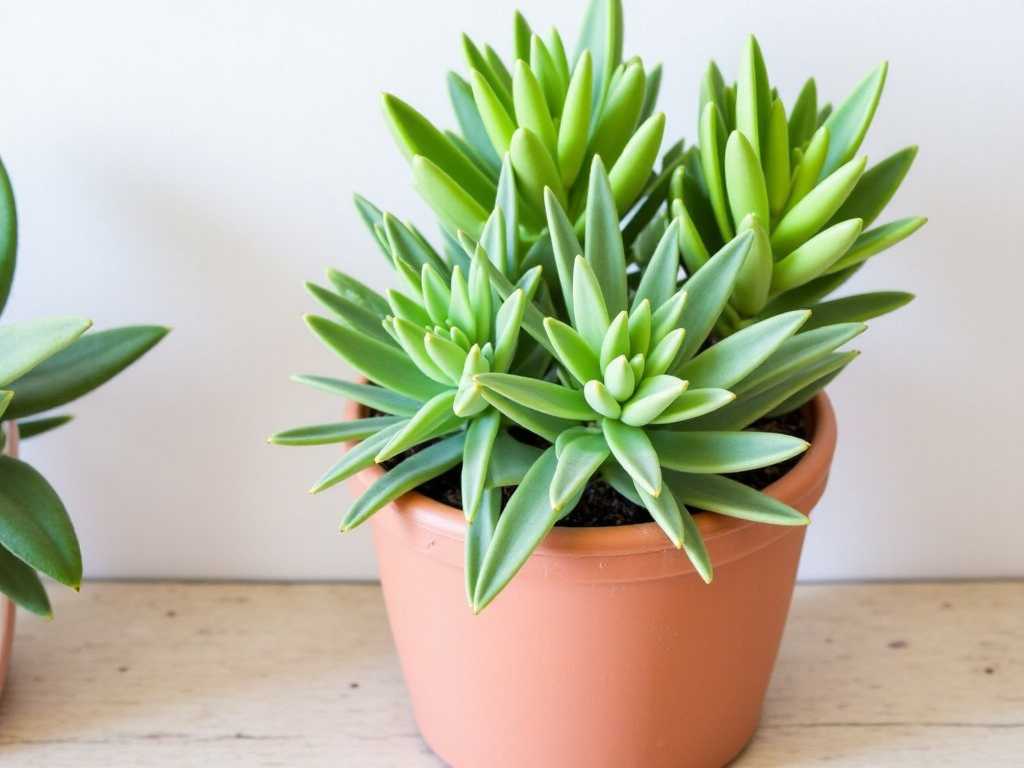
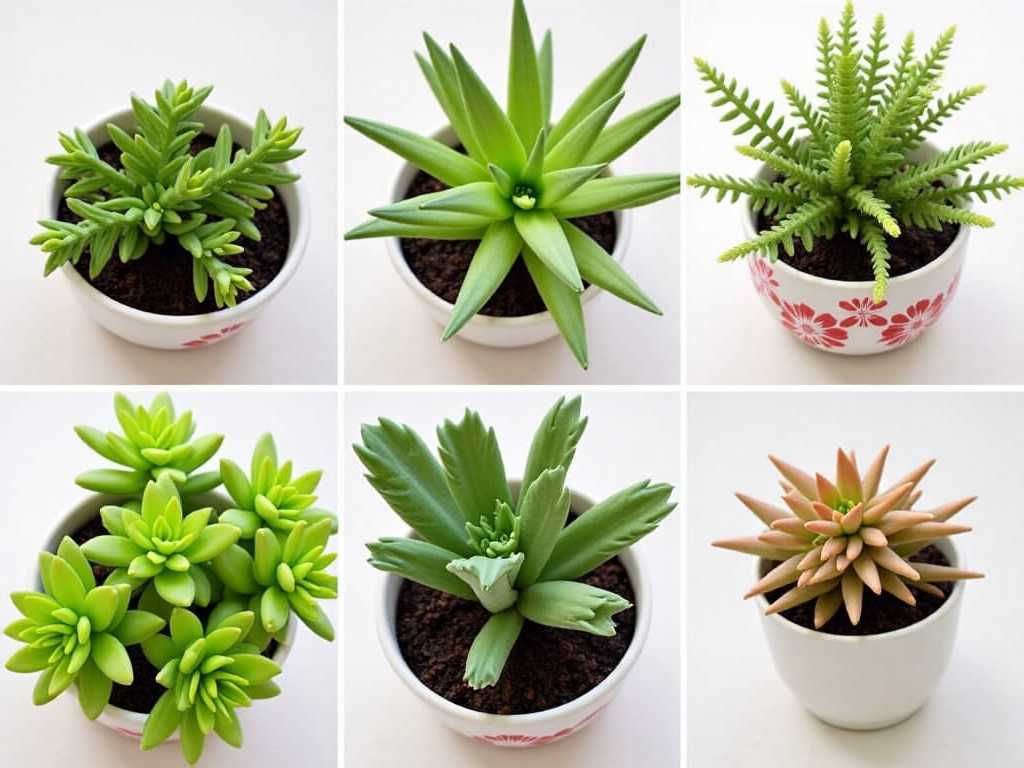
I selected three test subjects: a plump Echeveria ‘Perle von Nürnberg’, a sturdy Haworthia cooperi, and a young Crassula ovata (Jade plant). All were showing early signs of humidity stress—slightly pale, softer leaves than usual.
Step 1: The Radical Soil Mix OverhaulThe most critical change started from the bottom up. I discarded all pre-mixed “cactus and succulent” soils from big-box stores. They retained too much moisture for my conditions. Following advice from the Royal Horticultural Society (RHS), which emphasizes sharp drainage forSucculents, I created my own mix:
- 50% coarse, inorganic material (I used pumice)
- 30% high-quality potting soil
- 20% coarse horticultural sand This mix was gritty, loose, and promised rapid drainage—key forsucculent care in muggy weather.
Step 2: Choosing the Right “Home”I repotted each plant into unglazed terracotta pots. Their porous walls allow water to evaporate from the sides, not just the top soil surface. Each pot had a large drainage hole. I added a layer of pumice at the bottom for extra insurance against waterlogging. This step directly addresses the challenge ofpreventing rot in humid succulent gardens.
Step 3: Location, Location, AirflowI placed my test group on a bright, south-facing windowsill. But the real game-changer was adding a small, oscillating fan set on low, positioned to gently move air across the plants for several hours a day. This wasn’t a gale-force wind, just a consistent breeze to disrupt the stagnant, humid air that settles around leaves and encourages fungal growth.
Step 4: The Watering DisciplineI completely abandoned my calendar-based watering habit. Instead, I used a moisture meter and the “taco test” for the echeveria—gently squeezing a leaf; if it had some flex, it was thirsty. For all, I waited until the soil was completely dryandthe leaves showed slight signs of thirst. Then, I performed a thorough “soak and drain”: taking the pots to the sink, watering until it ran freely from the bottom, and letting them drain fully before returning them to the sill.
The First Hiccup: A Scare with Fungus GnatsBy Day 4, I noticed tiny fungus gnats around the pots. My new, well-draining soil was working, but the top layer was staying slightly damp just long enough for these pests to proliferate—a classicproblem withSucculentsin high humidity.
My Solution:I covered the topsoil with a half-inch layer of fine aquarium gravel. This created a dry, inorganic barrier that discouraged gnats from laying eggs and also accelerated surface drying. The fan helped immensely here too. Within two days, the gnat population plummeted.
Week 2: Observation and Visible Transformation
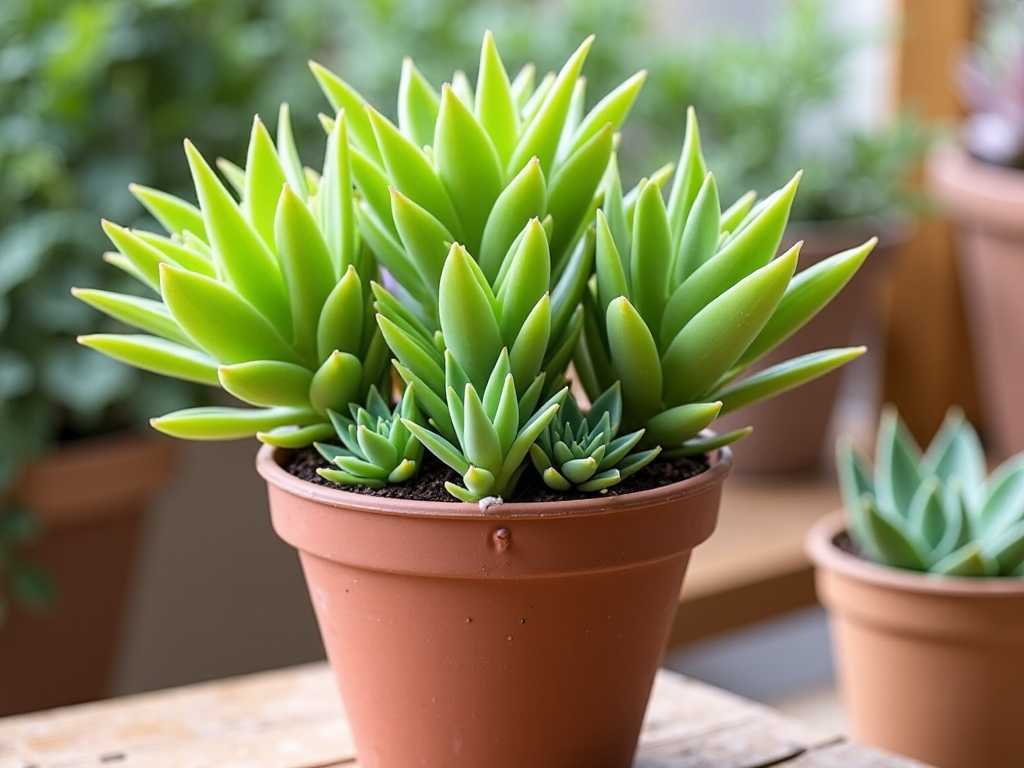
The changes became visibly clear. The slight pallor on my Echeveria began to tighten up, its colors becoming more intense. The Haworthia’s translucent leaves firmed up. Most tellingly, there was zero new leaf drop from the Jade plant.
I monitored the soil with the moisture meter. Even with the ambient humidity at 65-70%, the custom gritty mix in terracotta pots dried out completely within 5-7 days after a deep watering. The fan ensured no condensation lingered on the leaves overnight.
")
The Second Challenge: Avoiding the “Too Dry” TrapIn my zeal to avoid overwatering, I almost swung too far the other way. The Echeveria’s lower leaves began to wrinkle significantly by Day 12. I realized that in creating such a fast-draining system, I needed to be just as attentive to the “soak” part of the cycle. The plant was thirsty because the water was running through so efficiently it wasn’t all being absorbed.
My Solution:I employed the “bottom watering” technique. I placed the terracotta pot in a shallow tray of water for about 20 minutes, allowing the soil to wick up moisture evenly and thoroughly. Then, I removed it and let it drain. The leaves plumped back up beautifully within 36 hours.
My Results After 14 Days
After two weeks of this regimented care:
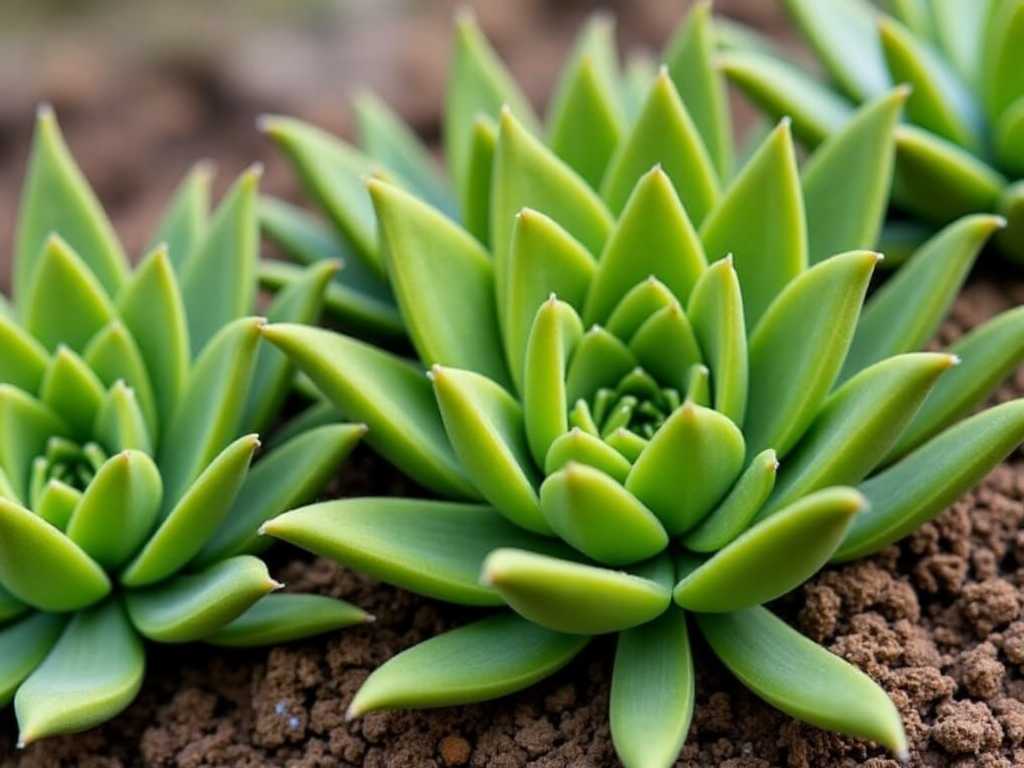
- Root Health:Upon a gentle check, no signs of rot. Instead, I saw fine, white new root growth.
- Foliage:Leaves were firm, colors were vibrant, and there was no further etiolation (stretching).
- Pests:The fungus gnat issue was resolved.
- Growth:I observed the very beginnings of new, compact growth at the center of each plant.
The system was working. I had successfully created a microclimate where airflow and soil dryness counteracted the ambient humidity.
Sustaining Success: My Ongoing Routine
This experiment wasn’t a one-time fix; it established my new standard of care. The fan runs for 4-5 hours daily. I water only based on plant signs, which now seems to be every 10-14 days, even in humidity. Seasonal adjustments are crucial; I’ll water even less in the dimmer winter months. Regular inspection for pests is part of my weekly plant check-in.
Frequently Asked Questions
Can I use a dehumidifier instead of a fan?While a room dehumidifier can help, it’s often overkill and expensive for a plant collection. A small fan directly aimed at improving local airflow is more energy-efficient and targets the problem precisely—stagnant air around the plants. The American Horticultural Society (AHS) notes that good air circulation is one of the simplest ways to prevent disease in any garden, indoors or out.
Is misting my succulents in humidity a good idea?Absolutely not. Misting adds water directly to leaves and the soil surface, which is the last thing you need in a humid environment. It encourages rot and fungal diseases. Succulents prefer their water at the root zone from a deep, infrequent soak.
What are the best succulents for humid areas if I’m a beginner?Start with varieties naturally more tolerant of moisture. My Haworthia cooperi did exceptionally well. Other great choices include Snake Plants (Sansevieria), certain Aloes, and Holiday Cacti (Schlumbergera). They give you more margin for error as you learn the rhythms ofcaring for succulents in moist air.
Growing succulents in a humid climate is less about fighting nature and more about smart adaptation. It requires a shift from just “not watering” to actively managing their immediate environment. By focusing on ruthless drainage, relentless airflow, and responsive watering, you can build a thriving succulent collection. My two-week journey proved that with the right adjustments, even the most moisture-loving climates can host these beautiful, drought-adapted plants.

发表评论