How to MakeSucculentArrangements Last Longer: A Two-Week Experiment from a Plant Lover
There’s nothing more disheartening than watching a beautifulSucculentarrangement you just brought home slowly lose its vibrancy. The plump leaves start to wrinkle, the colors fade, and before you know it, you’re left with a sad, sparse planter. I’ve been there. As a long-timeSucculententhusiast, I’ve created—and unfortunately, lost—my fair share of arrangements. The common belief is that these plants are indestructible, but when combined in a container, their needs become more nuanced. That’s why I decided to run a focused, two-week experiment to crack the code onhow to make succulent arrangements last longer. This isn't just theory; it's a documented journey of what I did, what I saw, and the mistakes I fixed along the way.
My goal was simple: take a newly purchased, store-made arrangement and implement best practices to ensure not just survival, but thriving health over a critical 14-day establishment period. Here’s exactly what happened.

The Foundation: It All Starts With the Right Soil and Pot
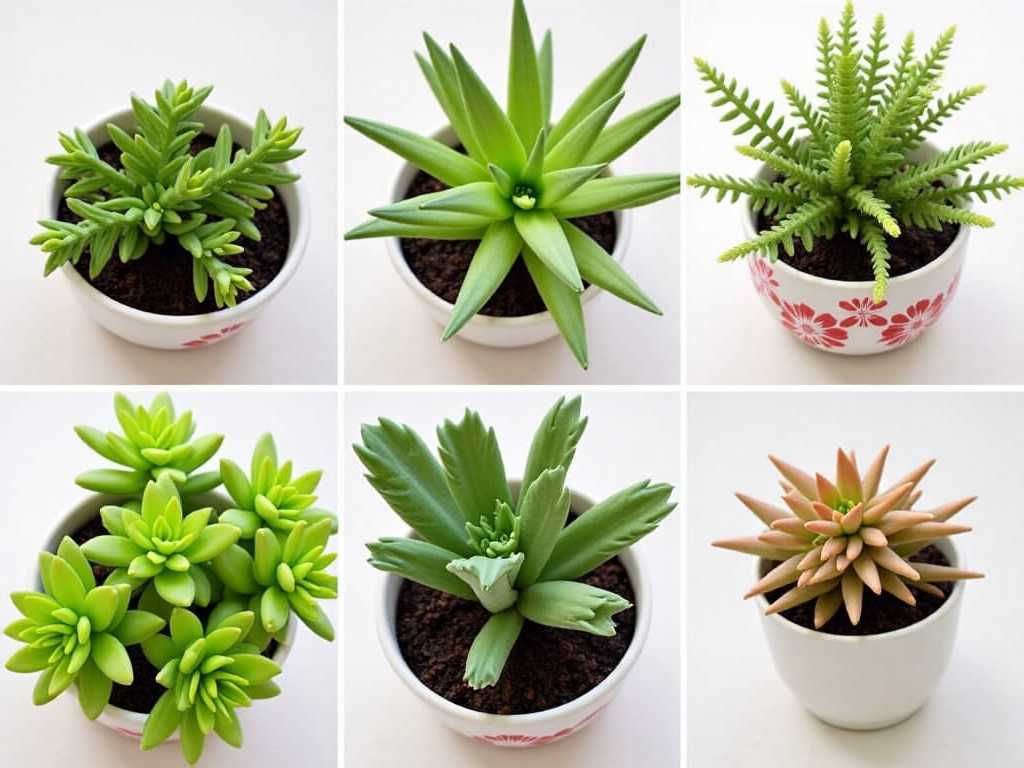
I began with a lovely, crowded arrangement featuring Echeveria, Sedum, and a small Haworthia. It came in a typical decorative ceramic pot with a single drainage hole. My first step was a risky one: immediate repotting. I know it stresses the plants, but a poor foundation guarantees long-term failure.
")
My Action Steps:
- Gently Removed the Plants:I carefully tipped the arrangement out, teasing apart the root ball to inspect the soil. It was dense, peat-heavy, and retained too much moisture—a death sentence forSucculents.
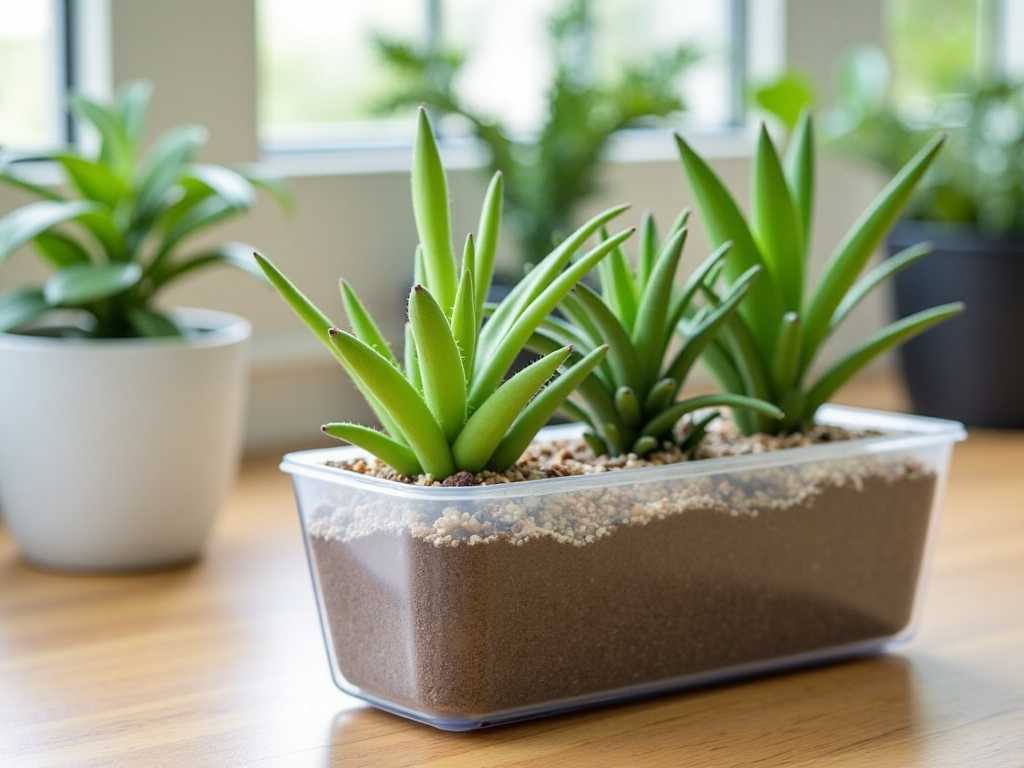
- Created a Gritty, Well-Draining Mix:I skipped standard potting soil. Instead, I mixed 50% cactus/succulent potting mix with 50% perlite and coarse sand. This creates the fast-draining environment succulent roots crave, a point strongly supported by the Royal Horticultural Society (RHS), which emphasizes the critical need for "open, free-draining compost" to prevent root rot.
- Chose a Better Pot:I selected a wide, shallow terracotta pot. Terracotta is porous, allowing soil to dry evenly, and the shallower depth is more appropriate for succulent root systems than a deep container.
The Two-Week Observation:Within days, the plants looked more settled. There was no sign of the translucent, overwatered leaves I’d seen in past arrangements. By the end of week two, the Echeveria’s center showed firm, new growth. The right soil mix was clearly preventing water from lingering around the roots.
The Pitfall & Solution:
- The Pitfall:My first mix wasn’t gritty enough. A few days in, I noticed the surface was staying damp for too long after watering.
- The Solution:I didn’t repot again. Instead, I carefully top-dressed the soil with a layer of small, crushed lava rock. This improved surface drainage, reflected heat to the base of the plants, and further reduced moisture retention. It was a simple, effective fix.
Mastering the Art of Watering for Long-Lasting Displays
This is where most succulent arrangements meet their doom. Overwatering is the #1 killer. I was determined to break my old habit of watering on a schedule.
My Action Steps:
- The "Soak and Dry" Method:I did not water immediately after repotting. I waited a full five days to let any disturbed roots heal. Then, I gave the entire pot a thorough soak until water ran freely from the drainage hole.
- The Finger Test is Gospel:I ignored the calendar. Before even thinking about water again, I inserted my finger deep into the soil, near the edge of the pot. I only considered watering when the soil was completely dry at that depth—about two knuckles down.
- Watered the Soil, Not the Plants:I used a long-spouted watering can to direct water to the soil base, avoiding pouring water into the rosettes of the Echeveria and Haworthia, which can lead to rot.
The Two-Week Observation:The arrangement went through one full "soak and dry" cycle during the experiment. After the deep watering, the plants plumped up noticeably within 48 hours. The previously slightly wrinkled Sedum leaves became taut and full. Crucially, the soil dried out completely within 7-8 days, confirming my soil mix was working.
The Pitfall & Solution:
- The Pitfall:The center of the arrangement was densely planted, making it hard to check soil moisture without disturbing plants.
- The Solution:I inserted a simple wooden chopstick into a discreet spot near the center. Leaving it for a minute, then pulling it out, showed me if moisture was present deep in the root zone. It was a clean, non-invasive moisture meter.
The Crucial Role of Light in Maintaining Succulent Health
Light is non-negotiable forkeepingSucculentsvibrant in arrangements. Without it, they stretch (etiolate), lose color, and weaken.
My Action Steps:
- Found the Brightest Spot:I placed the repotted arrangement in a south-facing window that receives at least 6 hours of direct sunlight daily.
- Monitored for Sun Stress:While more light is good, a sudden move to intense sun can scorch plants. I introduced it gradually over two days, starting with morning sun only.
- Rotated the Pot:Every other day, I gave the pot a quarter turn to ensure all sides of the arrangement received even light, preventing lopsided growth.
The Two-Week Observation:This was the most visually dramatic change. The stress colors on the Echeveria—hints of pink and red on the leaf tips—intensified beautifully. The Sedum took on a richer, more golden hue. The Haworthia, which prefers slightly less direct light, remained a healthy, deep green. There was zero stretching or leaning. The arrangement looked compact and colorful.
The Pitfall & Solution:
- The Pitfall:One unusually hot afternoon caused a slight sunburn on the top leaf of one Echeveria—a pale, bleached spot.
- The Solution:I used a sheer curtain to diffuse the most intense midday sun. This provided the brightness needed without the harsh, scorching rays. The sunburned leaf will not heal, but it prevented further damage.
Long-Term Arrangement Care and Troubleshooting
After two weeks, my arrangement wasn't just alive; it was visibly healthier and more colorful than the day I bought it. The core practices of gritty soil, infrequent deep watering, and ample light had created a foundation forlong-term succulent arrangement care. But maintenance is key.
I gently removed one dried, old leaf from the base of the Echeveria to improve air circulation. I also inspected closely for pests (like mealybugs, a common issue) and found none—a result of the healthy, stress-free environment. According to the American Horticultural Society (AHS), plant stress from poor conditions is a primary attractor of pests, so robust care is the best prevention.
How often should I really water my succulent arrangement?Forget "once a week." Water only when the soil is 100% dry throughout. This could be every 7-14 days, depending on your climate, pot, and light. The "soak and dry" method is your most reliable guide.
Can I keep my arrangement in low light if I water less?No. Low light and wet soil are the worst combination.Succulentsin low light will etiolate (stretch) and rot more easily, even with careful watering. They need bright light to utilize the water you give them. Consider a grow light if natural bright light isn't available.
My arrangement is getting too tall and leggy. What can I do?This is etiolation, caused by insufficient light. You can "behead" the stretched succulent: cut the top rosette off, let the cut end callous for a few days, and replant it. Provide the new plant with much stronger light. The original stem may also produce new offshoots.
Creating a succulent arrangement that lasts is deeply satisfying. It requires shifting from a "set it and forget it" mindset to one of attentive, informed care. Focus on the trio of fast-draining soil, disciplined watering, and abundant light. Observe your plants closely—they will tell you what they need. My two-week experiment proved that with these intentional steps, you can transform a temporary centerpiece into a enduring, thriving piece of living art.

发表评论