The Ultimate Care Guide for HaworthiaSucculents: A Plant Lover’s 2-Week Experiment
I’ve killed my fair share ofSucculents. Overwatering, sunburn, mysterious mushiness—you name it, I’ve done it. My quest for the perfect, low-maintenance houseplant led me to Haworthia, those charming, geometricSucculents often called “zebra plants” or “fairy washboards.” But even these touted “easy” plants come with their own set of rules. If you’ve ever wondered why your Haworthia is turning brown, stretching out, or just looking sad, you’re not alone. This guide isn’t just theory; it’s the result of my own hands-on, two-week rescue and observation mission with a struggling Haworthia attenuata. I’ll walk you through exactly what I did, what happened, and the pitfalls I navigated to bring a plant back from the brink.
")
Understanding Your Haworthia: More Than Just a Pretty Face

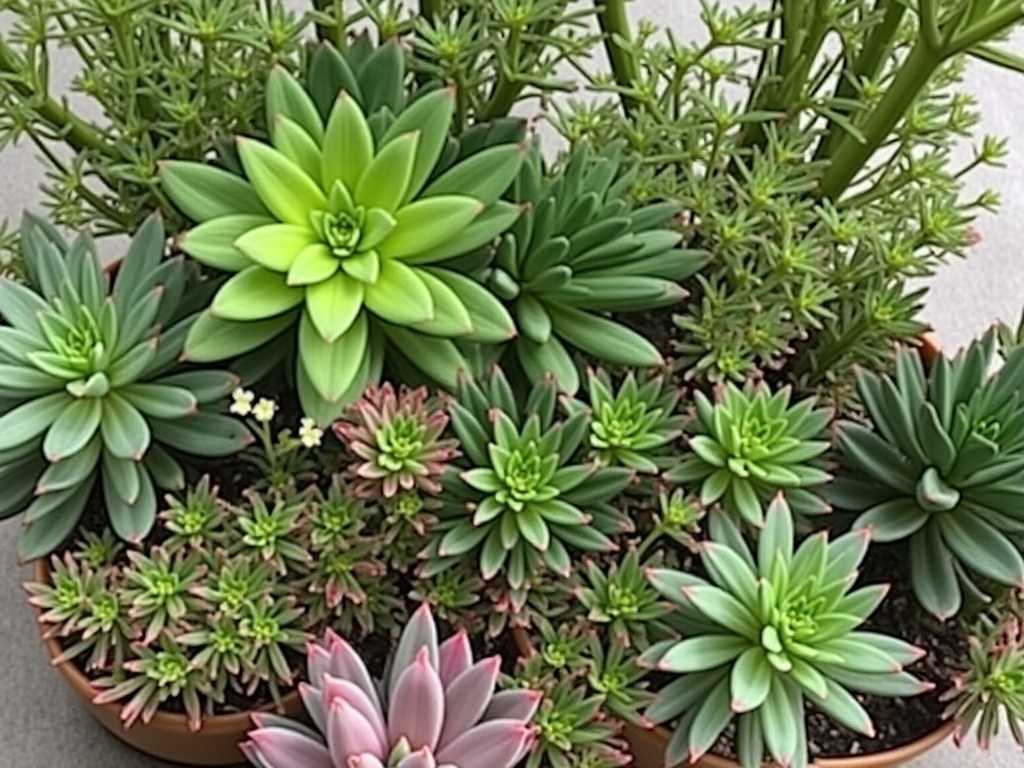
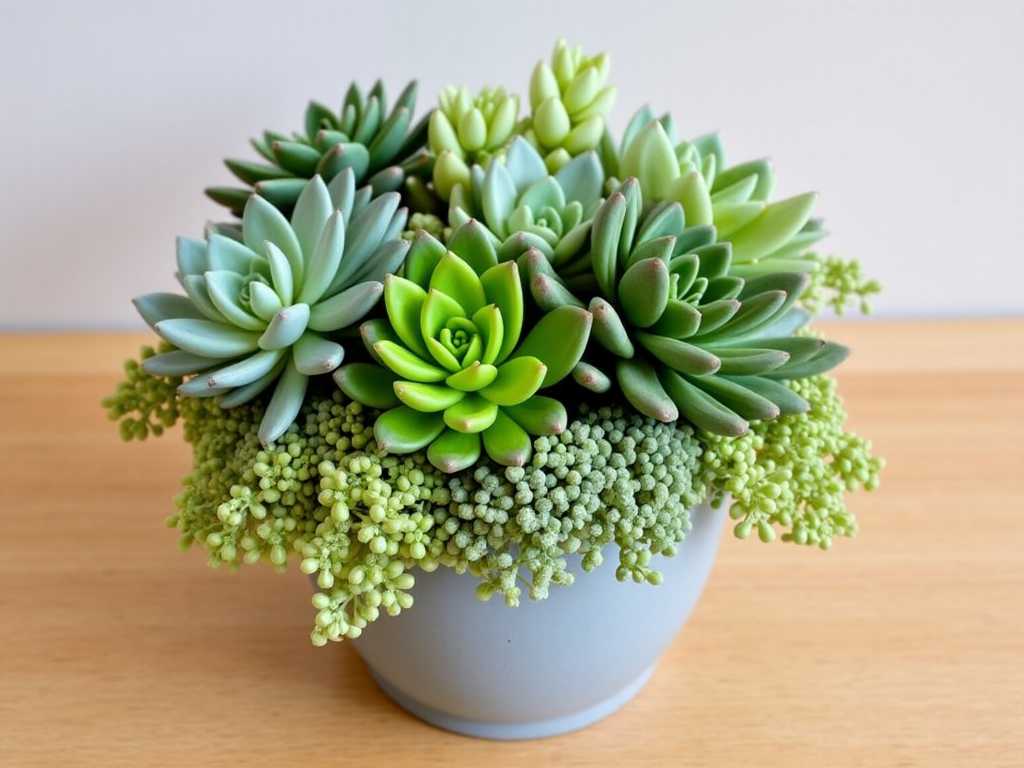
Before we dive into the care steps, it’s crucial to know what makes Haworthias tick. Native to South Africa, they are slow-growingSucculentsthat thrive in bright, indirect light and appreciate neglect more than fuss. According to the Royal Horticultural Society (RHS), Haworthias are excellent for beginners precisely because of their tolerance for lower light and infrequent watering compared to otherSucculents. Their plump leaves store water, making them drought-resistant but highly susceptible to rot. My problem plant was a classic case: I had treated it like my Echeverias, and it was paying the price.
My 2-Week Haworthia Rescue Plan: A Step-by-Step Log
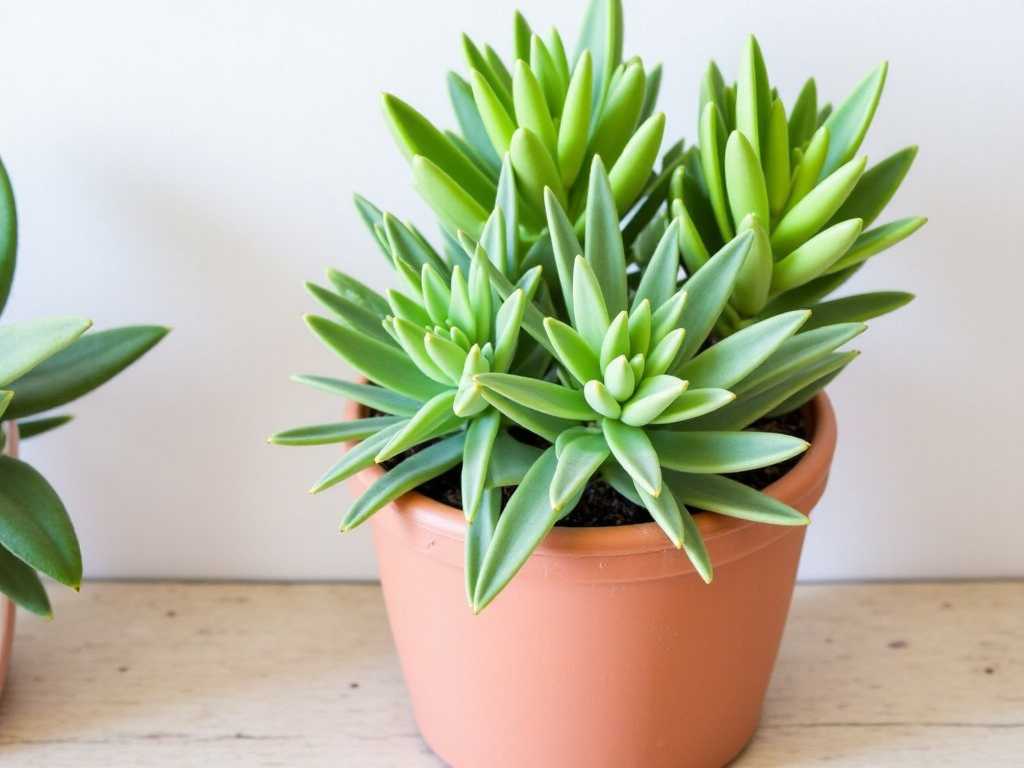
I found a Haworthia attenuata on the clearance rack, pale and stretched, with a few soggy bottom leaves. Here was my actionable plan.
Week 1: Assessment and Immediate Intervention
Day 1-2: The Diagnosis and RepottingThe first step in any goodHaworthia care guideis assessment. I gently removed the plant from its soggy, peat-heavy nursery pot. The roots were damp and a few were mushy—clear signs of overwatering. I let the root ball air dry on a paper towel for a full 24 hours. This is a scary step, but it’s essential to halt rot.
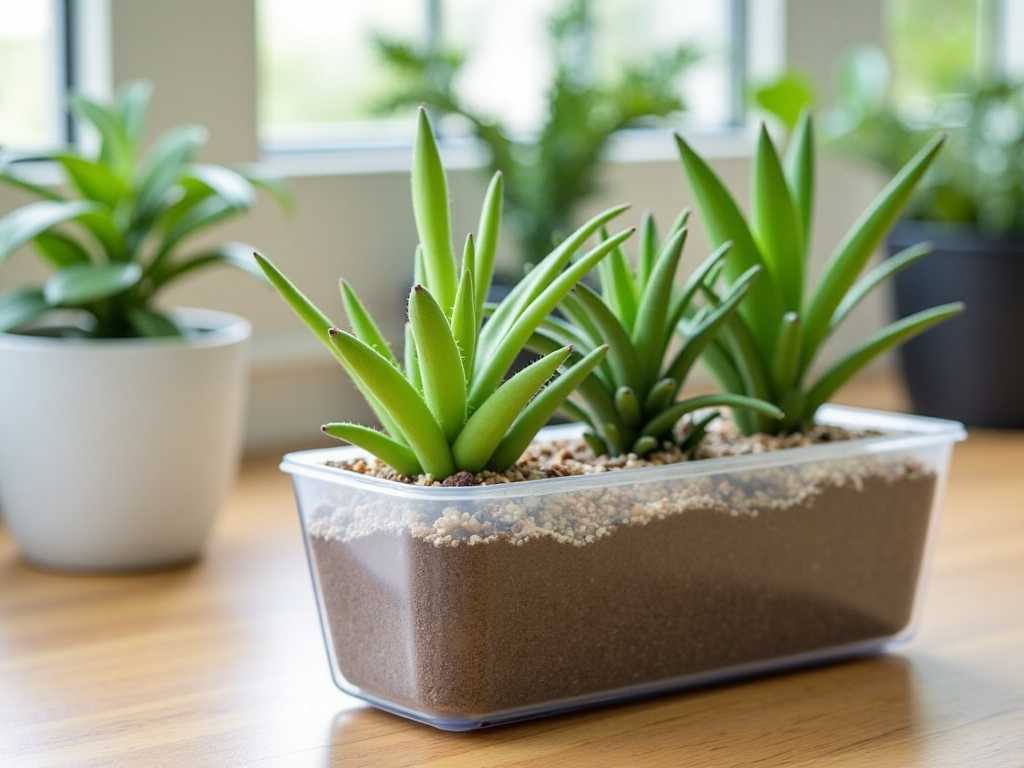
Meanwhile, I prepared its new home. The American Horticultural Society (AHS) emphasizes the importance of drainage for containerSucculents. I chose a terracotta pot, which breathes and helps soil dry faster, with a large drainage hole. The soil mix is non-negotiable. I used a pre-made “cactus and succulent mix,” but to amp up drainage, I amended it with an equal part of perlite. The final mix was about 50% soil, 50% gritty material.
After the roots had dried, I snipped off any black or mushy parts with sterilized scissors. I then potted the Haworthia in the dry mix, ensuring the base of the leaves was just above the soil line to prevent future stem rot. I did not water it. Not a drop.
Day 3-5: The Waiting Game and Light AdjustmentThe plant sat in a bright north-facing window (my only option for strong indirect light). I resisted the urge to water. The goal was to allow any tiny root injuries from repotting to callous over, preventing infection. The leaves looked a bit wrinkled, which was stressful to see, but this is the plant using its internal water stores—a normal and safe process.
I realized its etiolation (stretching) was from too little light previously. While Haworthias tolerate lower light, they don’t thrive in it. I made a note to find it a brighter long-term spot.
Day 6-7: The First Strategic WateringA full week after repotting, I performed the “soak and dry” method. I placed the entire pot in a sink and thoroughly drenched the soil until water ran freely from the drainage hole. This ensures the entire root ball gets moisture. I then let it drain completely for an hour before returning it to its window. The terracotta pot felt cool and damp—a good sign the water was being absorbed and would slowly wick away.
Week 2: Observation and Recovery Signs
Day 8-10: Monitoring and a Close CallThe plant’s color started to improve slightly, from pale green to a deeper hue. The wrinkled leaves plumped up noticeably within 48 hours of watering—a fantastic sign the roots were functional and drinking! However, I noticed one lower leaf continuing to yellow. I gently tugged it, and it came away cleanly. This is normal senescence; the plant was reabsorbing energy from an old leaf. I removed it to keep the area clean.
Here was mybig mistake to avoid: I almost moved it to a south-facing window for “more light.” I’m glad I checked my notes first. Haworthias, especially stressed ones, can scorch easily in direct afternoon sun. Their natural habitat often has them shaded by grasses or rocks. Direct sun, particularly through glass, can cause brown, crispy patches. I kept it in the bright, indirect light.
Day 11-14: Stability and New GrowthBy the end of the second week, the transformation was clear. The plant stood firmer. The center of the rosette, where new growth emerges, showed a tighter, denser formation of leaves compared to the stretched older ones. This indicated it was now receiving adequate light and was happy. The soil was completely dry, and I waited another two days before even considering another watering.
The Core Pillars of Haworthia Care, Validated
This experiment reinforced the fundamental rules ofhow to care for Haworthia succulents.
Lighting: Bright but GentleHaworthias love bright, indirect light. An east-facing window is ideal, providing gentle morning sun. A west or south window needs a sheer curtain as a filter. Under low light, they etiolate; under harsh direct sun, they scorch. My two-week observation proved that consistent, filtered bright light brought back vibrant color and compact growth.
Watering: The “Soak and Dry” GospelThis is the most critical skill. Water only when the soil is 100% dry all the way through. For me, in my climate and with my terracotta pot, this meant watering roughly every 2.5 to 3 weeks. I use a wooden chopstick stuck into the soil; if it comes out clean and dry, it’s time. When you water, do it thoroughly. This encourages deep, healthy roots. My plant’s rapid plumping after its first drink was all the proof I needed.
Soil and Pot: The Foundation of HealthA fast-draining mix and a pot with a drainage hole are not suggestions—they are requirements. The RHS advises a gritty compost for succulents to prevent waterlogging. My 50/50 mix in terracotta created the perfect “dry out quickly” environment that Haworthia roots crave. This single change from the moisture-retaining nursery setup was the biggest factor in my plant’s recovery.
Troubleshooting: The Pitfalls I Encountered (And How to Fix Them)
- The Overwatering Temptation:Seeing wrinkled leaves, I desperately wanted to water earlier.Solution:Trust the process. Wrinkled leaves for a few days are safer than wet roots for a few hours. Always err on the side of underwatering.
- The Wrong Light Fix:Almost moving it to direct sun would have swapped one problem (stretching) for a worse one (scorching).Solution:Acclimate any plant to stronger light over 1-2 weeks, increasing exposure by an hour each day. For Haworthias, filtered bright light is usually the sweet spot.
- Ignoring the Soil:Assuming any “cactus mix” was good enough was my initial error. Some are still too organic.Solution:Always amend with extra perlite, pumice, or coarse sand. Your goal is soil that doesn’t clump when wet.
Your Haworthia Questions, Answered
Why are the tips of my Haworthia turning brown or crispy?This is usually due to either too much direct sunlight (sunburn) or, less commonly, mineral buildup from tap water. Try moving it to a spot with less intense direct exposure. If you suspect water, try using filtered or rainwater for a few waterings and see if new growth improves.
How do I know when to water my Haworthia?Forget the calendar. Use the “dryness test.” Stick your finger or a wooden skewer deep into the soil near the edge of the pot. If it comes out completely dry and clean, with no soil sticking, it’s time to water. The leaves will also show subtle wrinkles when thirsty.
My Haworthia is growing tall and leggy, with large gaps between leaves. What’s wrong?This is called etiolation, and it means your plant is not getting enough light. It’s stretching to find a brighter source. Gradually move it to a brighter location (avoiding harsh afternoon sun). The new growth will be compact, but the stretched part won’t shrink back. You can eventually propagate the plant by beheading it if the look bothers you.
Caring for Haworthia succulents is a lesson in restraint and observation. These resilient plants ask for very little: a gritty bed to call home, a deep drink only after a long drought, and light that is bright but kind. My two-week journey from rescue to recovery showed me that success lies in mimicking their native, harsh conditions—well-draining ground and dappled sunlight. Pay attention to what your plant is telling you through its leaf color and firmness. Hold back on the watering can, choose the right pot and soil from the start, and you’ll be rewarded with a fascinating, architectural plant that thrives on your benign neglect for years to come.
发表评论