How to GrowSucculents in No-Drainage Pots: My 2-Week Trial of Careful Watering
I loveSucculents, but I also adore beautiful, unconventional containers. For years, I avoided pairing the two, terrified of root rot. The classic advice is absolute: always use pots with drainage holes. But what about those stunning ceramic cups, vintage tea tins, or sleek geometric terrariums that lack holes? I decided to challenge the dogma. This guide is my firsthand account ofhow to growSucculents in no-drainage potssuccessfully. I’ll walk you through my exact process, the results after a rigorous two-week observation period, and the crucial mistakes I made—and fixed—along the way.
Why Even Attempt This? Understanding the Real Risk

Let’s be clear. The American Horticultural Society (AHS) consistently emphasizes that proper drainage is a cornerstone of plant health, preventing waterlogged soil that suffocates roots. The risk with no-drainage containers is real and significant: overwatering is the fastest way to kill a succulent. However, as a practical plant enthusiast, I believe understandinghowto manage water is more valuable than a blanket rule. This method isn’t for beginners with a heavy watering hand, but for those willing to exercise precise control for the sake of design.
My Step-by-Step Process for No-Drainage Success
I didn’t just drop a plant into a cup of soil. Success requires a systematic, layered approach that mimics drainage.
Selecting the Right Succulent and Pot
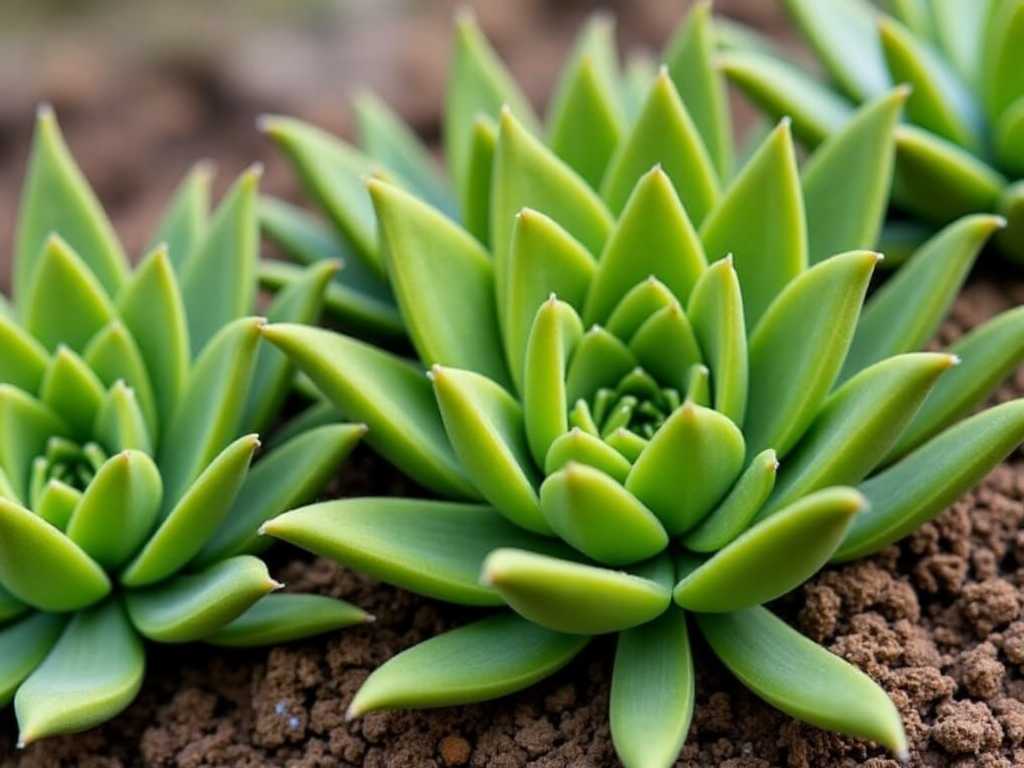
I started with the hardiest candidates: mature, establishedSucculentsknown for drought tolerance. I chose aHaworthia attenuata(Zebra Plant) and anEcheveria ‘Lola’. Both were healthy, not freshly propagated. The pot was a small, glazed ceramic mug about 4 inches wide. Size is critical—a smaller soil volume dries out faster, reducing risk.
Creating the Foundation: The Drainage Layer Debate
Here was my first experiment. Many guides suggest a layer of rocks or pebbles at the bottom to create a “reservoir.” I’ve learned this is a partial myth. While it separates roots from standing water, it can also create a perched water table, where moisture wicks up into the soil above, keeping it wetter for longer.
My solution? I used a thinner layer of large, coarse charcoal chunks (about 1 inch). Charcoal is mildly absorbent and has antibacterial properties. This layer’s primary job isn’t to hold water, but to provide a clear, airy buffer zone.
")
The Non-Negotiable: Super-Draining Soil Mix
This is where you cannot compromise. Standard potting soil will fail. I created a gritty mix:
- 50% bagged succulent & cactus soil
- 30% perlite
- 20% coarse sand (horticultural grade) This mix is incredibly fast-draining and airy. When I squeezed a handful, it fell apart immediately—a perfect sign.
The Surgical Planting and Initial Watering
I placed a small piece of permeable landscape fabric over the charcoal layer to prevent soil from sifting down. Then, I filled the pot with my dry mix. After removing the succulent from its nursery pot and gently brushing off old soil, I planted it. Now, the most critical part: the first water. I didnotsoak the soil. Using a syringe (a turkey baster works too), I administered only 2 tablespoons of water directly around the stem base, just enough to encourage initial root contact with the slightly moist soil. The rest of the soil remained bone dry.
The Two-Week Observation: A Daily Diary
My plants lived on a bright, south-east facing windowsill with about 4-6 hours of indirect light. I monitored them closely.
Days 1-3:No change. TheEcheveria’s leaves were firm, theHaworthiaupright. The soil surface felt completely dry.
Days 4-7:I checked the soil moisture daily by inserting a thin wooden skewer deep into the pot, near the edge. On Day 5, it came out with very faint moisture only at the very tip. This told me the tiny amount of water was being used or evaporating, not pooling.
Day 8 – The First Test and a Mistake:TheEcheveria’s lower leaves showed the slightest hint of give, a sign it could use water. Anxious, I gave it a small drink—about 3 tablespoons. This was myfirst big mistake. I watered on a schedule cue, not a true need. The next day, the soil skewer showed more moisture than I wanted at the bottom.
The Fix – Emergency Moisture Control:I had prepared for this. I carefully tipped the pot on its side over a towel for 10 minutes, allowing any free water to flow away from the roots. Then, I placed the pot directly in front of a gentle fan for a few hours to accelerate air circulation through the soil surface. This is a vital rescue technique.
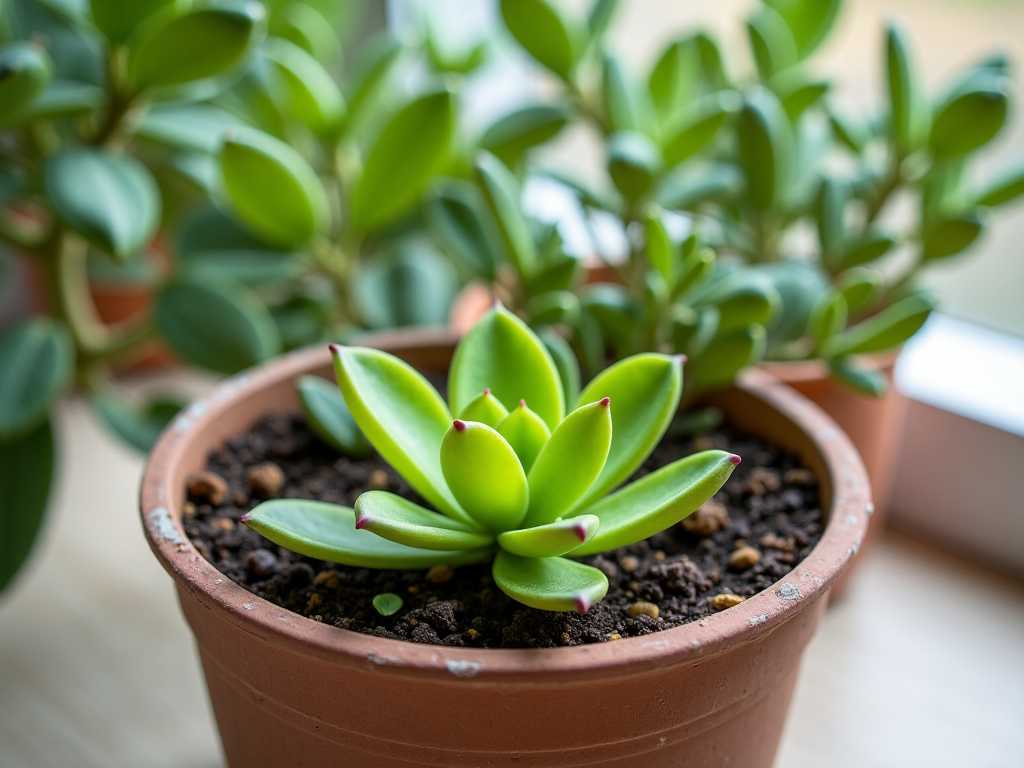
Days 9-14:After the corrective action, the soil dried back to a safe level. The plants stabilized. By Day 14, bothSucculentsshowed no signs of rot. TheHaworthialooked plump and happy. TheEcheveriahad firmed back up. Most importantly, there was zero mushiness or yellowing at the base.
Key Lessons and Pitfalls to Avoid
My experiment worked, but it highlighted strict rules.
The Watering Technique is Everything.You must water like a surgeon. I now use a small-spouted watering can and target only the soil, avoiding the plant’s body. The amount is minuscule—just enough to lightly moisten the soil around the roots. The “soak and dry” method is forbidden here.
The “Finger Test” is Useless.Don’t trust just feeling the top inch. You must use a tool—a skewer, chopstick, or moisture meter—to check conditionsat the root level, deep in the pot.
Light and Airflow are Your Co-Pilots.Bright, indirect light helps the plant use water efficiently. Good air circulation across the soil surface is crucial for evaporation and preventing fungal issues. A stagnant, humid spot is a death sentence.
When to Absolutely Avoid This Method
Do not try this with juvenile plants, cuttings, or moisture-sensitiveSucculentslikeLithops. Avoid deep pots, as they hold moisture longer. If you tend to over-love with water, stick to pots with holes.
Answering Your Top Questions
Can I use a layer of gravel alone for drainage in a pot without holes?As my trial showed, a gravel layer can be misleading. It raises the saturated zone of soilinsidethe pot. While better than nothing, it’s not a substitute for a radically well-draining soil mix and careful watering. The Royal Horticultural Society (RHS) notes that while crocks (broken pottery) at the bottom of pots can prevent blockages indrainedpots, they do not replace the need for the hole itself in sealed containers.
How often should I water succulents in no-drainage planters?There is no schedule. Water only when the plant shows clear thirst signs (slightly wrinkled, softer leaves)andwhen your moisture probe confirms the lower soil is completely dry. For me, in my environment, this meant a tiny drink only once during the two weeks, and even that was almost too much.
What are the best succulents for closed pots?Opt for slow-growing, hardy types. MyHaworthiawas the star performer.Sansevieria(Snake Plant),Gasteria, and certainSedumsare also good candidates due to their tolerance for drier root conditions. Always start with a healthy, established plant.
Growing succulents in containers without drainage is a high-wire act of patience and precision. It transforms you from a casual waterer into an observant plant caretaker. By using a gritty soil mix, watering with literal teaspoons, and vigilantly monitoring moisture from the bottom up, you can make those beautiful, hole-less pots work. It’s not the easiest path, but for the right plant in the right container, it’s a rewarding challenge that proves even the strictest rules have exceptions—if you’re equipped with the right knowledge.

发表评论