SucculentCare for Exhibition: The Ultimate 2-Week Preparation Guide
You’ve nurtured yourSucculents for months, maybe years. They look great on your windowsill. But the thought of preparing them for a public exhibition, under harsh lights and critical eyes, fills you with dread. Will they look vibrant and sculptural, or will they appear stretched, scarred, or just… underwhelming? I’ve been there. As a long-time collector and exhibitor, I’ve learned that exhibition preparation is a distinct, meticulous art. It’s not just about keeping plants alive; it’s about showcasing their absolute peak perfection. Over the years, I’ve refined aSucculentcare for exhibitionroutine that transforms good specimens into show-stopping champions. Let me walk you through my exact two-week preparation protocol, including the mistakes I’ve made so you don’t have to.
My Philosophy: It’s a Marathon, Not a Sprint

True preparation starts months in advance with optimal general care. But the final two weeks are critical for fine-tuning. This period is about controlling every variable—light, water, color, and presentation—to direct all the plant’s energy toward looking spectacular on show day. Rushing this process leads to disaster. I learned this the hard way with a prizedEcheveria ‘Lola’. I thought a heavy drink right before the show would plump it up. Instead, it caused subtle splitting at the base of the leaves, a fatal flaw for judges. Now, my regimen is a slow, deliberate dance.
Week 1: The Foundation Phase – Assessment and Adjustment
The first week is for evaluation and gentle course correction. Your goal is to set the stage for the final polish.
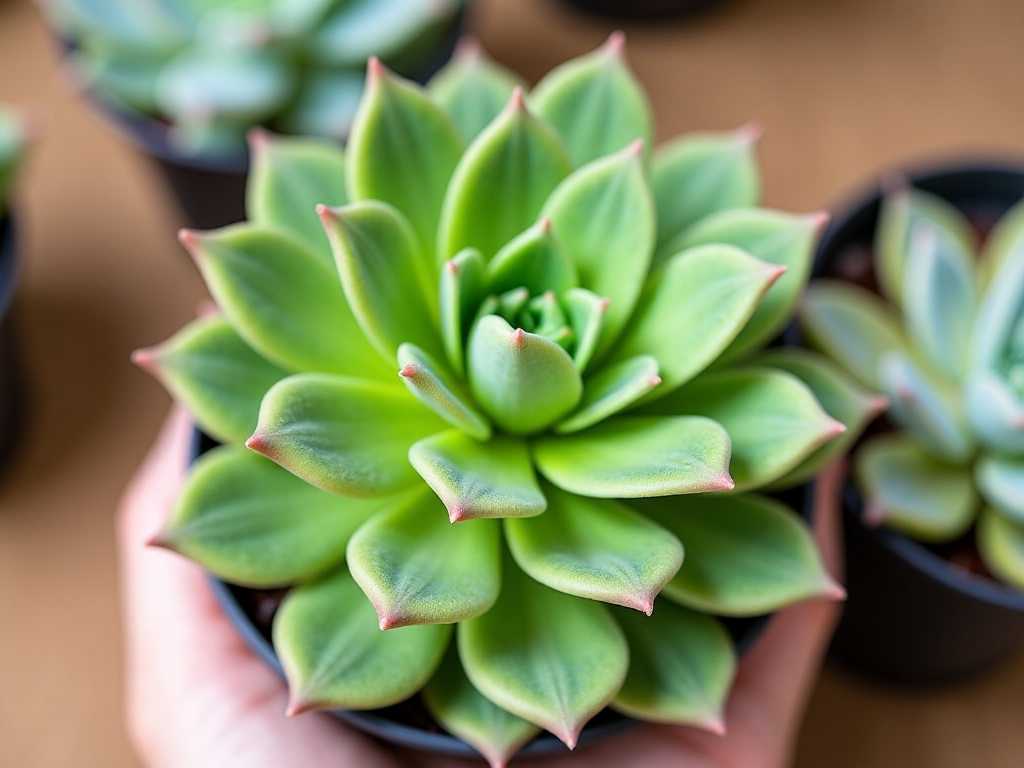
Step 1: The Initial Triage and CleaningI start by placing every potential exhibition plant in my inspection area under bright, neutral light. I examine them like a detective. I’m looking for:
- Pests:Mealybugs are the arch-nemesis. I check every leaf axil and under every leaf with a magnifying glass. A single bug seen by a judge means disqualification.
- Physical Damage:Scratches, bruises, or bite marks from pets. These rarely heal in time.
- Etiolation:Even slight stretching means the plant hasn’t received enough light. For the show, compact form is king.
- Soil and Pot:Is the pot presentation-worthy? Is there algae or mineral crust on the soil surface?
My Mistake & Fix:I once missed a tiny mealybug colony hidden in the tight rosette of aSempervivum. At the show, a seasoned judge spotted it instantly. My fix is now a three-part cleaning process: First, a soft makeup brush to dust the leaves. Second, a cotton swab dipped in 70% isopropyl alcohol for any suspect spots. Third, for delicate farina-coated plants (likePachyphytum), I use a dry, ultra-soft brush only—alcohol ruins their beautiful bloom.
Step 2: Strategic Watering and Light MaximizationThis is where most people get it wrong. You donotwater on a schedule.
The Watering Protocol:Exactly 14 days before the show, I give each plant a thorough, deep watering—but only if the soil is completely dry. I water at the base, avoiding the leaves, and let them drain fully. This is the last full drink they will get. The goal is to encourage the plant to absorb water and store it, plumping up the leaves. After this, I enter a strict drought period. No more water. This slight, controlled stress intensifies colors and ensures no risk of edema (water-soaked spots) or splitting on show day.
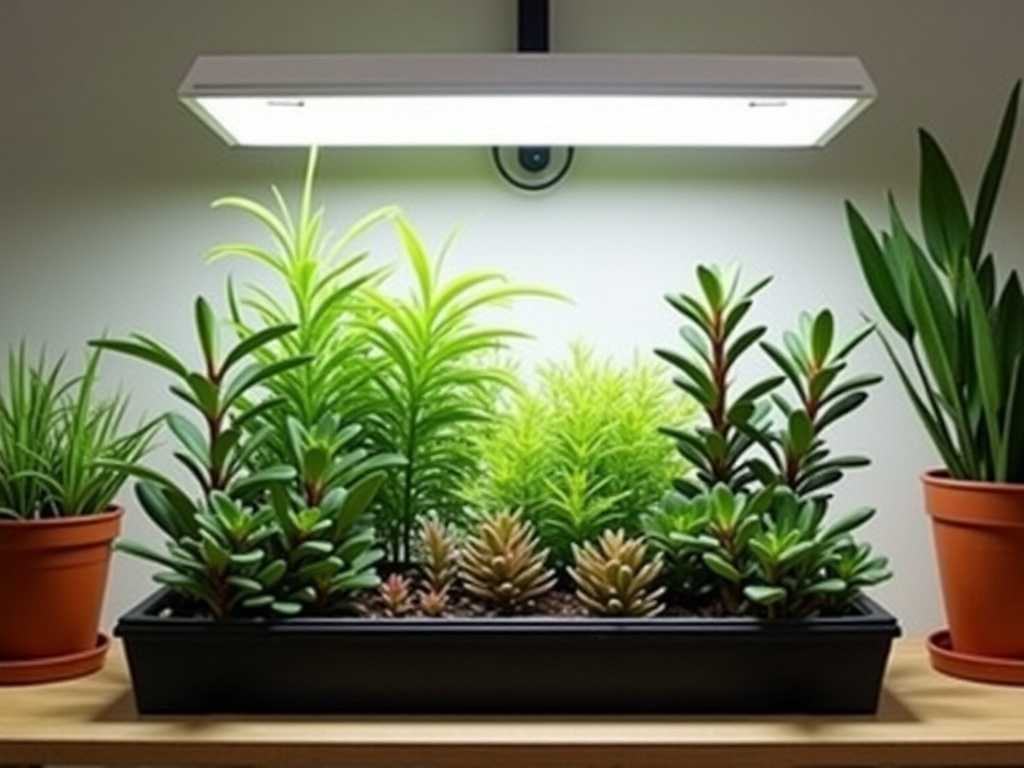
The Light Ramp-Up:If my plants aren’t already under grow lights, I move them to my brightest, most consistent light source. For sun-lovingSedumsandEcheverias, this means a south-facing window or under a strong full-spectrum LED for 12-14 hours daily. I rotate each pot a quarter turn daily to ensure even exposure and prevent leaning.
Observation After Week 1:By day 7, the results of this foundation work are visible. The plants look fuller from their final drink. Colors are beginning to deepen—hints of red, purple, and orange start to blush on the leaf margins. Any etiolated plants won’t fix their shape, but new growth will be tighter. Most importantly, they are clean and pest-free.
Week 2: The Perfection Phase – Color and Presentation
The final week is about maximizing visual impact and ensuring flawless presentation.
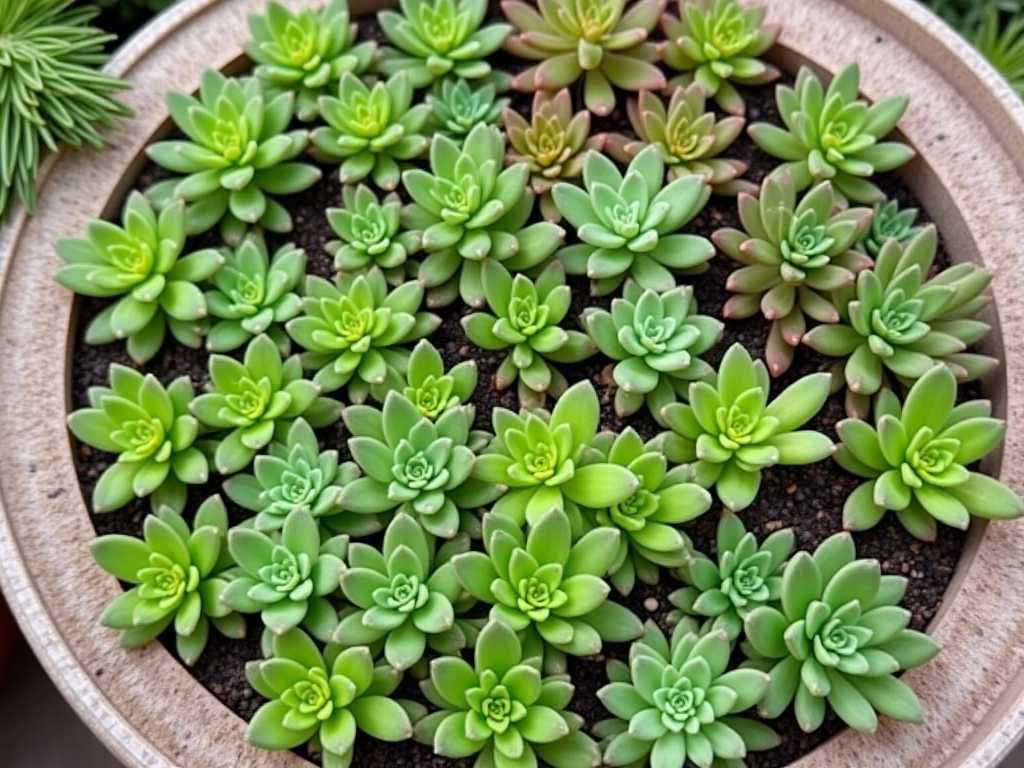
Step 3: Color Enhancement Through StressControlled stress is the secret to breathtaking succulent color. With watering halted, I now focus on temperature. For manySucculents, a drop in nighttime temperatures triggers anthocyanin production (the pigments that create reds and purples). If possible, I move plants to a cooler spot at night, around 50-55°F (10-13°C). A protected porch can work wonders.Enhancing succulent color for showsis an art of balance—too cold and you risk damage, too little difference and the effect is muted.
My Mistake & Fix:I once left a tenderGraptopetalumoutside on a night that dipped below 40°F. It survived, but several outer leaves were scarred with frost damage. Now, I always check forecasts and use this technique only with cold-hardy varieties or in very controlled environments. For delicate plants, light stress alone must suffice.
Step 4: The Final Touch-Up and Pot PresentationTwo days before the show, I perform the final grooming.
- Soil Topping:I carefully remove any debris or algae from the soil surface. I often add a clean, decorative top dressing like small gravel or crushed granite. This gives a professional, finished look and hides the bare soil. The Royal Horticultural Society (RHS) exhibition guidelines often note the importance of a tidy, weed-free compost surface, and a top dressing achieves this perfectly.
- Final Inspection:Under a bright light, I do one last pest patrol and remove any dried, lower leaves that are naturally being absorbed by the plant. This cleans up the stem and highlights the plant’s form.
- Pot Polish:I wipe the pot clean with a damp cloth. A simple, clean pot that complements the plant is far better than a gaudy, distracting one. The American Horticultural Society (AHS) emphasizes that the container should enhance, not compete with, the plant specimen.
Transportation and Show Day SetupThis is a critical, often overlooked step. I transport plants in sturdy boxes, packed so they cannot shift or topple. I never transport them in a hot, closed car; I use climate control. At the venue, I place them in their assigned spot before gently removing any travel dust with my soft brush. I then take a step back to ensure they are displayed to their best advantage.
Observation After Week 2 – Show Day Results:After 14 days of this regimen, the transformation is remarkable. MyEcheveria ‘Perle von Nurnberg’is no longer merely lavender but a deep, radiant purple with pink edges, its rosette tight and symmetrical. TheHaworthia’s windows are crystal clear, its form pristine. The plants look not just healthy, but sculptural and intentionally beautiful. They are exhibiting their maximum potential.
Frequently Asked Questions
Can I fertilize mySucculentsright before a show to boost growth?Absolutely not. Fertilizing during the preparation period, especially with high-nitrogen formulas, promotes soft, rapid growth that is vulnerable to damage and can dilute leaf color. It can also cause unsightly mineral deposits on the pot. All feeding should cease at least 6-8 weeks before the exhibition. The goal is to showcase existing, hardened-off growth.
What if I find pests during the final week?This is a nightmare scenario, but you must act. For a minor infestation, immediate spot treatment with isopropyl alcohol on a swab is your only option. Isolate the plant. For a severe issue, you must make the tough call to pull the plant from the exhibition to protect others. This is why the rigorous Week 1 inspection is non-negotiable. Prevention is the only reliable strategy forpreparingSucculentsfor competitive display.
My succulent got scratched a few days before the show. Is there anything I can do?Unfortunately, physical damage to leaves cannot be repaired. Your options are limited. If it’s a lower, outer leaf on a rosette-type plant, you can sometimes carefully remove it during grooming if the plant will still look balanced. For a central leaf or on a stem, you must simply accept it. Judges understand that plants are living things, but major damage impacts scoring. This highlights the importance of safe handling throughout the process.
")
Preparing succulents for exhibition is a rewarding test of your horticultural skill. It teaches you to observe your plants with a critical eye and understand their physiology on a deeper level. By starting early, following a disciplined routine, and learning from inevitable missteps, you can walk into any show with confidence, knowing your plants are presented at their stunning best. The true prize is not just a ribbon, but the mastery you gain over the delicate art of showcasing living beauty.

发表评论