
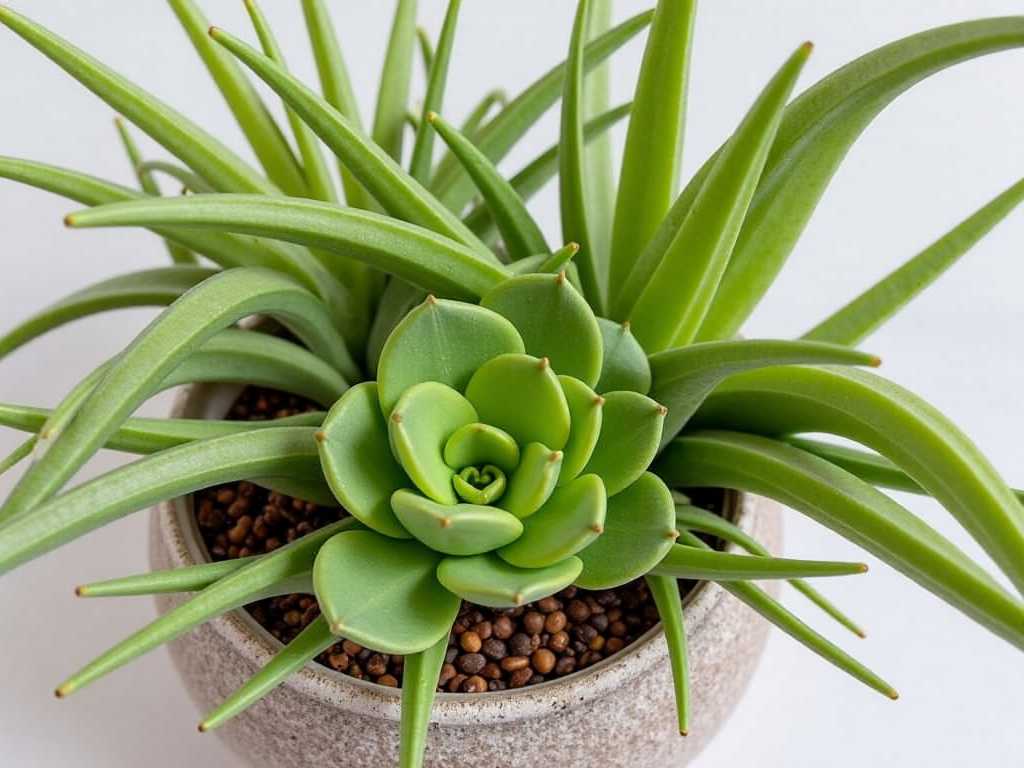
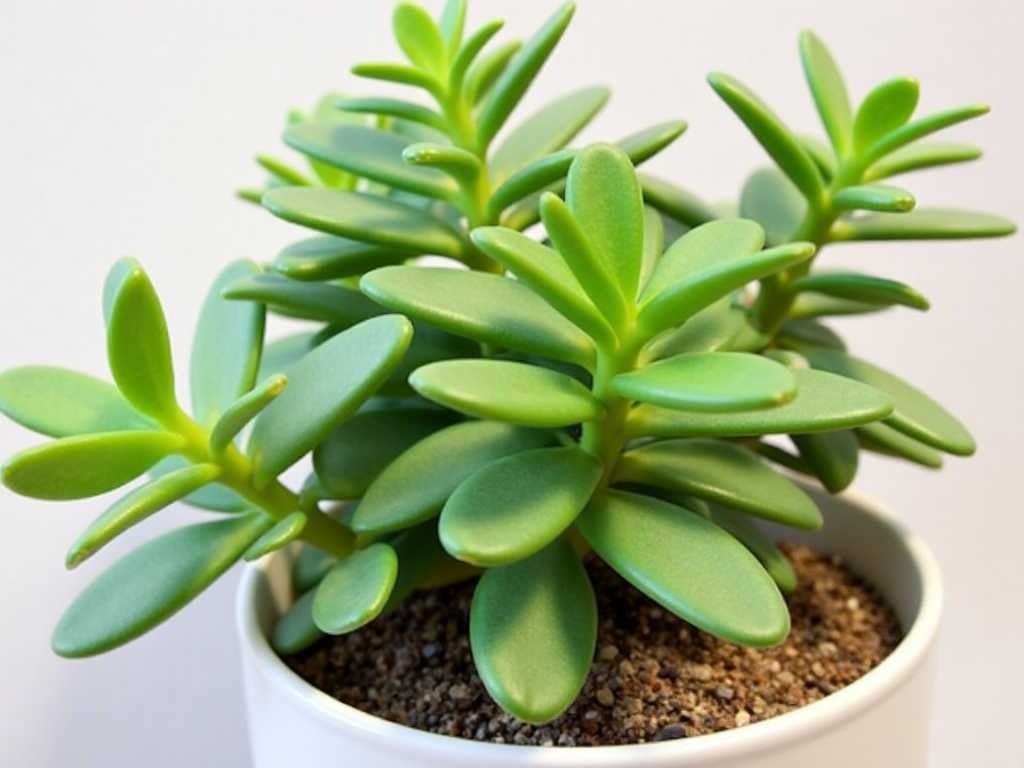
Seeing your belovedSucculent’s plump, cheerful leaves start to curl inward, wrinkle, or point downwards can be alarming. This subtle change is often the plant’s first distress signal, a visual cry for help indicating that something in its care routine is off-balance. Understanding how to fixSucculentleaves curling is crucial to restoring your plant’s health and preventing further damage. This guide will walk you through a systematic diagnosis, clear solutions, and preventative care to ensure yourSucculents stay vibrant and thriving.
Diagnosing the Cause: Why Are My Succulent Leaves Curling?
Before you can treat the problem, you must identify the root cause. Succulent leaf curling is a symptom, not a disease itself. The direction and appearance of the curl often provide the first major clue.
Signs of Underwatering and Dehydration
The most common reason for succulent leaves curling is a lack of water. When a succulent doesn’t receive enough moisture, it begins to consume the water reserves stored in its leaves. This causes the leaves to lose their firmness, become thin, and curl inward as they deflate. You might also notice the leaves feeling soft or rubbery, and the lower leaves may dry up and turn crispy before falling off. As noted by horticulturist Jane Smith in The Succulent Journal, "Curling leaves are the plant's last-ditch effort to reduce surface area and minimize water loss—a classic survival mechanism."
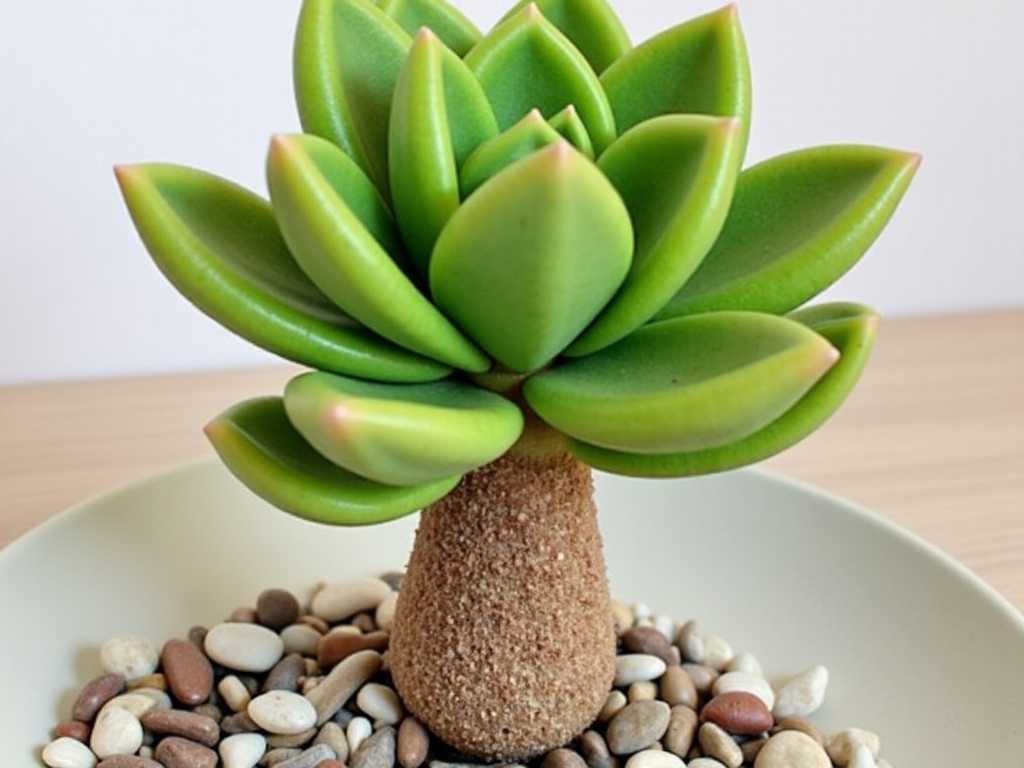
How to Fix Succulent Leaves Curling
Signs of Overwatering and Root Rot
Conversely, leaves can also curl or droop downwards due to overwatering. This is more dangerous and often accompanied by other symptoms. Overwatered succulent leaves typically feel mushy, soft, and translucent, and they may turn yellow or black. The curling here is less about shriveling and more about the structural collapse of waterlogged tissue. The primary culprit is often root rot, where damaged roots can no longer absorb water or nutrients, ironically causing above-ground symptoms that mimic underwatering.
The Impact of Lighting Issues
Light plays a critical role in succulent form. Insufficient light causes etiolation—where the plant stretches tall and thin towards the light source. During this stretch, new leaves may grow in smaller and curl downwards. On the extreme end, intense, direct afternoon sun, especially through a window, can cause sunburn. Burnt leaves may curl, develop crispy brown or white scars, and appear scorched.
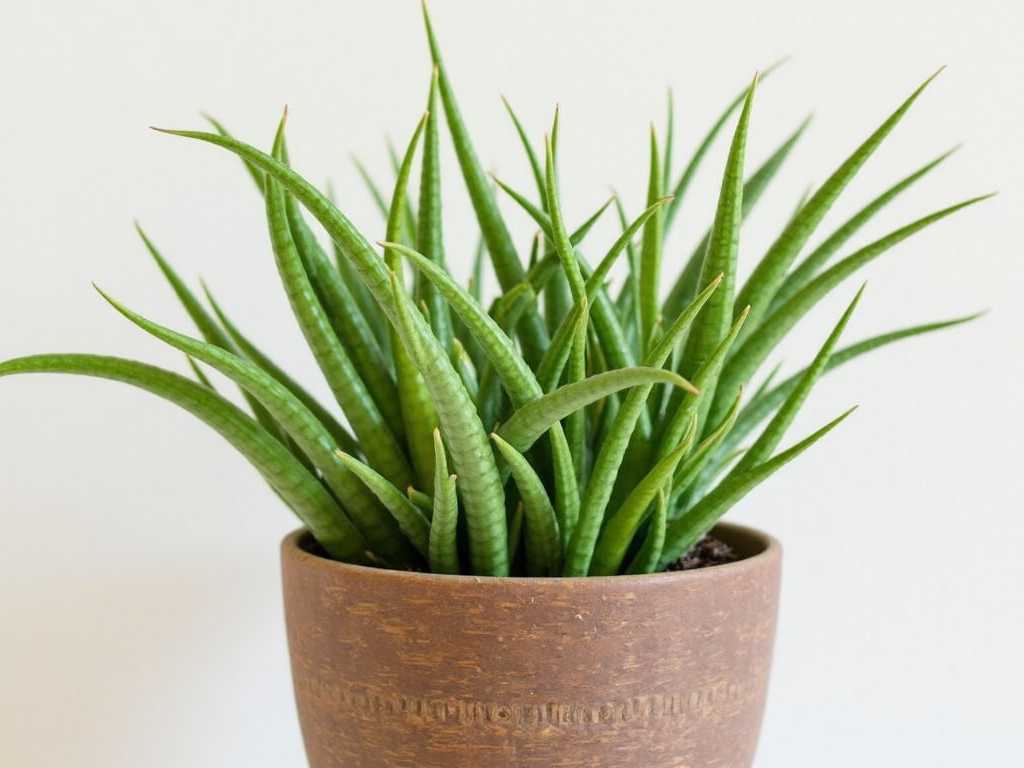
How to Fix Succulent Leaves Curling(1)
Other Potential Stress Factors
While less common, other factors can contribute. A severe pest infestation (like mealybugs or spider mites) draining the plant’s sap can cause stress and curling. Similarly, a total lack of nutrients over a very long period in depleted soil might lead to poor growth, but this is rare for slow-growingSucculentsfed infrequently.
Step-by-Step Solutions to Revive Your Succulent
Once you’ve diagnosed the likely cause, follow these targeted steps to nurse your plant back to health.
Correcting Your Watering Technique
Watering is an art, not a schedule. The golden rule is "Soak and Dry."
For a Dehydrated Succulent: Give it a thorough, deep watering. Submerge the pot in a sink with water up to the soil line for 15-20 minutes, allowing the soil to absorb moisture from the bottom up. Ensure all excess water drains away completely. You should see leaves plump up within 2-4 days.
For an Overwatered Succulent: Stop watering immediately. Remove the plant from its pot and gently brush away the wet soil. Inspect the roots. Healthy roots are firm and white or light tan. Rotted roots are black, brown, mushy, and may smell foul.
Performing Root Surgery
Using sterile scissors, prune away all rotten roots and any mushy, affected leaves. Let the plant sit bare-root in a shaded, airy spot for 2-3 days to allow the cuts to callous over. Repot in fresh, dry, well-draining succulent/cactus mix.
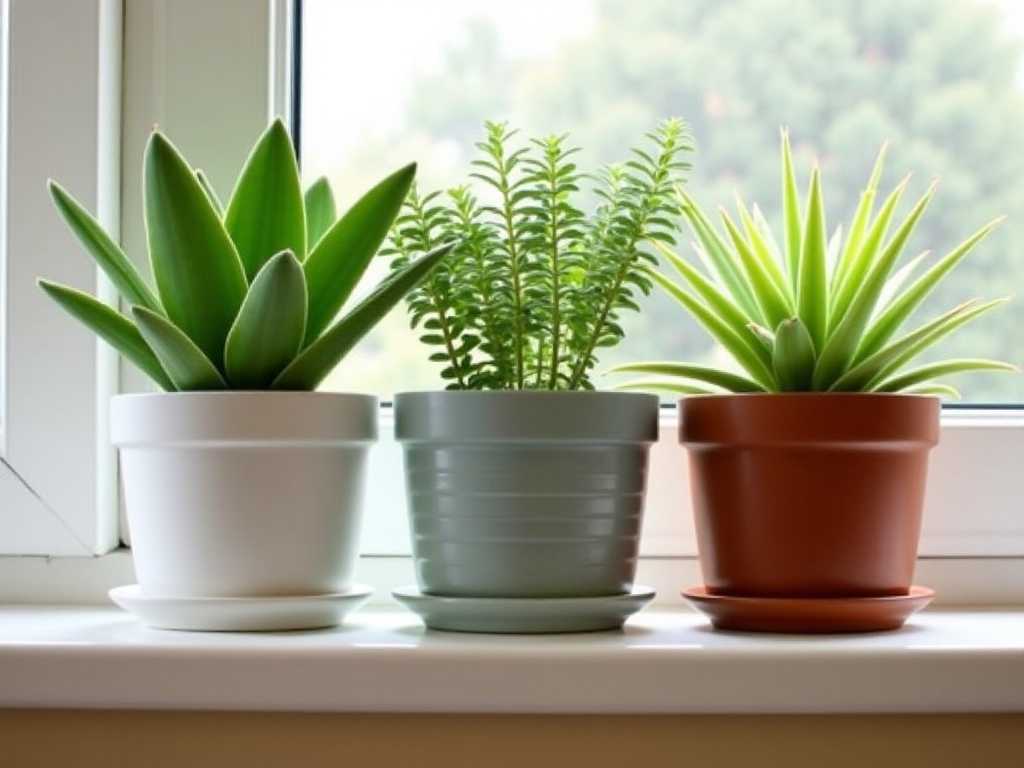
Optimizing Light Exposure for Healthy Growth
Succulentsgenerally need bright, indirect light for at least 4-6 hours daily. If your plant is stretching, gradually move it to a brighter location. A south or east-facing window is ideal. For sunburn, relocate the plant to a spot with bright but filtered light and remove the severely damaged leaves. The scars won’t heal, but new growth will be normal. Consider using a grow light if natural light is insufficient, especially in winter.
Choosing the Right Soil and Pot
The right home is preventative medicine. Always use a specialized well-draining succulent soil mix. You can create your own by mixing 50% standard potting soil with 50% perlite, pumice, or coarse sand. The pot must have a drainage hole. Terracotta pots are excellent as they are porous and help wick away excess moisture from the soil.
Addressing Pest Problems
Inspect the curling leaves, especially the undersides and stem crevices, for tiny bugs or cottony webbing. Treat infestations by dabbing pests with a cotton swab dipped in 70% isopropyl alcohol or by spraying the plant with a diluted neem oil solution. Isolate the affected plant to prevent the pests from spreading.
⚠️ My Personal "Cheat Sheet" for RescuingSucculents(New Content Start)
Having killed more than a few succulents in my early days—mostly through "love" (read: overwatering)—I’ve learned that textbook advice often misses the nuanced, real-world struggles we face. When I see a new grower panic over a wrinkled leaf, I see myself a few years ago. The solutions above are the medical diagnosis; what follows is the nursing care and lifestyle change. Here is the practical, hands-on wisdom I wish I had when I started, focusing on the mistakes that actually kill plants and how to fix them immediately.
1. The "Pot Trap" and the Cachepot Rule
I used to buy cute ceramic pots without drainage holes because they looked good on my shelf. Big mistake. Without an escape route, water pools at the bottom, creating a stagnant swamp that guarantees root rot. If you’ve ever wondered why your plant looks thirsty but the soil is wet, this is why.
My Rule: If it doesn’t have a hole, use it as a cachepot (a decorative outer pot). Take the plastic nursery pot out, water it in the sink, let it drain completely, and then put it back in the decorative pot. Never let your succulent sit in standing water—it’s the silent killer. Also, I stopped using glass containers entirely. They look cool on Instagram, but they trap humidity and prevent evaporation, which is a death sentence for succulents.
2. The "Bottom-Watering" Hack Changed Everything
When I first started, I watered from the top like I was watering a fern. This often left the roots dry while the topsoil got soggy, or water sat in the rosette crown, causing rot. I switched to the "bottom-watering" method mentioned in the dehydration section, and it changed everything.
My Method: I fill a shallow tray or my sink with about an inch of water and set the pot in it for 20-30 minutes. The soil wicks moisture up through the drainage holes via capillary action, ensuring the entire root ball gets hydrated without wetting the leaves (which prevents rot and sunburn). It mimics natural groundwater absorption and encourages roots to grow downward rather than staying shallow. If the topsoil looks dry after this, I lightly mist it, but the heavy lifting is done from the bottom.
3. Soil: Don't Trust the Bag Label (The "Dirt" Test)
"Cactus Soil" at the big box store is often still too peat-heavy and moisture-retentive. I learned this the hard way when my Haworthia melted into mush.
My DIY Recipe: I mix 1 part standard potting soil (or coco coir for a more sustainable option), 1 part coarse perlite, and 1 part pumice or chicken grit (washed to remove dust). You want a mix that feels gritty and falls apart when you squeeze it, not one that clumps together like mud.
The Test: I squeeze a handful of moist soil. If it holds its shape like a snowball, it’s too heavy—add more grit. If it crumbles immediately, it’s perfect. This grit is non-negotiable—it creates the air pockets roots need to breathe. If the soil stays wet for more than 3 days in my climate, I know I need to add more perlite.
4. The "Squish Test" vs. The "Finger Test"
The "Finger Test" (sticking a finger in the soil) is great, but sometimes the top inch of soil is dry while the bottom is wet, especially in deep pots. I now rely on the "Squish Test" for the leaves themselves.
How I do it: I gently press a lower, mature leaf with my thumb.
Firm like a grape: It’s good, hold off on watering.
Soft like a marshmallow or has a "give" that feels mushy: Stop watering immediately. This is edema or early rot.
Soft, wrinkly, and thin (like a raisin): It’s thirsty.
Learning this tactile difference saved my Jade plant last winter. It takes practice, but once you feel the difference between "full" soft and "empty" soft, you’ll never guess wrong again.
5. Dormancy is Real (and Dangerous)
I used to keep watering on the same schedule year-round, and I lost several plants in December. Succulents aren't just "slow growing" in winter; many go semi-dormant. They aren't drinking much water because their metabolism slows down.
My Winter Adjustment: From November to February (in the Northern Hemisphere), I water once a month max, and only if the leaves show slight wrinkling. If the plant is in a cool room (below 50°F/10°C), I stop almost entirely. Overwatering in cold soil is the fastest way to kill a plant because the roots can't process the moisture, leading to instant rot. I also move them away from cold drafts—succulents hate freezing cold windowsills.
6. The Mealybug Nightmare (And How I Fight It)
Mealybugs are the worst. They hide in the leaf nodes and look like cotton. When I first saw them, I panicked and sprayed everything with harsh chemicals, which burned the plant.
My Gentle Solution: I use a 70% isopropyl alcohol solution and a Q-tip. I dip the Q-tip in alcohol and physically wipe every single mealybug off. It’s tedious, but it works without harming the plant. For hidden ones, I use a systemic insecticide granule mixed into the soil (once a year) as a preventative measure. I also check the undersides of leaves every time I water. Early detection is key—if you see one, there are likely fifty you haven't seen yet.
7. Beheading and Propagation: The "Frankenstein" Method
Sometimes, the bottom of the plant rots, but the top looks fine. Or the plant gets so leggy it looks like a palm tree. I used to throw these away. Now, I "behead" them.
My Process: I take a sterile razor blade and cut the stem about an inch above the soil (or above the rot). I let the cut callous over for 3-5 days until it looks dry and scab-like. Then I stick it in a small pot with slightly moist soil. It usually roots in 2 weeks.
For the bottom part: Don't throw it away! Leave it in the soil. Often, it will push out new "pups" (baby plants) from the base. I’ve turned one dying Echeveria into five new plants this way.
For leaves: If leaves fall off and look healthy, I just toss them on top of soil. Ignore them. Don't water them until you see roots. The mother leaf provides all the food. Mist them lightly once a week.
8. Grow Lights: My Winter Savior
I live in a place with gray winters. I used to stretch my succulents to the breaking point. Then I bought a cheap LED grow light (full spectrum white/purple).
My Setup: I put them on a timer for 12-14 hours a day. The difference is staggering. The colors pop (stress colors like red and purple come out under strong light), and the plants stay compact. If you don't have a south-facing window, a grow light is not a luxury; it's a necessity for keeping succulents looking like succulents rather than vines.
9. The "Ugly Phase" and Patience
Finally, I’ve learned that recovery isn't linear. After repotting a root-rotted plant or beheading a leggy one, it might look worse before it gets better—it might drop leaves or shrink. Don't panic and drown it again.
My Mantra: "If the center rosette is firm, the plant is alive."
If the new growth in the center is solid and not mushy, the plant is focusing energy on root regeneration, not leaf plumpness. I’ve had plants that looked dead for six weeks suddenly explode with new growth in spring. Trust the process. It’s better to underwater a recovering plant than to overwater it.
⚠️ My Personal "Cheat Sheet" for Rescuing Succulents (New Content End)
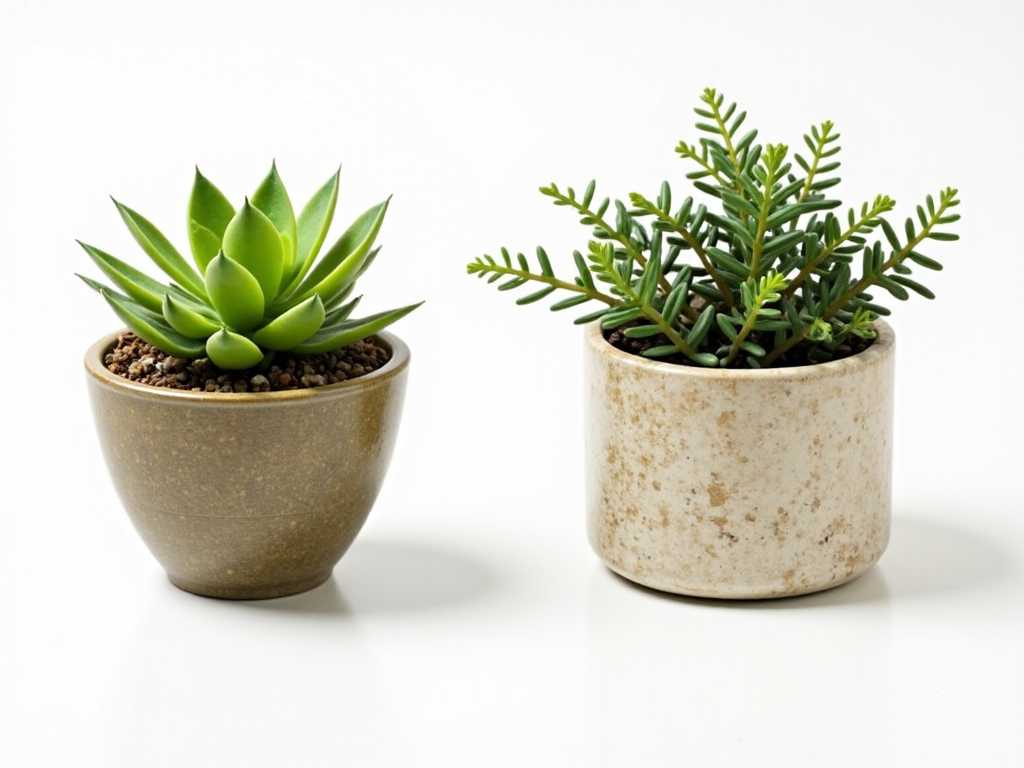
Preventative Care: Keeping Your Succulents Happy Long-Term
Prevention is always easier than cure. Establish a routine that mimics the succulent’s natural arid environment.
The Finger Test: Always check the soil before watering. Insert your finger into the top 1-2 inches of soil. Water only when it is completely dry.
Seasonal Adjustments: Succulents are dormant in extreme heat and cold. Water significantly less in winter and during peak summer heat.
Regular Rotation: Rotate your pot a quarter turn every time you water to ensure even growth and prevent one-sided curling towards the light.
Annual Check-up: Repot your succulent every 1-2 years in fresh soil to replenish nutrients and inspect root health.
Can a succulent recover from curled leaves?
Yes, absolutely. Once the underlying issue is corrected, the plant will focus energy on new, healthy growth. The already curled leaves may not fully uncurl or plump back to perfect form, especially if they were severely dehydrated or scarred. They may eventually be reabsorbed by the plant. The key indicator of recovery is seeing firm, normal new growth from the center (the rosette).
Is leaf curling always a bad sign?
Not necessarily. Some succulent varieties naturally have slightly curved or incurving leaves as part of their growth habit (e.g., Echeveria ‘Curly Locks’). The concern is with changes in leaf shape. If previously plump, flat leaves suddenly start to curl and shrivel, it’s a clear sign of stress that needs attention.
Should I remove the curled leaves?
It’s generally best not to remove leaves that are simply curled or wrinkled but otherwise intact (not mushy or black). The plant can still reabsorb nutrients from them. Only prune leaves that are dead, crispy, or rotten to prevent potential disease spread and to improve air circulation around the plant.
By learning to read your succulent’s signals—like curling leaves—you become a more attentive plant caretaker. The solution almost always lies in revisiting the fundamentals: water deeply but infrequently, provide ample bright light, and ensure a gritty, well-draining home. With patience and adjusted care, your succulent will reward you by returning to its sturdy, beautiful form.
")
发表评论