How to Create aSucculentFairy Garden: A Step-by-Step Guide from a Plant Lover
Ever dreamed of creating a miniature, magical world that thrives on your windowsill? I know I have. As aSucculententhusiast, I’ve always been fascinated by the idea of aSucculentfairy garden. It seemed like the perfect way to combine my love for these resilient plants with a touch of whimsy. But my early attempts often ended in disappointment—plants would rot, the scene would look cluttered, or the whole arrangement would just fail to thrive. The core problem? Treating it like a simple decoration rather than a living, breathing miniature ecosystem.
After plenty of trial, error, and research, I’ve perfected a method that works. This guide isn’t just theory; it’s my personal, hands-on journey to build a stunning and sustainablefairy garden withSucculents. I’ll walk you through my exact steps, share what happened over two weeks of careful observation, and most importantly, tell you about the pitfalls I hit and how I fixed them.

My Journey to a Magical Miniature World
I decided to document the entire process, from gathering supplies to the critical early establishment phase. My goal was to create a fairy garden that was not only beautiful but also healthy for the plants long-term.
")
Gathering the Right Supplies
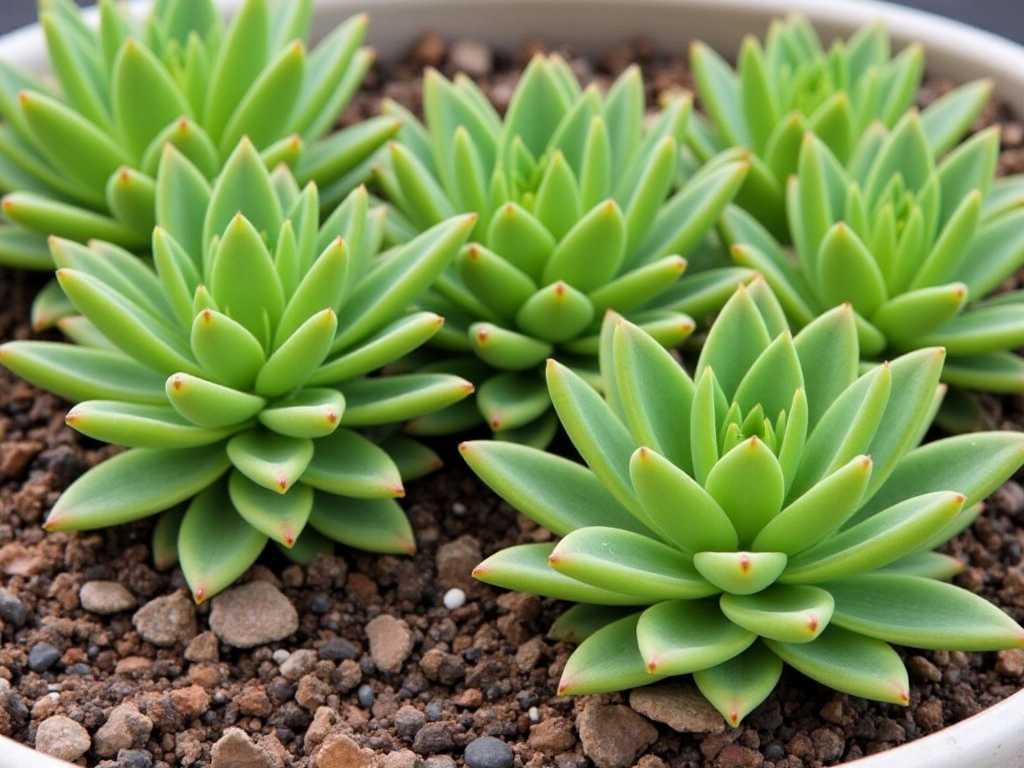
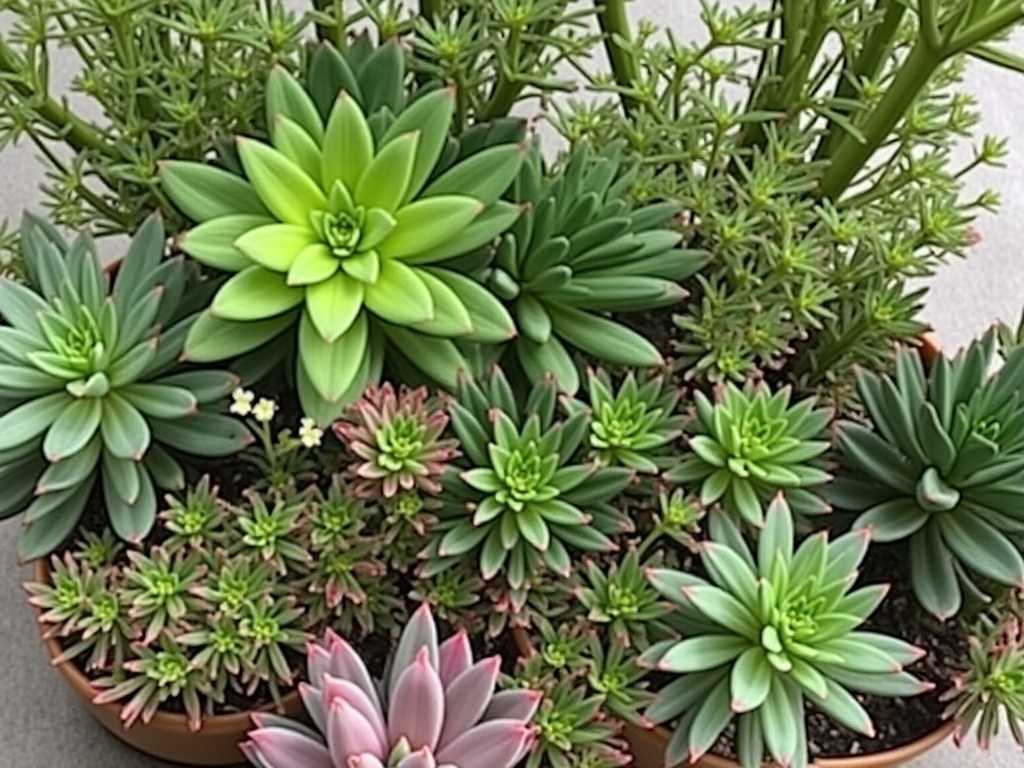
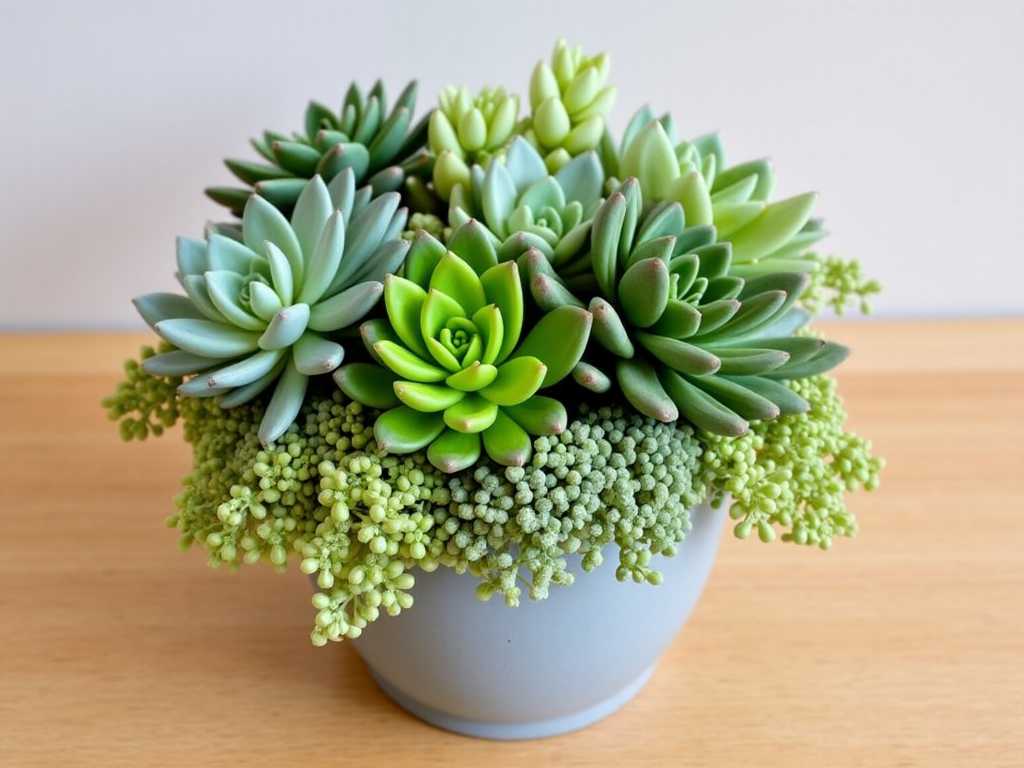
My first step was sourcing everything I needed. I wanted a container with excellent drainage, asSucculentsdespise wet feet. I chose a wide, shallow terracotta bowl with a large drainage hole. For plants, I selected a variety of textures and heights: a smallEcheveria ‘Lola’as a focal point, some trailingSedum morganianum(Burro’s Tail) for the edges, and a few clusters ofSempervivum(Hens and Chicks) for ground cover. According to the Royal Horticultural Society (RHS), mixing plants with similar light and water needs is crucial for a successful arrangement.
Other supplies included:
- A high-quality, fast-draining cactus and succulent potting mix.
- Horticultural charcoal (a layer at the bottom to keep the soil fresh).
- Small pebbles for drainage and decoration.
- Miniature accessories: a tiny ceramic house, a pebble path, and a mini bench.
- A small trowel, brushes, and tweezers for detailed work.
The Step-by-Step Assembly Process
- Prepping the Foundation:I placed a piece of mesh over the drainage hole to prevent soil washout. Then, I added a one-inch layer of pebbles followed by a thin layer of horticultural charcoal. This setup is endorsed by many experts for preventing root rot in container gardens.
- Adding the Soil:I filled the bowl about two-thirds full with the succulent potting mix, creating gentle mounds and valleys to add topographical interest. I lightly misted the soil to settle it without making it soggy.
- Strategic Planting:Here’s where I applied my lesson from a past failure. I used to dig holes and pack plants in tightly. This time, I carefully arranged all plantson topof the soil first, planning their placement for visual balance and growth space. Using my trowel, I created small holes, gently placed each succulent, and firmed the soil around their roots. I left ample space between them for air circulation and future growth.
- The Finishing Touches:Once the plants were secure, I added the final layer: a topping of small, decorative pebbles. This “mulch” serves a practical purpose—it helps retain some moisture, prevents soil from splashing onto the plants, and gives a finished look. Finally, I placed my miniature house, laid the pebble path, and positioned the bench under the “shade” of the largest echeveria.
Initial Watering and Placement
This is a critical step I’ve mismanaged before. I didnotwater the garden immediately after planting. Succulent roots are often fragile after repotting and need a few days to callous over any minor breaks, reducing the risk of rot. I placed the finished garden in a spot with bright, indirect light for the first 48 hours. After that period, I gave it a thorough but careful soak, allowing water to run freely out of the drainage hole. Then, it moved to its permanent home on a south-east facing windowsill that receives plenty of morning sun.
The Two-Week Observation: Triumphs and Troubles
The real test began after setup. I monitored myDIY succulent fairy gardendaily, and here’s what unfolded.
Week 1: The Adjustment Period
The first few days were uneventful, which was a good sign. By day 4, I noticed theSedum morganianum(Burro’s Tail) beads looked slightly wrinkled. This was my first “pitfall” moment. In a past garden, I would have panicked and overwatered. Instead, I recalled advice from the American Horticultural Society (AHS), which notes that slight wrinkling inSucculentscan be a normal transplant stress response. I resisted watering and simply observed. The other plants—the echeveria and sempervivum—looked plump and healthy.
Week 2: Recovery and Growth
By day 10, the wrinkled sedum plumped back up beautifully, confirming it was just initial shock. However, a new issue arose. One of the smallerSempervivumrosettes, tucked slightly behind the fairy house, began to stretch slightly, its center paling. This was a clear sign of etiolation—it wasn’t getting enough light. This was my second major pitfall: not accounting for the light shadow cast by an accessory.
My Solution:I used my tweezers to very carefully remove the decorative pebbles and soil around the stretched plant, lifted it out, and replanted it in a sunnier spot at the garden’s edge. I then filled the gap with a small stone to maintain the landscape. This quick intervention saved the plant. By the end of week two, all plants showed signs of new root establishment. The echeveria’s center showed vibrant new growth, and the garden as a whole looked settled and vibrant.
Key Lessons from My Mistakes
My two-week journey highlighted essential truths for creating aminiature succulent gardenthat lasts.
- Drainage is Non-Negotiable:A container without a drainage hole is a death sentence. The combination of pebbles, charcoal, and gritty soil is your best insurance policy.
- Patience with Watering:Watering right after planting is a common mistake. Wait a few days, then water deeply but infrequently. Always check the soil moisture an inch down first.
- Plan for Light and Growth:Arrange accessories so they don’t shade the plants. Remember, succulents grow! Leave space between them to prevent crowding, which can lead to pest and disease issues.
- Observation is Key:Daily, brief check-ins are more valuable than weekly intensive care. Look for subtle changes in color, firmness, and form to catch issues early.
Bringing Your Fairy Tale to Life
Creating a succulent fairy garden is a rewarding project that blends creativity with horticulture. It’s about building a tiny, living world. Start with the right foundation, choose your plants and accessories with care, and most importantly, learn to listen to what your mini landscape is telling you. The joy comes not just from the initial creation, but from nurturing and watching it evolve over time.
Frequently Asked Questions
How often should I water my succulent fairy garden?There’s no fixed schedule. The rule I follow is to water only when the soil is completely dry, which might be every 10-14 days indoors. In my two-week test, I only watered once, at the 48-hour mark after planting. Always err on the side of underwatering.
Can I use regular potting soil for my fairy garden?I strongly advise against it. Regular soil retains too much moisture. A specialized cactus/succulent mix, or even a DIY blend of potting soil, coarse sand, and perlite, is essential for healthy roots. My successful garden used a premium pre-mixed blend.
What are the best succulents for a beginner’s fairy garden?Focus on hardy, slow-growing varieties. My top recommendations areSempervivum(Hens and Chicks),Sedumspecies (like Stonecrop), and certainEcheveria. Avoid delicate or fast-growing types that will quickly outscale your miniature scene. The plants I selected thrived because they had compatible needs.
发表评论