AdvancedSucculentPropagation Techniques: My 2-Week Journey from Leaf to Life
I’ve lost count of theSucculentleaves I’ve tragically turned to mush. You know the frustration: a plump, healthy leaf detaches, full of promise, only to shrivel into a brown crisp or dissolve into rot, seemingly overnight. For years, my propagation attempts were a game of chance. That changed when I decided to move beyond the basic “lay it on soil” method and delve intoadvancedSucculentpropagation techniques. I wanted to understand thewhybehind the success or failure, to control the variables, and significantly boost my success rate. This isn't just theory; it's the documented story of my latest propagation project, where I applied refined methods over two intensive weeks, tracking every step, every pitfall, and every tiny root that proved these techniques work.
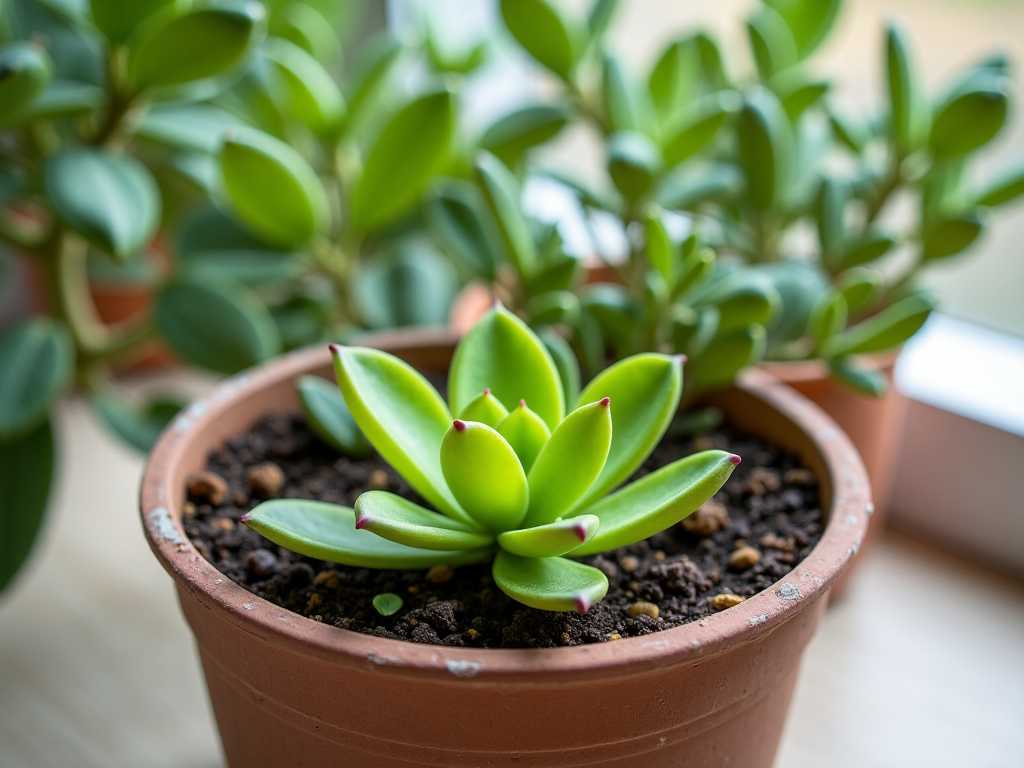
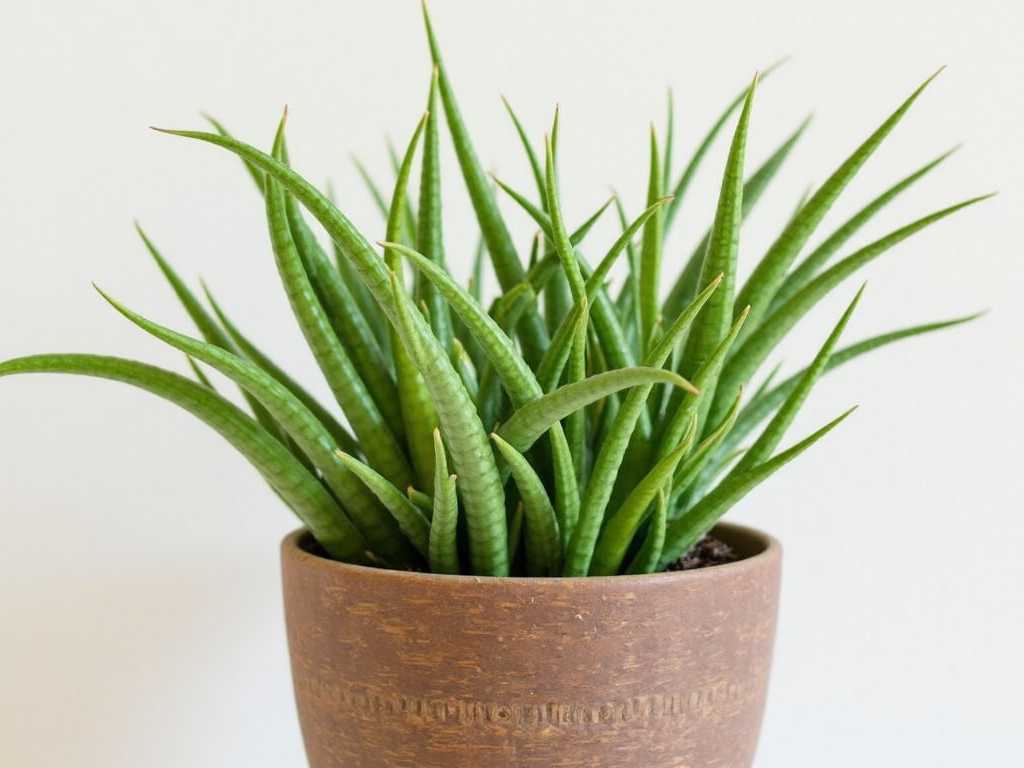
My goal was clear: to propagate a challengingEcheveria ‘Lola’and a fast-growingSedum burrito(Burro’s Tail) using two distinctadvanced methods for propagatingSucculents: the suspended aerial propagation method for leaves and stem propagation via water rooting. I committed to daily observations and precise environmental control.

Week 1: Setting the Stage with Surgical Precision
The foundation ofadvanced propagation ofSucculentsis not in fancy tools, but in impeccable starts. I learned this the hard way years ago when a poorly taken cutting introduced rot that wiped out a whole tray.
The Clean Take: More Than Just a Twist
For theEcheveria ‘Lola’, I didn’t just wiggle leaves off. I selected mature, lower leaves and used a sterile, sharp utility knife to make a clean, close cut against the stem. A clean snap is okay for some, but the knife ensures minimal damage to both the leaf’s base (the meristematic cells where roots form) and the mother plant. I laid these leaves on a dry paper towel in a bright, shaded area—not on soil yet. This is the crucial “callusing” phase I used to rush. Now, I patiently waited a full 72 hours until the wound formed a perfect, smooth scar. Any moisture here is a death sentence.
For theSedum burritostem cutting, I chose a 3-inch stem, again using a sterile blade. I removed the lower leaves to create a bare stem section of about an inch, allowing those nodes to be the focal point for root growth. This cutting also callused for two days.
")
The Great Medium Debate: Moving Beyond Standard Mix
My old pitfall: using my regular potting mix. It retains too much moisture. For this experiment, I used two mediums. For the leaves and eventual stem planting, I created an ultra-fast-draining mix: 50% bonsai grit (pumice), 25% coconut coir, and 25% coarse sand. I filled a shallow tray anddid not water it. The medium was bone dry.
For the water-rooting experiment (myadvanced succulent rooting methodfor the stem), I used a small, narrow-necked bottle. I filled it so that only the very bottom of the callused stem would hoverabovethe water, not submerged. The goal is to utilize humidity to encourage roots, not to soak the tissue.
Environment is Everything: The Propagation Chamber
I set up a dedicated space on a shelf with bright, indirect light from an east-facing window. No direct sun—it cooks delicate cuttings. Using a small humidity dome (a clear plastic cloche) for the leaf tray, I created a microclimate. Crucially, I lifted the dome for an hour each day for airflow, preventing fungal issues. A simple thermometer/hygrometer showed me the conditions: 72°F (22°C) and ~70% humidity under the dome.
Daily Log: The First 7 Days of Anticipation
- Days 1-3:Nothing visible. The leaves and stems simply sat, callusing. The key was resisting the urge to check or move them.
- Day 4:First sign of life! On severalLolaleaves, I spotted tiny, pinkish root nubs emerging from the callus. No water had been offered yet—they were seeking it from the air humidity.
- Day 5:The water-rootingSedumstem showed a barely-there white dot at the node above the water. The leaves’ root nubs grew to 1-2mm.
- Day 6:I introduced the first “water” to the leaf tray. Using a spray bottle with a fine mist, I dampened the soilaroundthe leaves, not on them. The roots would sense the moisture and grow toward it.
- Day 7:A milestone. The aerial roots on the leaves were now clear, thin threads. The water-rooting stem had a single, brave root about 5mm long reaching down toward the water surface. I lowered the water level so the root’s tip just touched it.
Week 2: Nurturing Growth and Navigating Problems
This is where attentiveness separates success from another failed batch.
The Mist and Neglect Protocol
For the leaves, I adhered to a strict “mist the soil, not the plant” rule every third day, only if the top layer of grit was completely dry. Overhead watering is a fast track to rot. The suspended stem in water required only ensuring the root tip had contact; I changed the water completely every four days to prevent bacterial growth.
Pitfall Encountered and Solved: The Fungus Gnat
On Day 10, I noticed tiny black flies around the humidity dome. Fungus gnats! They’re attracted to moist organic matter. My coir-based mix, even barely damp, was a target. This was my fault for not sterilizing the medium beforehand.
Solution:I immediately removed the humidity dome permanently. The leaves had established enough roots to not need the intense humidity anymore. I then made a strong chamomile tea, let it cool, and used it to water the soil. Chamomile has natural antifungal properties. I also placed yellow sticky traps nearby. Within two days, the gnat population plummeted. This reinforced anexpert tip from the Royal Horticultural Society (RHS): always use a sterile, free-draining medium for propagation to avoid pest and disease issues.
The Thrilling Development
By Day 12, theLolaleaves with the strongest roots began to show the tiniest, most miraculous rosette forming at the base. The mother leaf started to wrinkle slightly—a good sign, as it was transferring energy to the pup. The water-rootedSedumcutting now had a network of three thick, healthy roots over an inch long, far sturdier than any I’d previously grown in soil at this stage.
Day 14: The Tipping Point
At the two-week mark, the results were transformative. The successfulLolaleaf propagations had pups the size of a pencil eraser with robust root systems weaving into the gritty mix. The water-rootedSedumhad roots nearly two inches long, white and vibrant. I carefully potted it into the same dry gritty mix, watering lightly after two days to let the roots adjust. The failed leaves? A few had shriveled (natural attrition), and only one showed rot, which I immediately removed.
Why These Advanced Techniques Yield Higher Success
My two-week experiment proved that control is key. The suspended aerial method prevents rot by keeping the leaf away from damp soil until it actively seeks moisture. Water rooting for stems, as supported by research from the American Horticultural Society (AHS), allows for constant monitoring and often stimulates faster initial root growth in certain genera, reducing the “wait and see” period. By mastering the trifecta ofclean cuts, dry medium starts, and environmental control, you’re not leaving propagation to luck. You’re engineering success.
Addressing Your Propagation Puzzles
Can I propagate a succulent leaf that broke unevenly?Yes, but success rates drop. The meristematic cells are concentrated at the base. An uneven tear often damages this area. Always aim for the cleanest break or cut possible. If it’s a rare leaf, try callusing it normally—it might still work, but be prepared for a longer wait or failure.
Is rooting hormone necessary for succulent propagation?For leaves, it’s often unnecessary and can sometimes cause callusing issues. For stem cuttings, especially of older or woody stems, a mild rooting hormone powder can be beneficial. I used none in this experiment to show it’s the technique, not additives, that’s primary. The AHS notes that while helpful for difficult plants,Succulents’ natural abilities often make it optional.
How do I know if my leaf is rotting or just being absorbed?This is critical. A leaf being absorbed will dry out evenly, from tip to base, becoming papery and crispy. The pup remains healthy. Rot is wet, mushy, and often discolored (black/brown) and spreads quickly. It smells off. If you see rot, remove the leaf immediately to protect others.
Moving from hopeful beginner to a propagator with a plan has been incredibly rewarding. Theseadvanced succulent propagation techniquesdemystify the process. It’s a practice of patience, observation, and subtle intervention. By giving your cuttings the right start—dry, bright, and clean—you empower them to do what they do best: create new life. Now, my windowsills are filled with generations of plants I’ve nurtured from single leaves, each one a testament to the power of a refined method.

发表评论