How to PropagateSucculents in LECA: My Step-by-Step Guide to Faster, Healthier Roots
I’ve propagated dozens ofSucculents in soil and water, but I was always searching for a method that reduced rot and sped up root growth. That’s when I discovered how to propagateSucculents in LECA. This lightweight expanded clay aggregate promised a game-changing balance of moisture and aeration. Skeptical but hopeful, I decided to run a two-week experiment, documenting every step and result. What I learned transformed my propagation routine.
Why I Switched to LECA for Propagation

Traditional soil propagation can be a waiting game with a high risk of damping off. Water propagation is faster but often leads to weak, water-adapted roots that struggle in soil later. My goal was to find a middle ground. LECA, those porous clay balls, creates a perfect microenvironment. It wicks moisture up to the cutting while allowing ample air around the stem, encouraging strong, sturdy roots ready for any medium. Experts from the Royal Horticultural Society (RHS) note the importance of avoiding waterlogged conditions for succulent cuttings, which aligns perfectly with LECA’s core benefit.
")
My Complete Setup and Step-by-Step Process
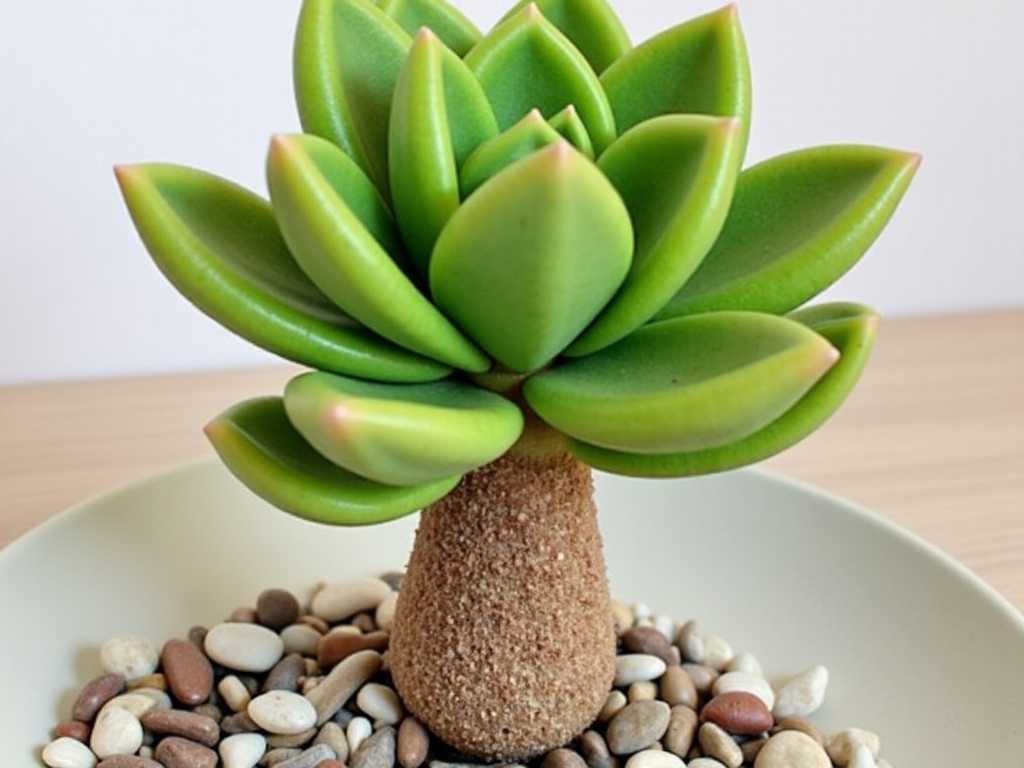
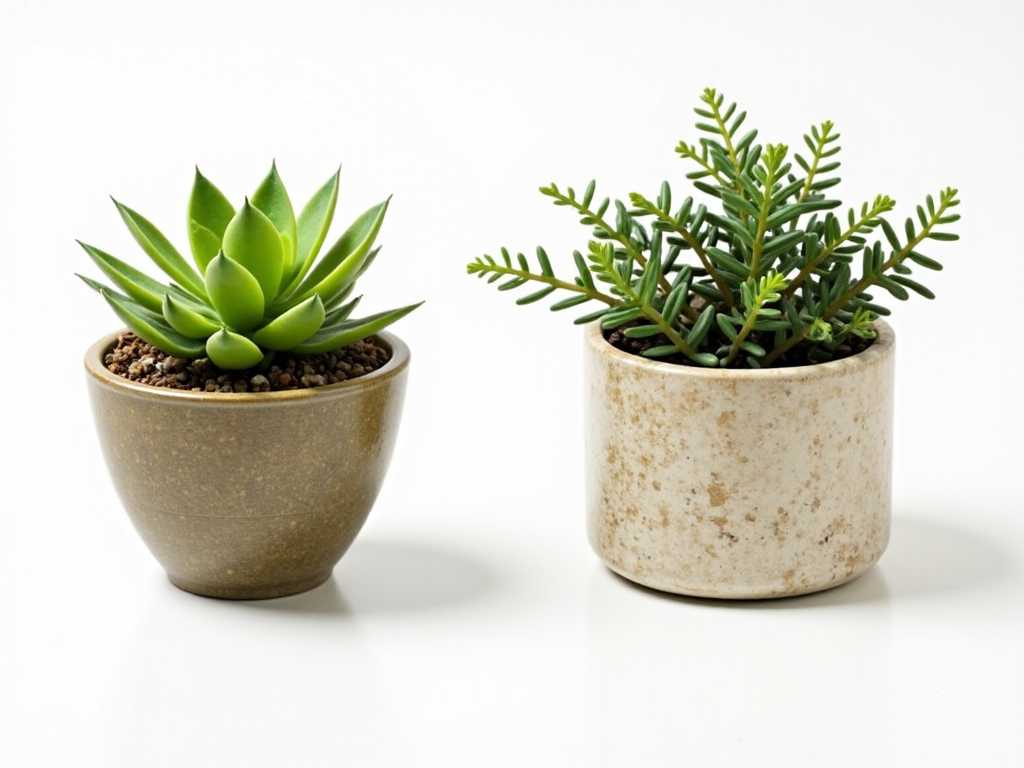
Before starting, I gathered my materials: a fresh bag of LECA, a clear glass vessel (I used a small jar), filtered water, and several healthy leaf cuttings and stem cuttings from an Echeveria and a Sedum. Clear containers are crucial—they let you monitor root growth and water levels without disturbing the plants.
Step 1: Preparing the LECA and Cuttings
First, I thoroughly rinsed the LECA to remove all clay dust. This is a non-negotiable step; the dust can clog the pores and reduce effectiveness. I soaked the clean LECA in water for about an hour to fully saturate it.
Meanwhile, I prepared my succulent cuttings. I took leaf cuttings by gently twisting healthy leaves from the stem, ensuring I got the entire base. For stem cuttings, I used a sterile knife for a clean cut and let all cuttings callous over for 2-3 days in a dry, shaded spot. This callous is a critical barrier against rot.
Step 2: The Initial Setup
I filled the glass jar about one-third full with the pre-soaked LECA. Then, I placed my calloused cuttings on top. For the leaves, I simply laid them on the surface. For the stem cuttings, I gently nestled them into the top layer of balls, just deep enough to hold them upright. I did not bury them. Finally, I added water to the jar until it reached just below the bottom layer of LECA. The rule is: the cuttings and their calloused ends should never sit directly in water. The LECA will wick the moisture upward.
Step 3: The Two-Week Observation and Care Routine
I placed the jar on a bright windowsill with indirect light. My care routine was simple: check the water level every 3-4 days and top it up to maintain the same level, just below the LECA base.
- Days 1-4:No visible change. This is the patience-testing phase.
- Days 5-7:I noticed tiny pink nubs emerging from the calloused ends of the stem cuttings! The leaf cuttings showed no signs of rot or shriveling, which was a win in itself.
- Days 8-11:The root nubs on the stem cuttings developed into fine, white, fibrous roots. They began to grow down toward the moisture. One leaf cutting finally showed a tiny rosette and root bud at its base.
- Days 12-14:By the end of the second week, the stem cuttings had a network of roots 1-2 inches long, exploring the spaces between the LECA balls. The roots looked robust and clean, not the fragile, translucent roots I often saw in water propagation. Several more leaves had begun to sprout.
The Pitfalls I Encountered (And How I Fixed Them)
My experiment wasn’t flawless. I hit two snags that are crucial for you to avoid.
Pitfall 1: The Dreaded Rot on One CuttingAround day 6, I noticed one stem cutting looked mushy at the base. I had included it with a slightly uneven callous.Solution:I immediately removed the offending cutting to prevent any potential spread. For the rest, I ensured the water level was definitely not touching the LECA layer holding the cuttings. I learned that a perfect, fully formed callous is more important in LECA than I initially thought.
Pitfall 2: Algae Growth in the JarBy the start of the second week, I saw a faint green film on the LECA balls and jar sides exposed to light. While not immediately harmful, it can become unsightly and compete for resources.Solution:I switched my setup. I carefully transferred the LECA and cuttings to a new, clean jar. For the future, I now use opaque containers or simply wrap the clear jar in foil or paper to block light from the reservoir, which prevents algae growth entirely. The American Horticultural Society (AHS) emphasizes clean practices in propagation to avoid pathogens, and this aligns with managing algae.
Transitioning Your LECA-PropagatedSucculents
After two weeks, mySucculentshad impressive root systems. But what next? You can’t leave them in plain LECA forever without nutrients. I had two options:
- Move to Semi-Hydroponics:I could keep them in LECA permanently by using a diluted hydroponic fertilizer in the water reservoir.
- Transfer to Soil:For my goal of potted plants, I gently removed the cuttings, shook off the LECA balls, and planted them in a well-draining succulent mix. The transition was seamless because the roots were already strong and adapted to seeking moisture from their surroundings, not sitting in it.
Answering Your Top Questions
Can you reuse LECA for propagation?Absolutely. Once you’re done, simply remove all plant material, boil the LECA for 10-15 minutes to sterilize it, and let it dry. It’s ready for your next batch of cuttings, making it a very sustainable choice.
Is LECA propagation better than water propagation forSucculents?In my experience, yes. The roots developed in LECA are more akin to soil roots—fibrous and strong. They avoid the “water root” shock when transitioning to soil. The structure also provides better support for top-heavy cuttings.
How often should I add water to the LECA propagation setup?The beauty is the low maintenance. I never let the reservoir dry out completely. Topping it up every 3-5 days, or when the water level drops to about a quarter of the jar height, is sufficient. The LECA maintains a consistent humidity level around the cuttings.
Propagating succulents in LECA has become my go-to method. It provided a clear view of progress, significantly reduced my losses to rot, and produced resilient root systems in just two weeks. It requires attention to detail—proper callousing, correct water level, and light control—but the payoff is incredibly rewarding. If you’re tired of the guesswork and risks of traditional methods, this approach offers a clean, efficient, and highly successful path to growing your succulent collection.
发表评论