How to Care for Snake Plants: A Plant Lover’s 2-Week Practical Guide
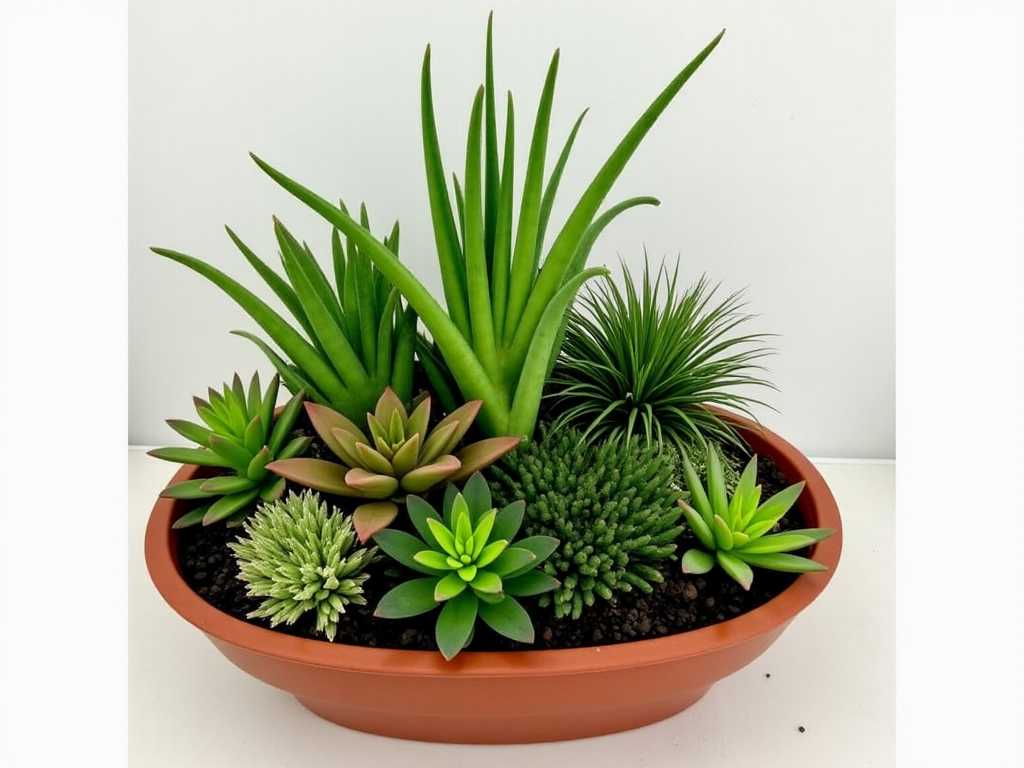
You brought home that striking snake plant, drawn by its sculptural leaves and legendary reputation for being unkillable. It looks perfect next to yourSucculentcollection. But now, weeks later, you’re noticing a soft leaf here, a yellowing tip there. A quiet panic sets in. Is it getting too much light? Not enough? Did you overwater it? If you’ve ever wondered how to care for snake plants properly, especially when treating them like theSucculents they resemble, you’re not alone. I’ve been there, and my initial assumptions led to some near-disasters.
I’m a hands-on plant enthusiast, and my journey withSansevieria, now reclassified asDracaena, has been one of trial, error, and ultimate triumph. In this guide, I won’t just give you textbook advice. I’ll walk you through my exact two-week rescue and care protocol, the tangible results I observed, and the very real mistakes I made along the way. Let’s turn that uncertain plant parent anxiety into confident, thriving greenery.
")
Understanding Your Snake Plant: More Than Just a “Set It and Forget It”Succulent
(1)")
First, let’s align our mindset. While snake plants share crucial care similarities withSucculents—primarily their drought tolerance—they are not identical. The Royal Horticultural Society (RHS) categorizes them as excellent houseplants for their air-purifying qualities and resilience, but they emphasize that resilience is often tested by over-kindness, especially with water. Their thick, moisture-storing leaves are an adaptation to arid environments, signaling that their primary need is infrequent watering. However, their light preferences can be more flexible than manySucculents, which is where my first major learning happened.
My Two-Week Snake Plant Care Revival Protocol
I adopted a struggling snake plant from a friend who was sure it was dying. It was in a dense, moisture-retentive potting mix, placed in a dark corner, and showed signs of both overwatering (mushy base on one leaf) and etiolation (stretched, weak growth). Here was my step-by-step plan.
Week 1: Assessment and Immediate Intervention
Day 1-2: The Diagnostic RepotMy first step was addressing the root of the problem—literally. I gently removed the plant from its pot. The soil was still damp a week after my friend’s last watering, and I spotted a few roots that were brown and soft.
- My Action:I used a clean, sharp knife to remove all affected roots and the compromised leaf at its base. I then repotted it into a container that was only 1-2 inches wider, with a drainage hole being non-negotiable. The mix was crucial: I used awell-draining succulent and cactus soil, but I took it a step further by amending it with an extra 30% perlite for maximum drainage. This creates the gritty, fast-drying environment snake plant roots crave.
- The Mistake I Made:In my early days, I used standard potting soil. It compacted over time, creating a soggy tomb for the roots. The solution was investing in a proper succulent mix and not being afraid to modify it for even better drainage.
Day 3-5: The Strategic PlacementLight is the engine for plant health. The American Horticultural Society (AHS) notes that while snake plants tolerate low light, they truly thrive in bright, indirect light. I placed my rehab plant in a spot with bright, filtered light for about 6 hours a day, away from the intense, direct afternoon sun that could scorch its leaves (a lesson learned from a sunburned leaf on another plant!).
- My Observation:Within days, the plant seemed to “perk up.” The remaining firm leaves felt more rigid, and the plant stopped looking quite so sorry for itself. This wasn’t new growth yet, but a stabilization.
Day 6-7: The Initial Watering (or Lack Thereof)Here’s the golden rule I now live by:When to water a snake plant indoorsis dictated by dryness, not a schedule. After repotting, I did not water it. I allowed any minor root disturbances to callous and the plant to settle. I inserted a wooden chopstick deep into the soil; if it came out clean, I’d know the soil was bone-dry.
Week 2: Observation and Establishing Rhythm
Day 8-10: The First Post-Repot WateringThe chopstick test confirmed complete dryness. I took the plant to the sink and practiceddeep watering for snake plants. I watered slowly and thoroughly until water freely ran out of the drainage hole, ensuring the entire root ball was hydrated. I then let it drain completely before returning it to its spot. This mimics a rare desert downpour, which is what the plant is evolutionarily designed to handle.
- Key Takeaway:Shallow, frequent watering encourages weak roots and rot. Deep, infrequent watering promotes strong, deep root growth.
Day 11-14: Monitoring and AdjustingI resisted the urge to fuss. My care consisted of:
- Rotating the pota quarter turn every few days for even growth.
- Wiping the leaveswith a damp cloth to remove dust, allowing for optimal photosynthesis.
- Strictly checking the soilbefore even thinking about water again.
The 2-Week Results: What I Actually Saw
By the end of the second week, the transformation was clear. The yellowing on one remaining leaf tip had halted and begun to dry, not spread. The overall coloration of the leaves became more vibrant. Most importantly, there was zero new signs of rot or mushiness. The plant had stabilized and was visibly gathering energy. While no new shoots (pups) had emerged—that would come in the following months—the plant had transitioned from a state of decline to a state of steady, healthy waiting. It was now primed for growth.
Beyond the Basics: Long-Term Thriving, Not Just Surviving
Once your plant is stable, these pillars will ensure it flourishes for years.
Mastering the Watering TechniqueMy mantra is “soak and dry.” I only water when the soil is 100% dry all the way to the bottom of the pot. In my home, this translates to every 3-6 weeks, depending on the season. Winter often means just one watering for the entire season. When in doubt, wait another week. It’s the single most effective piece ofsnake plant care tipsI can offer.
Finding the Ideal Light BalanceMy rehab plant thrived in bright, indirect light. I’ve since experimented. A snake plant in a north-facing room (low light) grows much, much slower but survives. One in an east-facing window (gentle morning sun) grows steadily and robustly. The direct, hot western sun caused bleaching on one of my plants. Bright, indirect is the sweet spot.
Feeding and Seasonal CareI fertilize sparingly, only during the active growing season (spring and summer). I use a balanced, diluted liquid fertilizer at half strength, no more than once a month. In fall and winter, I stop entirely. Over-fertilizing can burn roots and cause sudden leaf collapse—another hard-learned lesson that required an emergency soil flush.
Troubleshooting Common Snake Plant Problems
- Soft, Mushy Leaves:This is almost always overwatering. Act fast. Remove the plant, cut away all soft parts, let it dry for a day, and repot in fresh, dry, gritty mix. Do not water for at least a week.
- Brown, Crispy Tips:Usually low humidity or inconsistent watering (long droughts followed by heavy soaks). While they tolerate dry air, occasional leaf misting or a humidifier nearby can help. Ensure your deep watering is consistent once the soil is dry.
- Leaves Falling Over or Curling:Often a sign of too little light. The plant stretches and weakens. Move it gradually to a brighter location. Curling can also indicate extreme thirst, but check for root rot first, as damaged roots can’t take up water.
Your Questions, Answered
Can I really water my snake plant only once a month?Absolutely, and often even less. The frequency depends entirely on your home’s light, temperature, and humidity. The soil dryness check is your only reliable guide. When I place a snake plant in a low-light bathroom, I might water it every 6-8 weeks.
What’s the best pot for a snake plant?Always choose a pot with a drainage hole. Terracotta is excellent because it’s porous and helps wick away excess moisture, reducing the risk of overwatering. Ensure it’s not excessively large, as too much soil holds too much moisture.
Why isn’t my snake plant growing new leaves?Growth is slow, especially in sub-optimal light or during winter. Patience is key. If you want to encourage growth, ensure it’s getting enough bright, indirect light during spring and summer, and consider a diluted, half-strength feeding. But remember, a slow-growing snake plant is often a perfectly healthy one.
Caring for a snake plant successfully is about understanding its language—a language of thick leaves that store water, of roots that demand air, and of a growth pattern that values patience over speed. By emulating its natural arid habitat with gritty soil, bright light, and profound neglect with the watering can, you’re not being a neglectful plant parent. You’re speaking to it in terms it understands. Start by checking that soil, giving it the light it deserves, and then stepping back. You might just be amazed at how your hands-off approach leads to the most robust, striking plant in your collection.
发表评论