How to Care for Aloe Vera (SucculentRelative): A 2-Week Rescue & Revival Guide
I used to think my aloe vera was indestructible. As a fellowSucculentrelative, it seemed like the perfect low-maintenance companion. That was until I found it looking sad, squishy, and leaning desperately toward a sliver of light. If you're staring at a pale, limp, or brown-tipped aloe plant, I've been there. Overwatering, poor light, and the wrong soil are the silent killers of these hardy-looking plants. Through trial, error, and a lot of patience, I've learned that caring for aloe vera properly requires understanding its trueSucculentnature. This guide is the result of my own hands-on rescue mission, tracking the exact steps and their effects over a critical two-week period.
Understanding Your Aloe Vera's True Needs
")
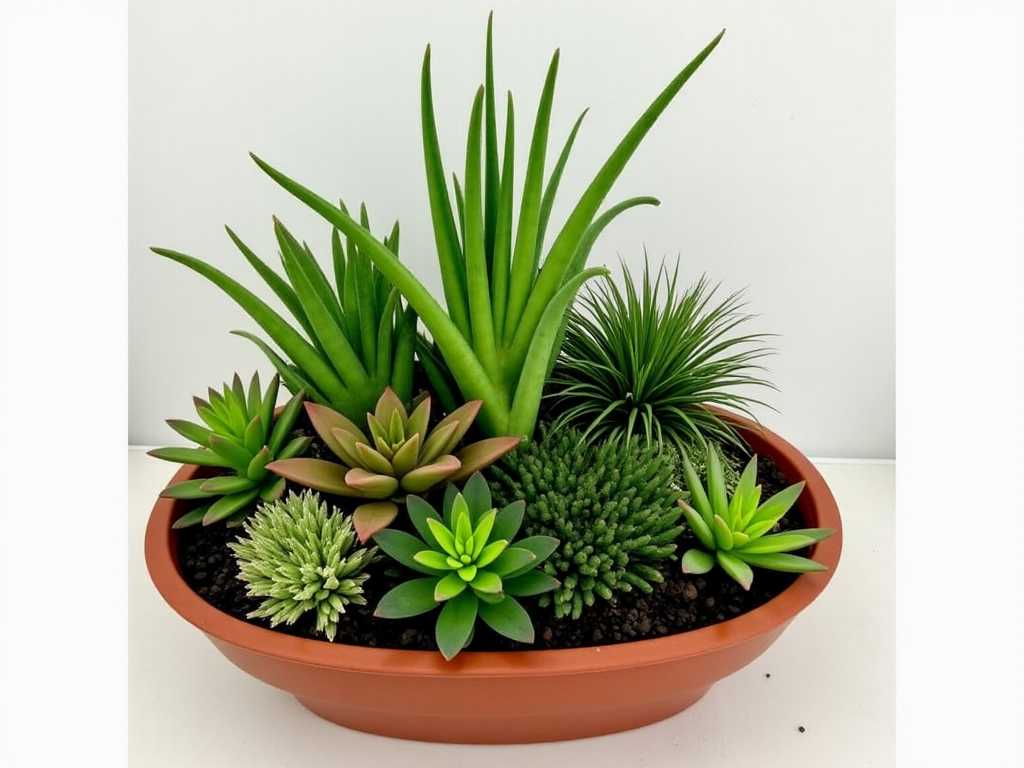
First, let's ditch the "set it and forget it" myth. The Royal Horticultural Society (RHS) classifies aloe vera as a tender succulent, meaning it stores water in its thick, fleshy leaves and is highly susceptible to rot in cool, wet conditions. Its care is fundamentally different from a tropical fern or a flowering annual. I learned this the hard way. My initial approach was to water on a weekly schedule, a major mistake for a plant that thrives on neglectful watering.
My 2-Week Aloe Vera Rescue Protocol
When I discovered my aloe vera plant with a soft, brownish base and pale, drooping leaves, I knew immediate action was needed. Here was my step-by-step intervention.
Step 1: The Emergency Assessment and Repot
The moment I gently lifted the plant from its decorative pot, the problem was clear. The nursery pot sat in a half-inch of stagnant water. The soil felt cold and soggy days after watering. I carefully removed the plant and examined the roots. Many were dark, mushy, and had a foul smell—classic root rot. Using clean, sharp scissors, I snipped away every single soft, rotten root. I cut back until only firm, white or tan roots remained. This felt drastic, but it's non-negotiable. I let the root ball air-dry on a paper towel for a full 24 hours. This allows any cut or damaged tissue to callous over, preventing new soil moisture from causing immediate reinfection. For the new pot, I chose one only 1-2 inches wider than the remaining root system, with a crucial feature: multiple drainage holes. Terracotta is ideal because it breathes. The soil mix was critical. I used a pre-mixed cactus and succulent potting soil, but to supercharge drainage, I amended it by mixing in 50% extra perlite. The final mix was incredibly gritty and fast-draining. I repotted the aloe, positioning it so the base of the leaves was just above the soil line, not buried.
Step 2: Strategic Placement for Light Recovery
My aloe had been on a north-facing shelf, receiving only indirect light. For a succulent relative that originates from arid regions, this was insufficient. I placed the repotted plant in a bright, south-east facing window where it would receive several hours of direct morning sun, followed by bright, indirect light for the rest of the day. The American Horticultural Society (AHS) emphasizes that mostSucculentsneed at least 6 hours of bright, direct light daily to maintain compact growth and vibrant color. I resisted the urge to water it immediately. The plant needed to focus on root recovery, not processing more water.
Step 3: The Dry-Out and Watering Re-education
This was the hardest part. After repotting, I did not water for a full 10 days. The plant needed to signal it was ready. I monitored the leaves daily. The "soak and dry" method is the gold standard. I waited until the entire pot of soil was bone-dry and the plumpest leaves showed the very slightest give when gently squeezed—a sign its internal water reserves were dipping. On day 10, I performed the ultimate test: I inserted a wooden skewer deep into the pot. It came out completely clean and dry. I then took the pot to the sink and watered thoroughly until water streamed freely from the drainage holes. This ensures the entire root ball gets moisture. I let it drain completely before returning it to its sunny spot.
Observing the 2-Week Transformation
The changes were subtle but profound, confirming I was on the right track.
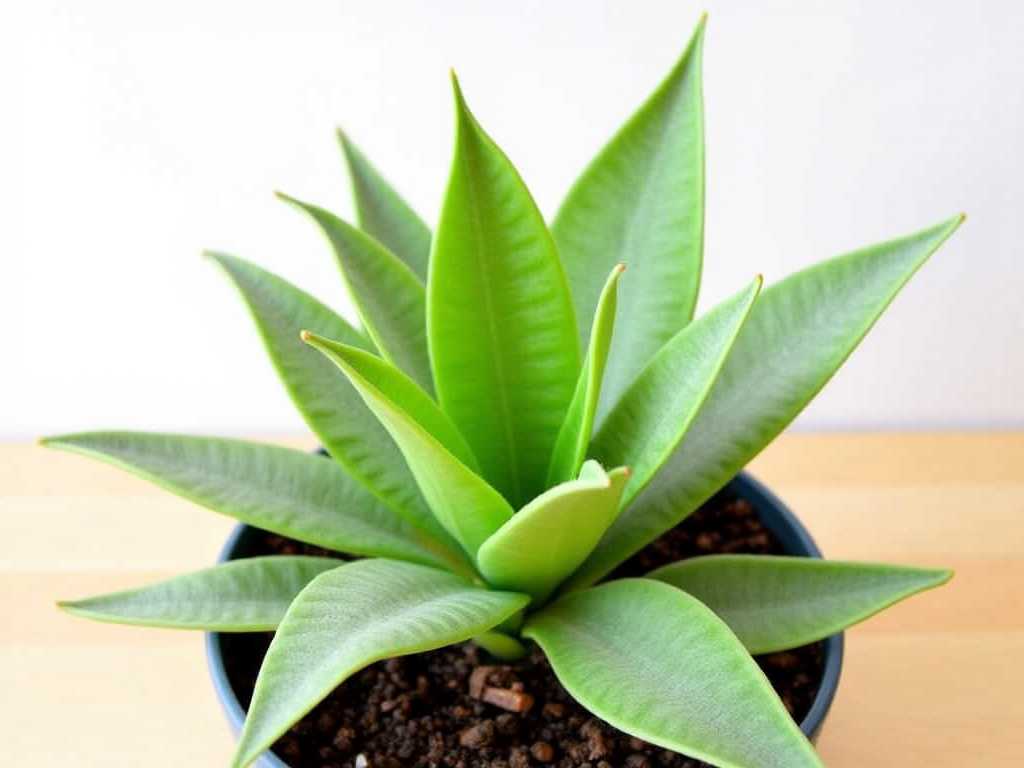
Week 1 Observations: StabilizationThe first few days were tense. The older, damaged outer leaves continued to yellow and were removed. This was normal—the plant was jettisoning compromised tissue. The most encouraging sign was that the softening at the base stopped completely. The stem felt firm to the touch. The center rosette, which had been pale and stretched, began to show a hint of deeper green. It stopped its desperate lean and stood more upright.
Week 2 Observations: Signs of New LifeAfter the deep watering on day 10, the plant visibly plumped up within 48 hours. The leaves became turgid and firmer. The most exciting development appeared around day 14: a tiny, bright green nub emerged from the soil near the base—a new pup! This was the ultimate sign of a happy, recovering aloe vera plant. The plant was not just surviving; it was preparing to propagate.
The Pitfalls I Encountered and How I Fixed Them
My journey wasn't flawless. Here are the mistakes I made so you can avoid them.
Pitfall 1: Misdiagnosing ThirstEarly on, I saw wrinkled leaves and assumed underwatering. I watered, only for the problem to worsen. I learned that both overwatering and underwatering can cause wrinkling. The key is to check the soil and the base. A soft base + wrinkles = overwatering/rot. A firm base + wrinkles = true thirst.
Pitfall 2: Sunburn ShockIn my zeal, I once moved a stressed aloe directly to a hot south-west window. Within days, the leaves developed brown, crispy patches. I had scorched it. The fix is to acclimate plants to increased light gradually over 1-2 weeks, starting with morning sun only.
Pitfall 3: The "Just a Little Drink" TemptationLightly sprinkling the soil surface encourages roots to grow upward, creating a weak root system. It also leaves the lower roots dry. Sticking to the complete "soak and dry" cycle is essential for building deep, resilient roots.
Long-Term Aloe Vera Care for Thriving Plants
(1)")
Once your plant is stable, maintenance is simple. Water only when the soil is 100% dry, which could be every 2-4 weeks depending on your home's climate and season. Rotate the pot occasionally for even growth. During the growing season (spring/summer), you can feed with a half-strength, balanced fertilizer once, but it's rarely necessary. In winter, water even more sparingly as growth slows.
Why Is My Aloe Vera Turning Brown?This is usually a sign of stress. Brown, soft spots often indicate rot from overwatering or poor drainage. Brown, dry, crispy tips or patches typically mean too much direct, harsh sunlight (sunburn) or, less commonly, a buildup of salts and minerals from tap water. Using filtered or rainwater can help prevent the latter.
Can I Use the Gel from My Plant?Yes, you can harvest a mature, outer leaf by cutting it cleanly at the base. Slice it open and scoop out the clear gel. Avoid the yellow latex (aloin) near the leaf's skin, as it can be a skin irritant. Always do a patch test first. For consistent medicinal use, many experts recommend using commercially prepared, stabilized aloe products for purity and safety.
How Do I Propagate New Aloe Vera Plants?The easiest method is via the offsets, or "pups," that mature plants produce. Wait until the pup is a few inches tall and has its own root system. Gently separate it from the mother plant during repotting, ensuring it has some roots attached. Let the pup dry for a day, then pot it in its own small container with fresh, gritty cactus mix. Water lightly after a week.
发表评论