The Ultimate Guide to My 2-WeekSucculent& Aloe Vera Indoor Garden Experiment
")
I love plants, but for years, my apartment felt like a graveyard for anything green. I craved the sculptural beauty ofSucculents and the practical magic of aloe vera, but every attempt ended in mushy leaves or a sad, stretched-out plant. Sound familiar? If you've ever killed a supposedly "unkillable"Succulent, you're not alone. The common pain point isn't a lack of love—it's a misunderstanding of their simple but specific needs. This diary is my raw, two-week journey to finally crack the code on a thrivingsucculent and aloe vera indoor garden. I'll walk you through my exact steps, the daily observations, the mistakes I made, and how I fixed them, so you can build your own resilient indoor oasis.
My Starting Point: Setting Up for Success

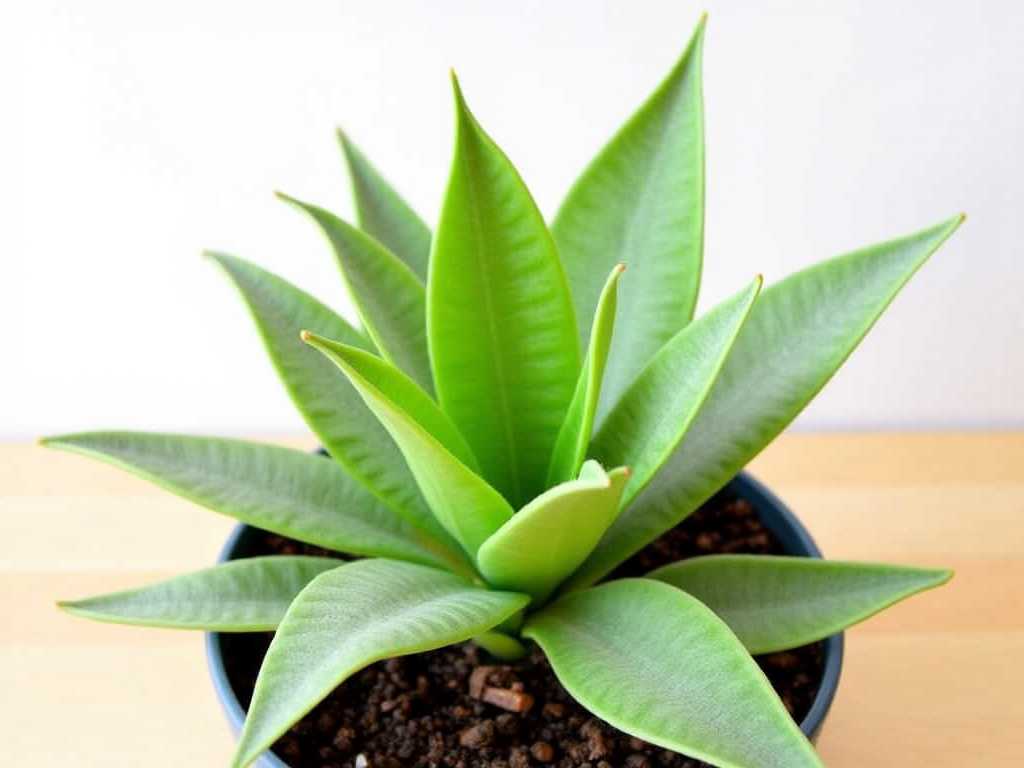
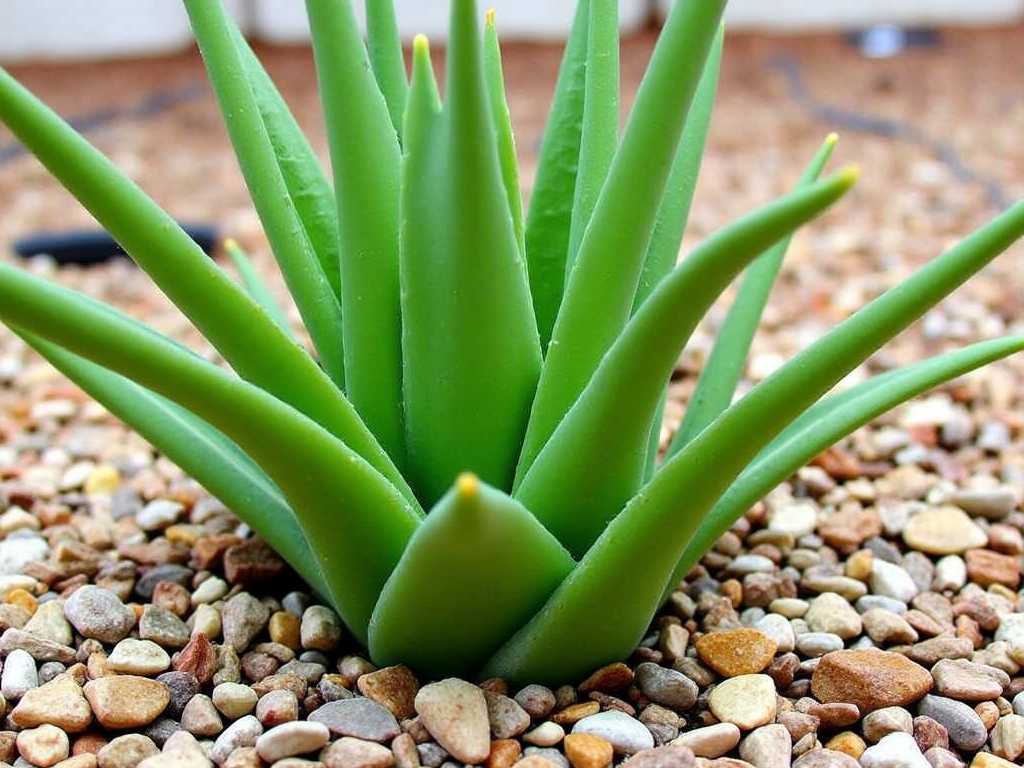
I began with a clear goal: create a low-maintenance, visually appealing indoor garden with a mix of echeverias, a jade plant, and two plump aloe vera pups. I chose a south-facing windowsill that gets about 6 hours of bright, indirect light. According to the Royal Horticultural Society (RHS), this light level is crucial for preventing etiolation—that leggy, stretched growth that plagues indoorSucculents.
My materials were simple:
- A shallow, wide terracotta pot with a large drainage hole (for the succulent arrangement).
- A separate, slightly deeper pot for each aloe vera (their roots appreciate more room).
- A bag of specialized succulent and cactus mix.
- A bag of perlite for extra drainage.
- A watering can with a long, narrow spout.
- My new plant friends, all with firm, unblemished leaves.
Week 1: Planting, The First Watering, and an Immediate Hiccup
Day 1-2: The Planting ProcessI mixed two parts succulent soil with one part perlite, creating an airy, fast-draining medium. I filled the pots about one-third full, gently placed the plants, and backfilled, ensuring the bases of the stems and aloe vera were just above the soil line to prevent rot. I did not water them. This is a critical first step often missed by beginners.Succulentsand aloe vera need time for any tiny root injuries to callous over before being introduced to moisture, which minimizes rot risk. I placed them on the bright windowsill and left them alone.
Day 3: The Initial WateringAfter 48 hours, I gave them their first thorough drink. Using my long-spouted can, I watered the soil directly—avoiding the leaves—until water freely ran out of the drainage holes. I immediately emptied the saucers underneath. The American Horticultural Society (AHA) emphasizes this "soak and dry" method as the golden rule, mimicking the rare, heavy desert rains these plants are adapted to.
Day 5: The First "Uh-Oh" – Signs of DistressHere’s where I hit my first snag. On one of my echeverias, I noticed a few lower leaves becoming translucent and soft. Panic set in. Was it overwatered already? I reviewed my steps: the soil was bone dry before watering, and the pot drained perfectly. Then, I realized my mistake:light stress. The south-facing window, while ideal in theory, was amplifying through the glass and was too intense for a plant just repotted and watered. It was a mild case of sunburn or edema, where the plant takes up water faster than it can use it under stress.
The Fix:I moved the entire succulent pot about two feet back from the window, into very bright but filtered light. I removed the two mushy leaves by gently wiggling them side-to-side until they snapped off cleanly. For the aloe vera, which are more tolerant, I left them in place. The key lesson? Acclimatize your plants gradually to strong light, especially after the stress of repotting.
Week 2: Observation, Adjustment, and Growth
Day 8: Checking In and Learning PatienceThe relocated echeveria stopped developing any more soft leaves. The others looked plump and happy. The aloe vera plants were firmly rooted and showed no issues. I resisted the overwhelming urge to water them again. The top inch of soil was dry, but I knew from RHS guidance that the deeper soil likely still held moisture. I inserted a wooden skewer into the soil; it came out with slight dampness at the tip. Watering was a no-go.
Day 10: The Temptation to "Do Something"This is the hardest part ofSucculent Care: inactivity. I wanted to fertilize, mist, move them around—anything. But I held firm. I simply rotated each pot a quarter turn to ensure even light exposure and prevent leaning. I noticed the jade plant's new leaves were a vibrant green with slight red tips, a sign of perfect light exposure. Myindoor succulent careroutinewas becoming less about doing and more about observing.
Day 14: The Two-Week Verdict and Root Health CheckAt the two-week mark, the transformation was subtle but clear. The plants weren't dramatically larger, but they were thriving.
- Color & Firmness:All leaves were firm and richly colored. The stressed echeveria had firmed up its remaining leaves.
- New Growth:The center of the jade plant and the aloe vera showed tiny, new green growth—the ultimate sign of contentment.
- Root Check (Gentle!):I gave the stem of one succulent a very gentle wiggle. There was firm resistance, indicating new root growth had anchored it. A successful establishment!
Thebenefits of an aloe vera plant indoorswere already on display: its serene, structural presence was a daily dose of calm. I hadn't needed its healing gel yet, but knowing it was there was part of the joy.
Common Pitfalls I Navigated (So You Don't Have To)
- The "Love Killing" (Overwatering):My initial instinct was to water weekly. I now know to water only when the soil is completely dryplusthe leaves show the slightest sign of less plumpness. The skewer test is my best friend.
- Light, But Not Too Light:As I learned, even sun-loving plants can get shocked. Introduce strong light gradually. East-facing windows are often a perfect, gentle start for anindoor succulent garden setup.
- The Wrong Soil is a Death Sentence:Regular potting soil retains too much moisture. Investing in a gritty, well-draining mix is non-negotiable. My 2:1 soil-to-perlite blend was a game-changer.
- Ignoring the Pot:A pot without a drainage hole is a bathtub. Terracotta is ideal because it's porous, helping soil dry evenly.
Your Questions, Answered
How often should I really water my indoor aloe vera?Forget the calendar. In my two-week experiment, I watered only once. In typical indoor conditions, this might translate to every 3-4 weeks. Always let the soil dry out completely between waterings, and when in doubt, wait a few more days. An under-watered aloe can recover; an overwatered one often cannot.
Why are the bottom leaves of my succulent dying?It's normal for the oldest, lowest leaves to dry up and fall off as the plant grows. This is the plant's natural recycling process. However, ifupper, younger leaves are turning yellow, soft, and falling off, it's a classic sign of overwatering. If they're dry and crispy, it might need more water or less direct, scorching sun.
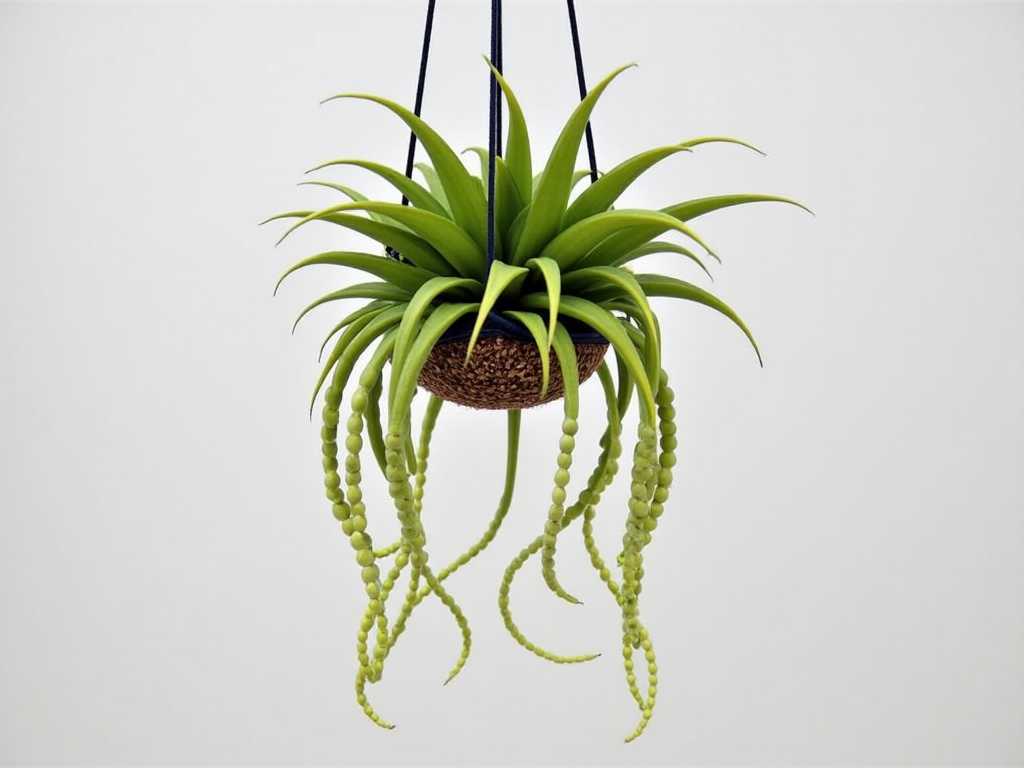
Can I keep mySucculentsand aloe vera in the same pot?You can, as I did with my succulents, but with caution. They have similar light and water needs, making them compatible companions. However, aloe vera can grow larger and faster. For long-term harmony, ensure the pot is large enough to accommodate the aloe's root system without crowding out the slower-growing succulents. Separate pots give you the most control.
Building asucculent and aloe vera indoor gardenis a lesson in restrained care. It taught me to read the subtle signals—the firmness of a leaf, the color of new growth, the weight of the pot. These plants don't demand constant attention; they demand understanding. By providing brutal drainage, abundant light (acclimatized properly), and infrequent but thorough watering, you're not just keeping them alive. You're allowing them to thrive, bringing a piece of resilient, quiet beauty into your home. My two-week experiment was just the beginning, but it laid the foundation for a garden that finally grows with me.
发表评论