How to Care for ZZ Plants: My 2-Week Journey from Overwatered to Thriving
I used to think I had a black thumb. Every leafy friend I brought home seemed to fade away, often with yellow, mushy leaves as their final farewell. My biggest challenge was figuring out the balance—how much water, how much light, how much care was just right? That all changed when I decided to master how to care for ZZ plants. Known scientifically asZamioculcas zamiifolia, this plant is touted as indestructible, but I learned even the toughest plants have their preferences. This is my hands-on, two-week experiment to turn a struggling ZZ into a vibrant centerpiece.
Why I Trusted the ZZ Plant
")
After one too many plant funerals, I needed a win. I read countless articles and forums, and the ZZ plant kept appearing as the ultimate low-light, low-maintenance champion. Experts from the Royal Horticultural Society (RHS) label it as exceptionally tolerant of neglect, perfect for beginners. But "tolerant" isn't the same as "thriving." I wanted mine to do more than just survive; I wanted it to grow. So, I brought home a medium-sized ZZ, already showing a couple of yellowing stems, and committed to a focused care routine for two weeks.
My Step-by-Step ZZ Plant Rescue Plan
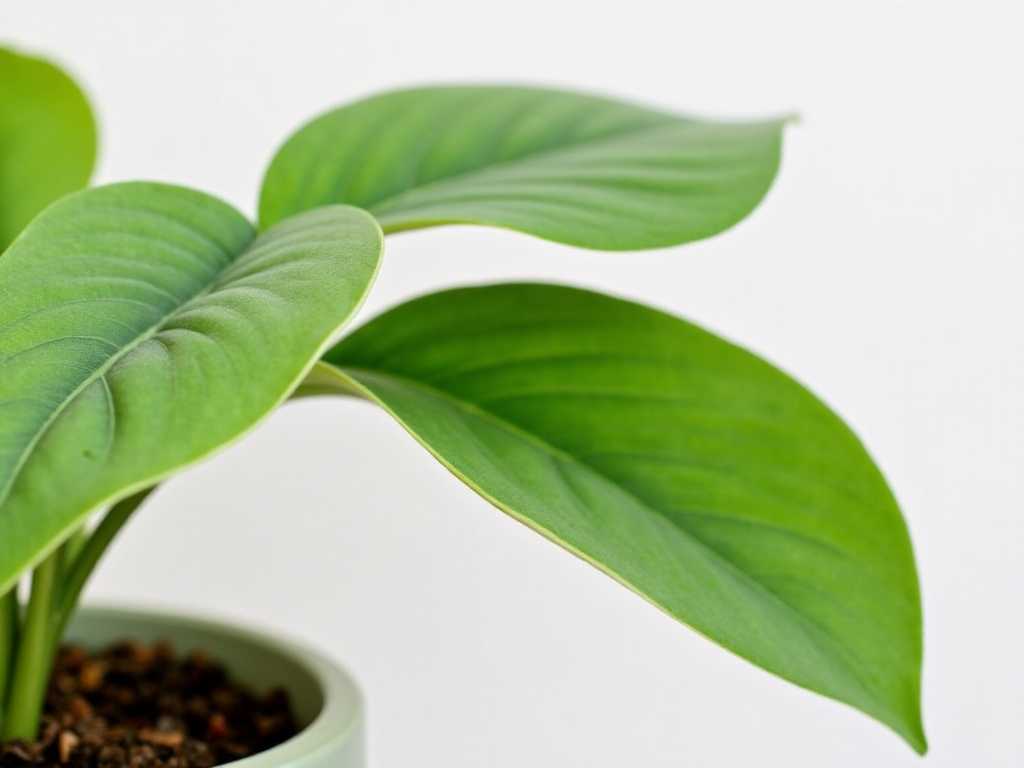
I started with a full assessment. My plant was in a plastic nursery pot with a basic peat-heavy soil mix, placed in a north-facing room corner. The soil felt damp to the touch, and those yellow stems were a red flag.
Week 1: The Intervention Phase
Day 1-2: The Repotting RitualMy first step was addressing the soil. A common mistake with ZZ plant care is using moisture-retentive soil. I prepared a well-draining mix: two parts standard potting soil, one part perlite, and a handful of orchid bark for extra aeration. I gently removed the plant, shook off the old, soggy soil, and inspected the rhizomes—those potato-like tubers at the base. They were firm, a good sign. I placed it in a new pot only one inch larger in diameter with a drainage hole. According to the American Horticultural Society (AHS), proper drainage is non-negotiable for preventing root rot, a primary killer of houseplants.
Day 3-5: The Perfect Placement TestLight is crucial. While ZZ plants tolerate low light, theypreferbright, indirect light for growth. I moved it to a spot about six feet away from an east-facing window. This provided gentle morning sun without the harsh afternoon rays. I resisted the urge to water it immediately after repotting to let any disturbed roots heal.
(1)")
Day 6-7: The First Watering – A Lesson in RestraintA full week after repotting, I checked the soil. I inserted my finger two inches deep. It was completely dry. This was my cue. I took the plant to the sink and watered it thoroughly until water freely ran out of the drainage hole. I let it drain completely before returning it to its decorative pot. This "soak and dry" method is the golden rule for how to keep your ZZ plant healthy.
Initial Observations and a Minor PanicBy the end of the first week, the existing yellow stems had worsened. I feared I'd made things worse! But upon closer inspection, the new, bright green shoots emerging from the soil base looked perky and firm. I realized the yellowing was the plant's natural process of shedding old, possibly already-damaged growth. I carefully snipped the yellow stems at the soil line to direct energy to new growth.
Week 2: Observation and Adjustment
Day 8-14: The Waiting GameThe second week was about consistent monitoring. I did not water again. My routine was simple: I checked the soil moisture every other day (still dry), wiped the glossy leaves with a damp cloth to remove dust (allowing for better photosynthesis), and observed.
The Turning PointAround Day 12, I noticed something exciting. The new shoots were visibly taller—almost half an inch! They had a deep, waxy green sheen. The existing mature stems seemed to stand more upright, looking less limp. The plant had a noticeably more robust and alert appearance. No new yellowing had occurred.
The Pitfalls I Encountered and How I Fixed Them
My journey wasn't flawless. Here’s where I stumbled and corrected course:
The "Little Sip" Temptation:Initially, I thought small, frequent sips of water were safer. This is a classic error in ZZ plant watering. It encourages shallow root growth and keeps the rhizomes in constant moisture.The fix:I committed to the deep, infrequent watering method only when the soil was bone dry. This promotes a strong, deep root system and mimics the plant's natural drought-and-downpour cycle.
Misdiagnosing Low Light:I initially had it in a very dark corner, thinking "low light" meant "no light." While it didn't die, it showed zero growth.The fix:I found the sweet spot of bright, indirect light. The difference in growth rate and leaf color intensity was undeniable. For those in truly dark spaces, using a grow light for a few hours a day can be a game-changer for your ZZ plant's light requirements.
Over-potting Anxiety:My first instinct was to give it a "roomier home" in a much larger pot. This is a risk, as excess soil holds water longer, leading to rot.The fix:I chose a pot only slightly larger than the root ball, which is key for proper soil drying cycles and maintaining a healthy ZZ plant.
My Verdict After 14 Days
After two weeks of intentional care, my ZZ plant transformed from a questionable purchase into a confident, growing specimen. The key takeaways are simple but powerful:ignore the watering can more often, seek out bright indirect light, and use gritty, fast-draining soil.This plant doesn't need coddling; it needs a mindful neglect that respects itsSucculent-like nature. My success with basic ZZ plant care has given me the confidence to try more varieties, like the stunning Raven ZZ.
Frequently Asked Questions
How often should I really water my ZZ plant?Throw out the weekly schedule. Water only when the soil is completely dry throughout the pot. This could be every 2-3 weeks in summer and every 4-6 weeks in winter. When in doubt, wait another week.
Is my ZZ plant safe around my pets?This is important. The ASPCA lists ZZ plants as toxic to cats and dogs due to calcium oxalate crystals. If ingested, it can cause oral irritation and stomach upset. It's best to place it in an area inaccessible to curious pets.
Why are the stems of my ZZ plant falling over?Floping stems are almost always a sign of overwatering and potential root/rhizome rot. Immediately check the soil and roots. If the rhizomes are mushy, propagate any healthy stems. If they're firm, repot into dry, well-draining soil and withhold water for an extended period.
Caring for a ZZ plant is a lesson in patience and restraint. By understanding its language—dry soil, firm rhizomes, upright growth—you can foster a resilient and beautiful plant that rewards minimal effort with maximum impact. Start by forgetting to water it, and you'll be on the right path.

发表评论