How to PropagateSucculents Without Roots: A Step-by-Step Guide from a Fellow Plant Lover
I’ve been there. You have a beautifulSucculentthat’s gotten a bit leggy, or perhaps a leaf has broken off cleanly from the stem. The traditional advice always involves roots, but what if you don’t have any? The idea ofpropagatingSucculents without rootsseemed like a magical, uncertain process to me at first. I worried about rot, failure, and watching a perfectly good plant part wither away. After numerous trials, errors, and finally, successes, I’ve perfected a reliable method. This guide is my personal journey, detailing exactly what I did, what I saw over two weeks, and the crucial lessons I learned the hard way.
My goal is to demystify this process for you. We’ll focus on the most effective techniques forleaf propagation for beginnersand how to handlestem cuttings propagation, even when no roots are present initially. By the end, you’ll see that creating new plants from seemingly nothing is not only possible but incredibly rewarding.

Understanding the Magic: How It Works
Before we dive into the dirt, let’s understand the science.Succulentsare survival experts. Their leaves and stems are packed with water and nutrients. When a healthy leaf is cleanly removed, special cells at the base can differentiate and form both new roots and a tiny rosette, given the right conditions. This process is called somatic embryogenesis. As noted by the Royal Horticultural Society (RHS), the success hinges largely on the health of the parent material and the propagation environment. It’s not magic—it’s plant biology, and we’re just facilitating it.
Gathering Your Supplies: The Right Start
You don’t need fancy equipment. Here’s what I gathered on my kitchen counter:
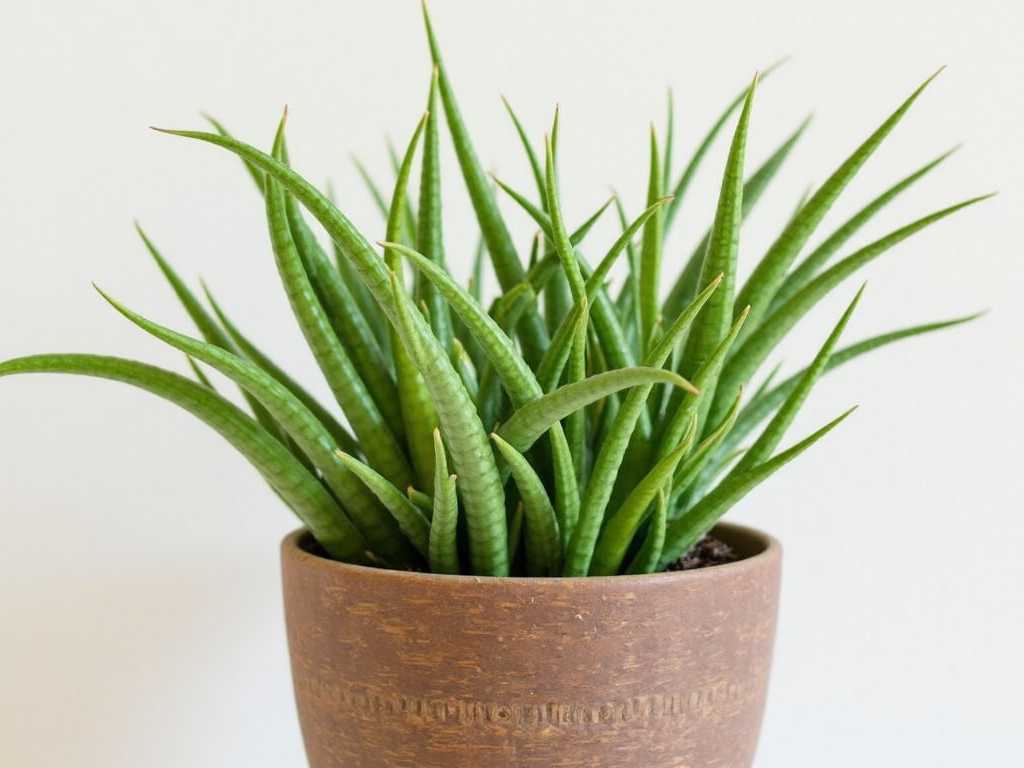
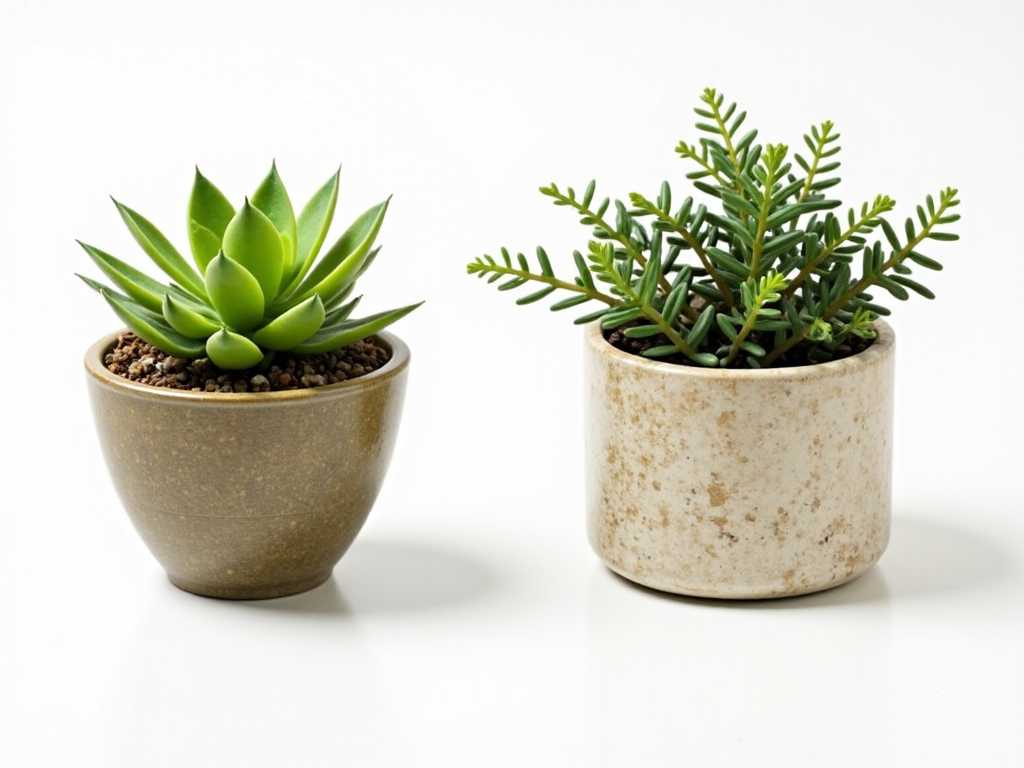
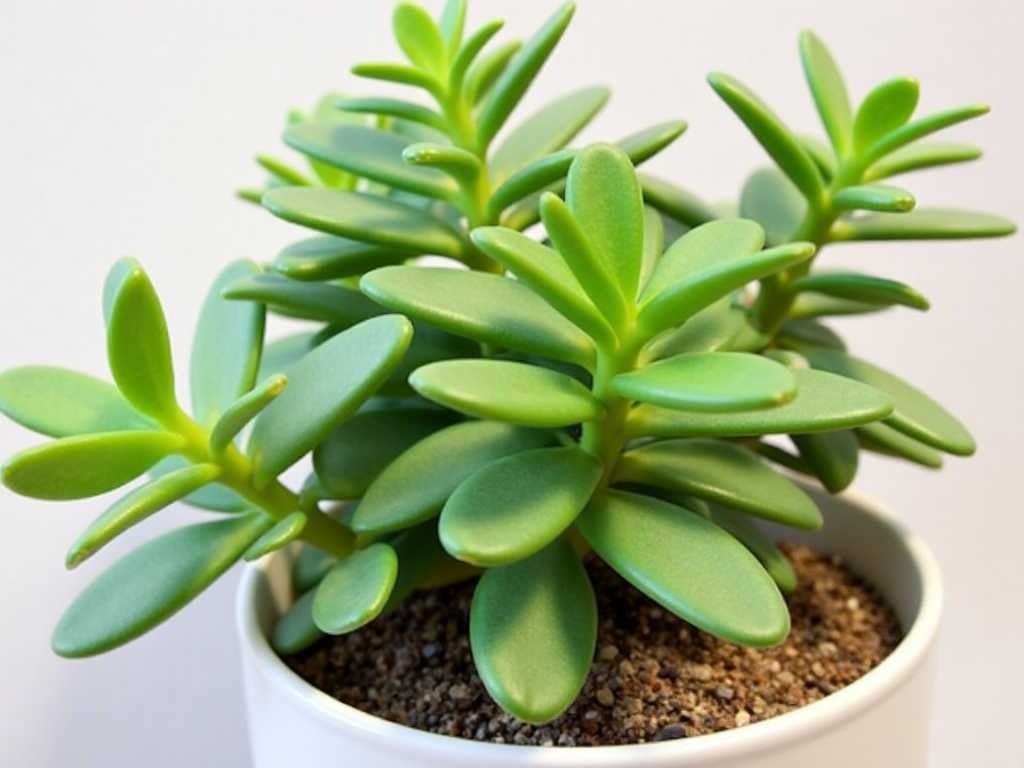
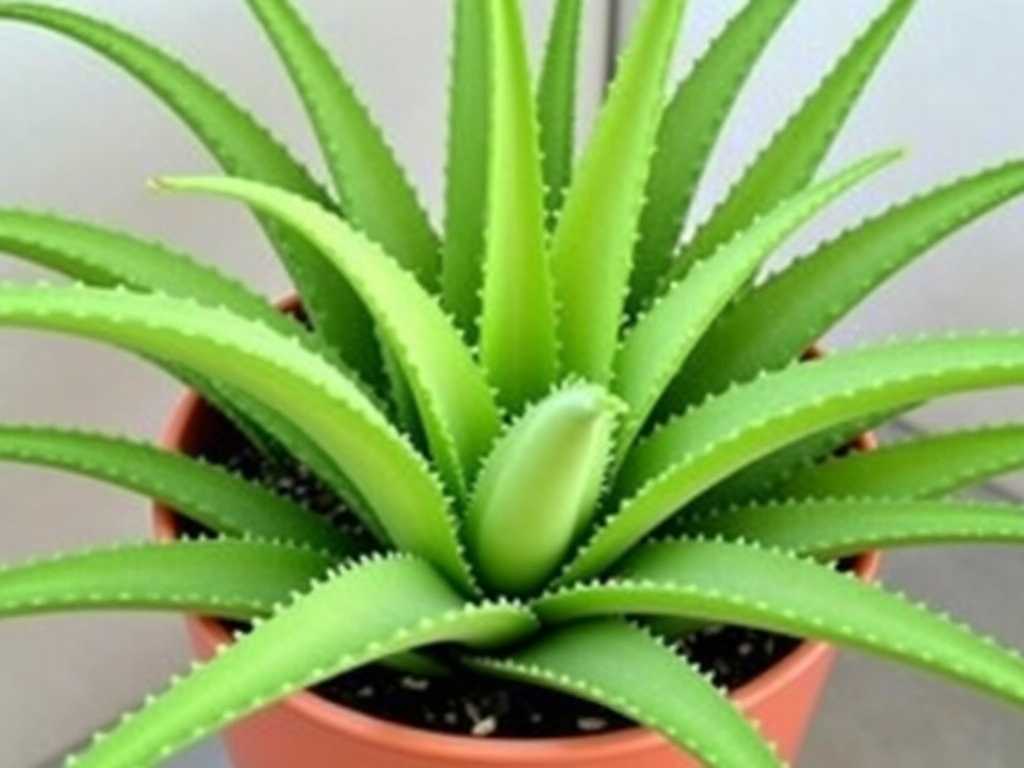
- Healthy Succulent Leaves or Stems:The foundation. I chose plump, unblemished leaves from an Echeveria and a 3-inch leggy stem from a Sedum.
- Sharp, Sterilized Tool:I used a razor blade cleaned with rubbing alcohol. A clean snap works for leaves, but a clean cut prevents crushing tissues.
- Shallow Tray or Pot:With drainage holes. I used a recycled seedling tray.
- Well-Draining Propagation Mix:I made my own with 50% cactus potting soil and 50% perlite. The American Horticultural Society (AHS) emphasizes sharp drainage as the single most critical factor in preventing rot.
- Spray Bottle:For misting.
- Patience:The most important ingredient.
Step 1: The Perfect Harvest
This step is where I made my first big mistake. Initially, I got overzealous and twisted leaves off haphazardly.
The Wrong Way:I pulled some leaves sideways, tearing them at the base. I later saw these leaves shriveled up within days without any growth.
The Right Way (My Solution):I learned to gently wiggle the leaf from side to side until it snapped off cleanly at the stem. For the Sedum stem, I made a clean, horizontal cut with my sterilized blade. I then set both the leaves and the stem cutting on a paper towel in indirect light for 3-4 days. This allows the “wounds” to callous over, forming a protective seal against moisture and bacteria. Do not skip this callousing period!
Step 2: Setting the Stage for Growth
After the ends were dry and calloused, I prepared the tray. I filled it with my dry propagation mix and gently laid the leaves on top. I did not bury them. For the stem cutting, I made a small hole in the mix with a pencil and placed the calloused end just inside, providing minimal support. The key here isno soil contacton the fresh wound until it’s calloused, and then only very light contact.
I placed the tray in a spot with bright, indirect light. Direct sun at this stage will cook your fragile propagules. I resisted the urge to water. The mother leaf contains all the water and nutrients the baby plant needs to start its life.
The Two-Week Observation Diary: A Rollercoaster of Emotions
Here is my real-time log of what happened, which kept me sane and helped me troubleshoot.
- Days 1-3:Nothing visible. The leaves and stem cutting just sat there. I worried they were dead. I had to stop myself from poking them.
- Days 4-7:First signs of life! Tiny pink roots began to emerge from the calloused ends of about 60% of the Echeveria leaves. The stem cutting showed no change. Some leaves (the ones I had damaged during harvest) started to yellow and melt—these were clear failures. I removed them to prevent mold.
- Days 8-10:The successful leaves now had small networks of fine, hair-like roots searching for moisture. A few even showed a microscopic rosette forming at the base. The stem cutting finally showed tiny root nubs! This was a victory. However, I noticed one leaf starting to rot at the tip. I immediately removed it with sterilized tweezers to protect the others.
- Days 11-14:Growth accelerated. The baby rosettes on the leaf propagations became clearly visible. The roots from both the leaves and the stem cutting grew longer. This is when I introduced thefirst watering—a gentle misting of the soil around the roots, not on the leaves themselves, only when the soil was completely dry.
Common Pitfalls and How I Solved Them
My journey wasn’t flawless. Here are the traps I fell into and how you can avoid them.
Pitfall 1: Overwatering Before Roots Appear.This is the #1 killer. I killed my first batch by misting them daily, thinking they needed humidity. The calloused ends absorbed the water and rotted.My Solution:I adopted a “neglectful parent” approach. No water until you see significant roots (at least 1/2 inch long). Then, only bottom-water or mist the soil sparingly.
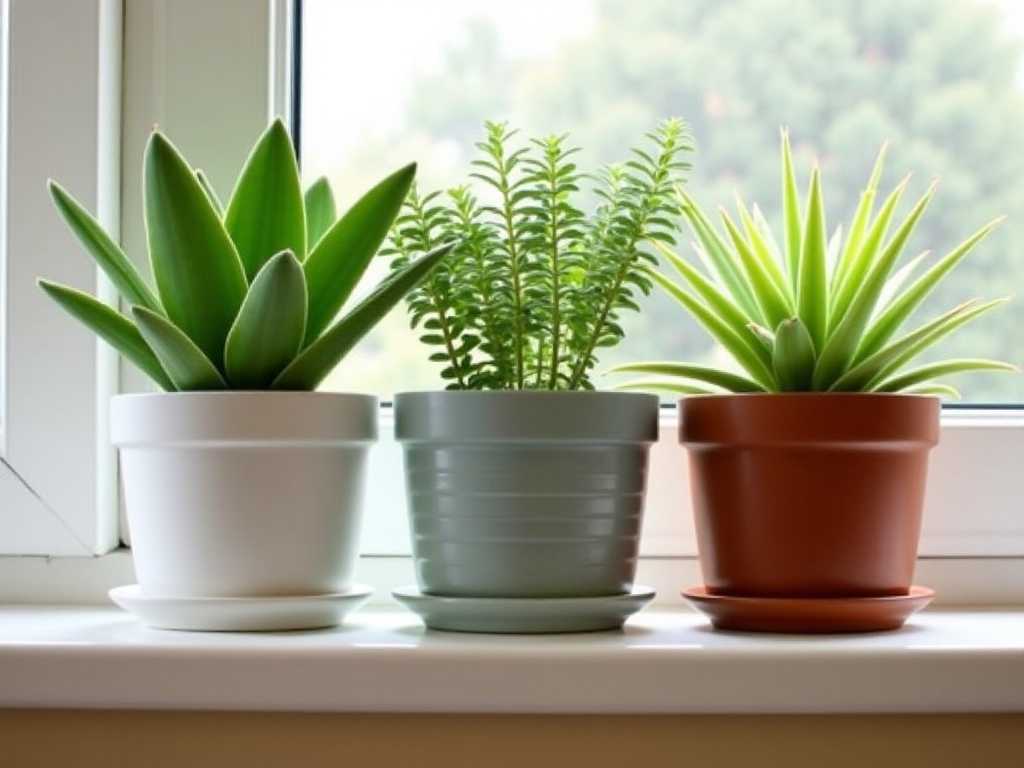
Pitfall 2: Insufficient Light.My second attempt was in a dim room. The leaves stretched out weakly, and roots were slow to form, leading to etiolated, weak babies.My Solution:I moved the tray to a bright east-facing windowsill with no direct afternoon sun. The difference in growth speed and robustness was dramatic.
")
Pitfall 3: Using the Wrong Soil.I once used regular potting soil. It retained too much moisture, and several promising propagules succumbed to fungal rot.My Solution:I switched to my gritty 50/50 mix. The improved airflow and drainage created an environment where roots could thrive without sitting in wetness.
When and How to Transition Your New Plants
After about 4-6 weeks, when the mother leaf has withered and the new plant is self-sustaining, it’s time to pot it. I carefully separated the new rosette with its root system and planted it in a small pot with standard cactus mix. I treated it like an adult succulent from that point on—thorough but infrequent watering and plenty of light.
Frequently Asked Questions
Can you propagate a succulent leaf that has fallen off?Absolutely, if it’s a clean break. I’ve successfully propagated leaves I’ve found at the bottom of the nursery pot. Just ensure it’s whole, not mushy or torn, and let it callous as usual.
Why are my succulent leaves shriveling instead of rooting?This usually means one of two things. First, the leaf may have been damaged or wasn’t healthy to begin with. Second, and more commonly, the environment is too dry. While we avoid watering before roots, extremely arid conditions can cause the leaf to desiccate before it can produce a new plant. If your air is very dry, a very light mist on the soilnear(not on) the leaf every 5-7 days can help.
How long does it take to see full growth?Patience is non-negotiable. While roots may appear in 2-4 weeks, it can take several months for a substantial, independent plant to form. My fastest propagations took about 5 months to look like a small store-bought succulent. The mother leaf provides all the energy, so don’t rush it.
Seeing those first tiny roots emerge from a bare leaf or stem is a moment of pure joy.PropagatingSucculentswithout rootshas taught me more about plant resilience and patience than any other gardening task. It transforms you from a passive owner to an active creator. Remember, success lies in the details: a clean harvest, a proper callous, gritty soil, bright indirect light, and disciplined watering. Start with a few leaves, learn from any missteps, and soon you’ll have a thriving collection, all born from your own careful hands.
发表评论