The Ultimate Care Guide for SedumSucculents: From My Sunny Windowsill to Yours
I’ve killed my fair share ofSucculents. There was the overwatered echeveria, the sunburnt haworthia, and then there were my first sedums. I thought they were the “unkillable” ones everyone talked about. Turns out, even the toughest plants have their secrets. If you’ve ever brought home a plump, beautiful sedumSucculentonly to watch it become leggy, mushy, or just sad, you’re not alone. The core challenge isn’t just keeping them alive, but helping themthrivewith that vibrant, compact growth we all love. After years of trial and error, I’ve dialed in acare guide for sedumSucculentsthat works. This isn’t just theory; it’s a practical roadmap from my hands-on experience, including a recent two-week rescue mission on a neglected ‘Burro’s Tail’ that taught me more than any book could.
Understanding Your Sedum: More Than Just a Pretty Face

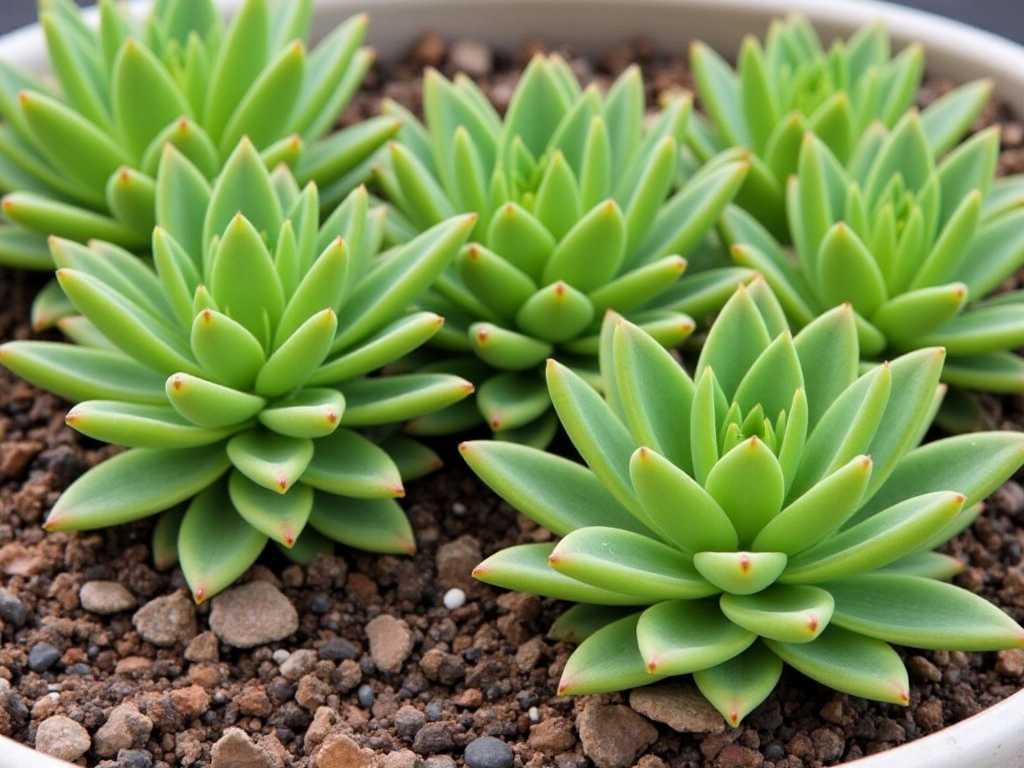
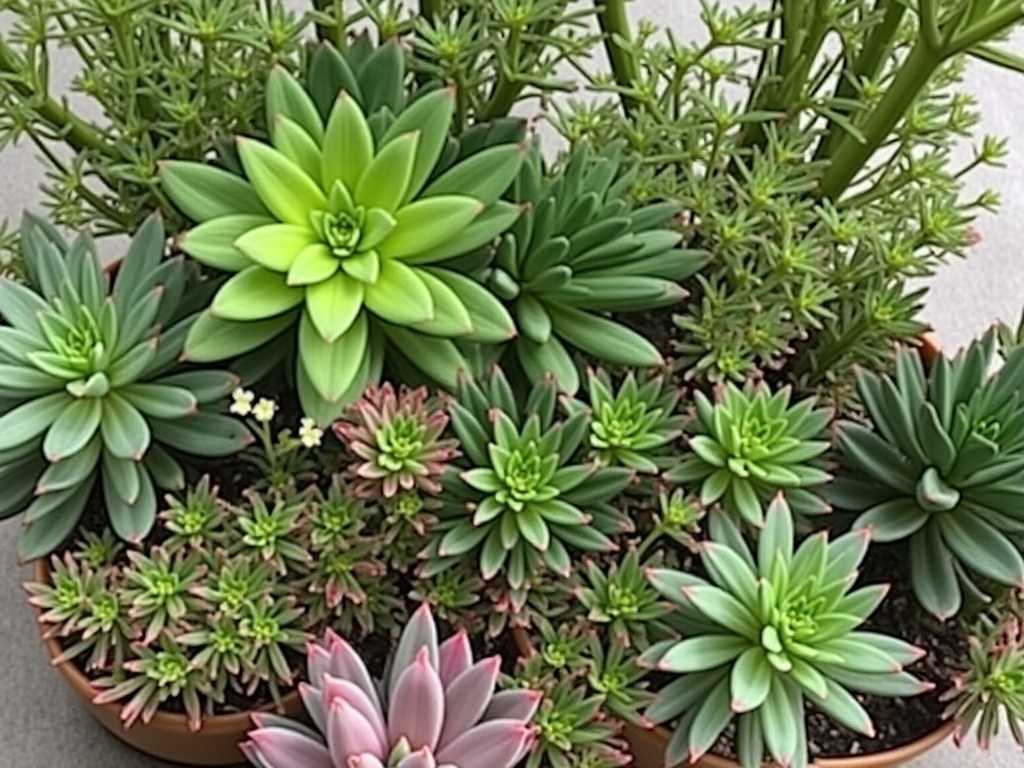
Before we dive into watering cans and soil mixes, let’s get to know them. Sedums, part of the Crassulaceae family, are a massive group. You have low-growing, creeping varieties like Sedum spurium (‘Dragon’s Blood’) perfect for ground cover, and upright, clumping types like the iconic Sedum ‘Autumn Joy’. Then there are the trailing beauties like Sedum morganianum. Why does this matter? Because their growth habit tells you a lot about their needs. A ground-cover sedum tolerates slightly different conditions than a tall, showy one. The Royal Horticultural Society (RHS) notes that while sedums are broadly hardy and drought-tolerant, providing conditions that match their native habitat—typically well-drained, sunny slopes—is key to preventing rot and etiolation (that stretched, weak growth).
The Non-Negotiables: Light, Soil, and Pot
This is the holy trinity. Get these wrong, and everything else becomes an uphill battle.
Sunlight: Their True LoveSedums crave bright, direct light. I keep most of mine on a south-facing windowsill where they get at least 6 hours of sun. When I first started, I placed a lovely Sedum adolphii (‘Golden Glow’) on a north-facing shelf. Within a week, I noticed its vibrant orange tips starting to fade. Over the next month, it became noticeably leggy, reaching weakly for any light source. The fix? I gradually acclimated it to a brighter spot over a week to avoid sunburn. Now, it’s compact and fire-colored again.
For indoor growers, a south or west window is ideal. If your light is low, consider a grow light. I use a simple LED strip for 12 hours a day during our gloomy winters, and my sedums don’t skip a beat.
The Perfect Home: Soil and DrainageThis is where I made my biggest early mistake. I used standard potting soil. It held too much moisture, and my first Sedum rubrotinctum (‘Jelly Beans’) developed root rot. The stems turned to mush. It was a heartbreaking lesson.
Now, I swear by a gritty, fast-draining mix. My recipe: 2 parts potting soil, 1 part coarse perlite, and 1 part poultry grit or crushed lava rock. This mix mimics their natural, rocky environment. The pot is equally crucial—itmusthave a drainage hole. Terracotta pots are my go-to because they’re porous and help wick away extra moisture.
Watering Wisdom: The Soak and Dry MethodForget the weekly schedule. Theproper way to water sedumSucculentsis the “soak and dry” method. Here’s my exact process:
")
- Check the Soil:I stick my finger an inch into the soil. For smaller pots, I lift them. If the pot feels light and the soil is completely dry, it’s time.
- Soak Thoroughly:I take the pot to the sink and water slowly until streams flow freely out of the drainage hole. This ensures the entire root ball gets moisture.
- Drain Completely:I let the pot sit in the empty sink for 15-20 minutes to drain all excess water. No plant sits in a saucer of water—ever.
- Wait for Dryness:I return it to its sunny spot and don’t think about water again until the soil is bone dry. This could be 10 days in summer or 3-4 weeks in winter.
A Two-Week Observation: The Rescue of ‘Burro’s Tail’I adopted a Sedum morganianum (‘Burro’s Tail’) from a friend who was overwatering it. Its beads were pale and some stems near the soil were soft. Here was my two-week plan:
- Day 1:I unpotted it. The roots were damp and slightly brown. I gently removed all old, wet soil and trimmed any truly mushy roots with sterilized scissors. I let the plant and its roots air-dry on a paper towel for 48 hours. This is critical to callous over cuts and prevent rot.
- Day 3:I repotted it into my gritty mix in a terracotta pot just slightly larger than the root ball. I did not water it. The fresh, dry soil and dry roots needed time to adjust.
- Days 4-7:I kept it in bright, indirect light to avoid stress. The pale beads started to look a bit more firm.
- Day 8 (One Week In):I gave it its first thorough soak at the sink, following the steps above. The terracotta pot darkened with moisture, then lightened as it dried over the next few days.
- Day 14 (Two Weeks In):The change was clear. The once-pale beads had plumped up and regained a healthier blue-green hue. The soft stems had firmed up and showed no signs of further rot. New, tiny beads were even visible at the growth tips. The plant was no longer in crisis mode and was on a solid recovery path. This hands-on process solidified that forsedumSucculent Careindoors, patience and perfect drainage are everything.
Seasonal Care and Common Problems Solved
Sedums have different rhythms throughout the year. In spring and summer, they’re actively growing. This is when they’ll appreciate more frequent water (still following the dry-down rule) and can benefit from a diluted, balanced fertilizer once at the start of the season. I use a half-strength 10-10-10 formula.
Fall and winter are their rest periods. Water much less frequently. I sometimes go 5-6 weeks between waterings in a cool room. Hold off on fertilizer entirely.
Fixing Leggy Growth (Etiolation)If your sedum is stretching out with wide spaces between leaves, it needs more light. The solution isn’t instant. Gradually move it to a brighter location. You can also “behead” it. I did this with an etiolated Sedum nussbaumerianum. Using a clean knife, I cut the top few inches off, let it callous for a few days, then planted it in fresh soil. The original stem often sprouts new offshoots, giving you two plants!
Dealing with PestsMealybugs are the main nuisance. I found a cottony mass in the leaf axils of my Sedum ‘Blue Spruce’. My fix: I dipped a cotton swab in 70% isopropyl alcohol and dabbed each bug directly. For larger infestations, I mix a spray of 1 part alcohol to 3 parts water with a drop of dish soap and spray the plant, avoiding harsh midday sun. I repeat every few days until they’re gone. The American Horticultural Society (AHA) recommends regular inspection as the first line of defense, noting that early intervention is always easiest.
Propagation: Making More Sedum BabiesOne of the joys of sedums is how easily they propagate. My favorite method is leaf or stem cuttings. For a stem cutting like from a Sedum ‘Autumn Joy’, I snip a healthy piece, remove the lower leaves, let it dry for a day or two, then place it in dry soil. I don’t water until I see new roots forming (usually in 2-3 weeks). For leaf propagation, like with Sedum clavatum, I gently twist a plump leaf off, let it callous, and lay it on soil. Tiny roots and a new plantlet will emerge from the base. It’s magical.
Frequently Asked Questions
How often should I really water my sedum?There’s no universal schedule. It depends on your pot size, soil, light, and climate. Always use the “soak and dry” method and let the plant’s condition and soil dryness be your guide, not the calendar.
Can sedums survive frost?Many hardy sedum varieties, like ‘Autumn Joy’, are perennial in cold climates and can handle frost. However, the tender varieties commonly grown as houseplants (like ‘Burro’s Tail’) cannot. Always check the specific hardiness of your plant. My indoor sedums stay inside year-round.
Why are the leaves on my sedum falling off?This is often a sign of stress. Overwatering is the most common cause, leading to soggy, falling leaves. Underwatering can cause dry, crispy leaves to drop. Physical bumping (especially on fragile types like ‘Burro’s Tail’) or a sudden drastic change in environment can also cause leaf drop. Assess your watering first and ensure the plant isn’t in a drafty spot.
Caring for sedumSucculentsis a rewarding practice in mindful gardening. It teaches you to observe rather than just do. By providing them with the stark contrast they crave—torrential soaks followed by desert-like dry spells, blazing sun, and airy soil—you’ll be rewarded with resilient, beautiful plants that grow more vibrant each year. Start with the basics of light and drainage, master the watering rhythm, and don’t be afraid to learn from the occasional misstep. Your thriving sedum collection will be the proof.

发表评论