succulent propagation for beginners: Step-by-Step Videos Guide
Have you ever looked at your beautifulSucculentcollection and wished you could have more of them without another trip to the nursery? Or perhaps you’ve nervously held a broken leaf, unsure if it could ever grow into a new plant. Many beginners feel intimidated by the idea of propagation, worrying it’s too complex or that they might harm their beloved plants. The good news is, with the right visual guidance, multiplying yourSucculents is not only simple but incredibly rewarding. This guide, centered around clear, step-by-step videos, will demystify the entire process. We’ll walk you through the most effective methods, ensuring you can confidently grow your collection from a single leaf or stem.
Understanding the Basics ofSucculentPropagation

Before we dive into the practical steps, it’s helpful to knowwhythese methods work.Succulentsare survival experts. Their thick, fleshy leaves and stems store water, and many have evolved to reproduce asexually—meaning a piece of the parent plant can develop into a whole new, genetically identical individual. This incredible ability is what makespropagatingSucculentsfrom leavesso successful for enthusiasts. The key factors for success are using healthy plant material, providing the right environment (bright, indirect light and good airflow), and mastering the art of patience. Overwatering is the number one cause of failure, so we’ll emphasize techniques to avoid it.
Essential Tools and Setup for Successful Propagation
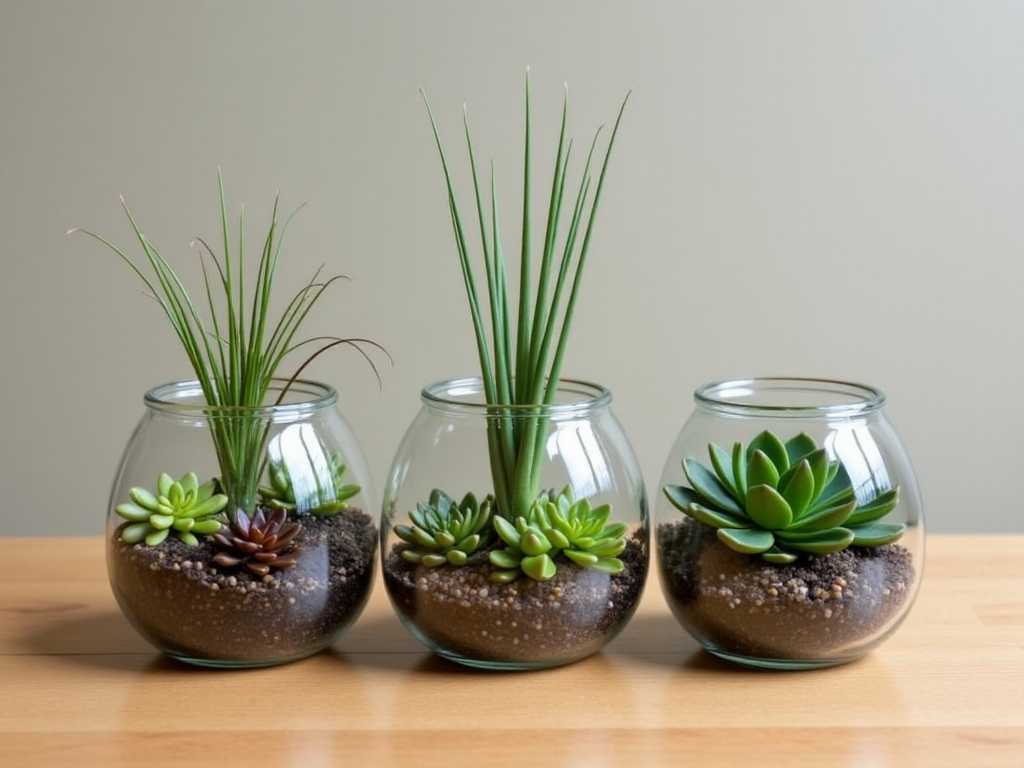
You don’t need fancy equipment. Here’s what to gather:
")
- Containers:Shallow trays or pots with drainage holes.
- Soil Mix:A well-draining succulent or cactus mix. Many experts recommend a 50/50 blend of potting soil and perlite for propagation.
- Tools:Clean, sharp scissors or pruning shears (sterilized with rubbing alcohol).
- The Cuttings/Leaves:Healthy, mature leaves or stems from your parent plant.
- Watering Tool:A spray bottle for misting.
Method 1: Leaf Propagation – The Most Popular Technique
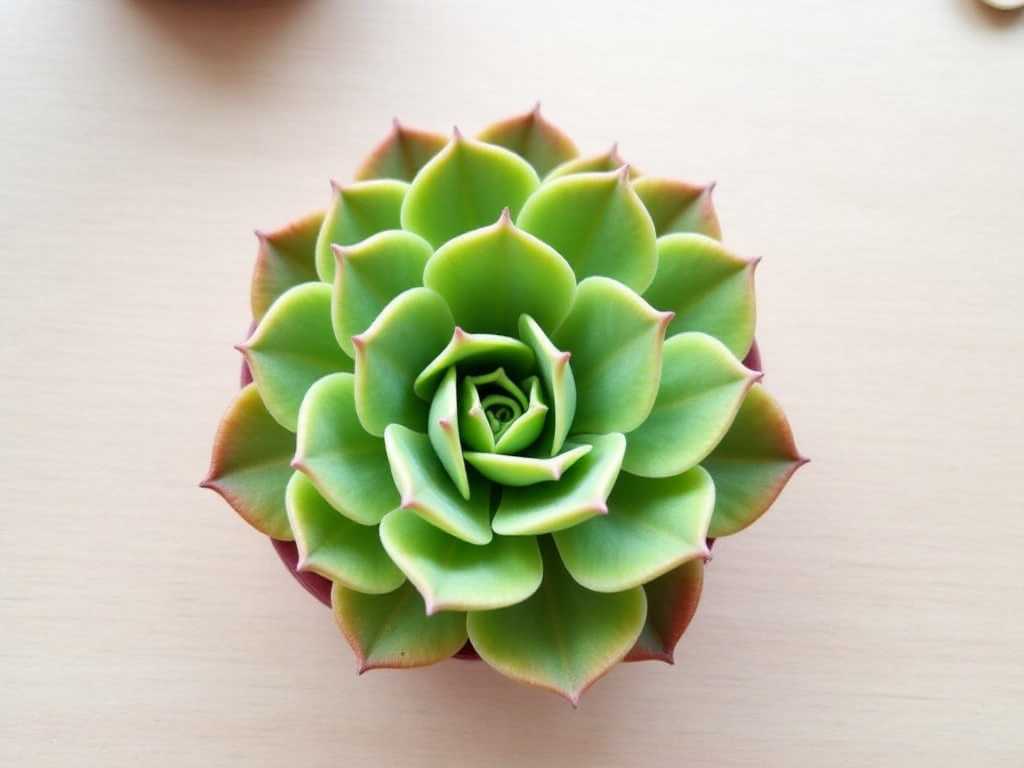
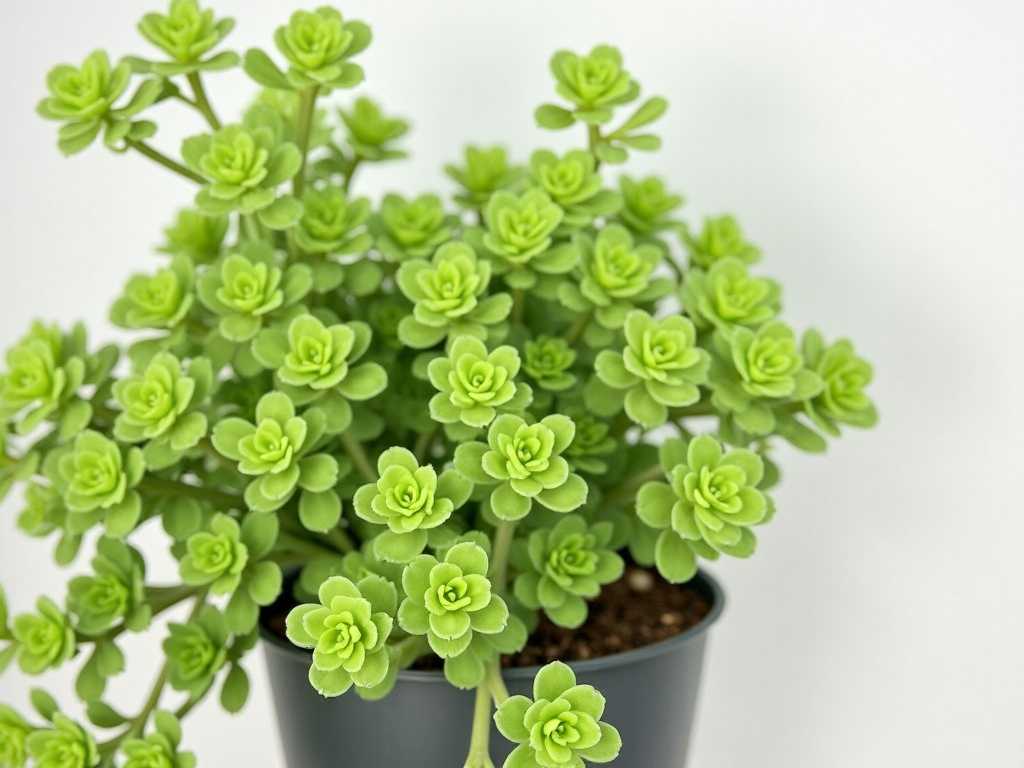
This is the classic method and perfect for beginners with rosette-styleSucculentslike Echeveria, Graptopetalum, or Sedum.
Step 1: The Perfect Leaf RemovalGently twist a healthy, plump leaf from the stem. Ensure you get a clean break at the base, with no part of the leaf left on the stem. A clean removal is crucial for the growth point to remain intact. Avoid using leaves that are damaged, discolored, or from the very bottom of the plant, as they may be too old.
Step 2: The Callusing PhaseThis is the most critical step often missed by beginners. Place the leaves in a dry, shaded spot with good air circulation for 1-3 days. The end where the leaf was detached must form a dry, hardened layer called a callus. This seal prevents the leaf from absorbing too much moisture and rotting when placed on soil.
Step 3: Laying and WaitingLay your callused leaves on top of dry succulent soil. Do not bury them. Place the tray in bright, indirect sunlight. Resist the urge to water. The mother leaf contains all the water and nutrients the new baby plant needs to start growing.
Step 4: Root and Rosette DevelopmentAfter a few weeks, you’ll see tiny pink roots seeking the soil, followed by a miniature rosette. Once the roots appear, you can begin lightly misting the soil around them every few days when the soil is completely dry. The video guide below demonstrates this delicate waiting period and how to identify healthy growth.
Step 5: Transitioning to a New PlantAs the baby plant grows and the mother leaf withers away, gently brush a thin layer of soil over the new roots to anchor it. Once the mother leaf is completely dry and the new plant is stable, you can treat it like a mature succulent, watering deeply but infrequently.
Method 2: Stem Cutting Propagation – Fast Results
This method is ideal for leggy or overgrown succulents, like many Sedums or trailing varieties.How to propagate succulents from cuttingsis your go-to technique for quickly creating a new, well-shaped plant.
Step 1: Taking a Clean CuttingUsing your sterilized shears, cut a healthy stem (at least 2-3 inches long) from the parent plant. Make a clean cut.
Step 2: Callusing the StemJust like leaves, the cut end of the stem must be allowed to callus. Let it dry in a shaded area for 2-4 days until the wound is completely sealed and hardened.
Step 3: Planting the CuttingOnce callused, you can plant the stem cutting about an inch deep into dry succulent soil. Do not water immediately. Wait about a week before giving it a light watering to encourage root growth without causing rot.
Step 4: Encouraging Root GrowthPlace the potted cutting in bright, indirect light. Water only when the soil is fully dry. In a few weeks, the cutting should resist a gentle tug, indicating roots have formed. At this point, you can begin a regularSucculent Careroutine.
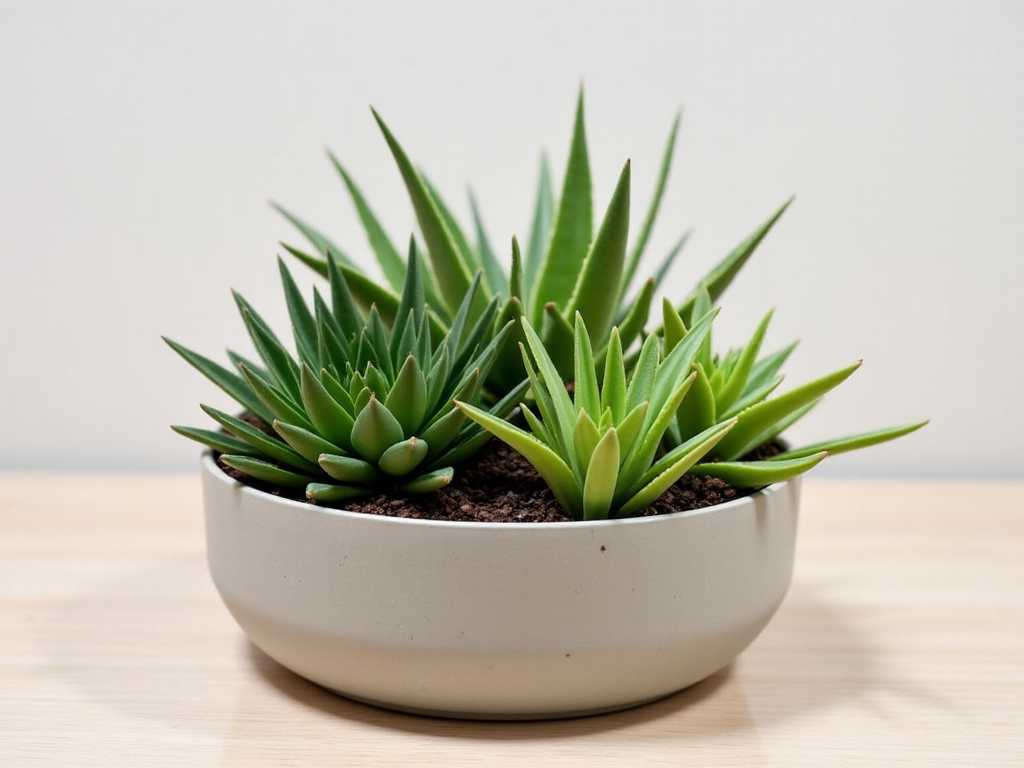
Method 3: Propagation by Offsets or “Pups”
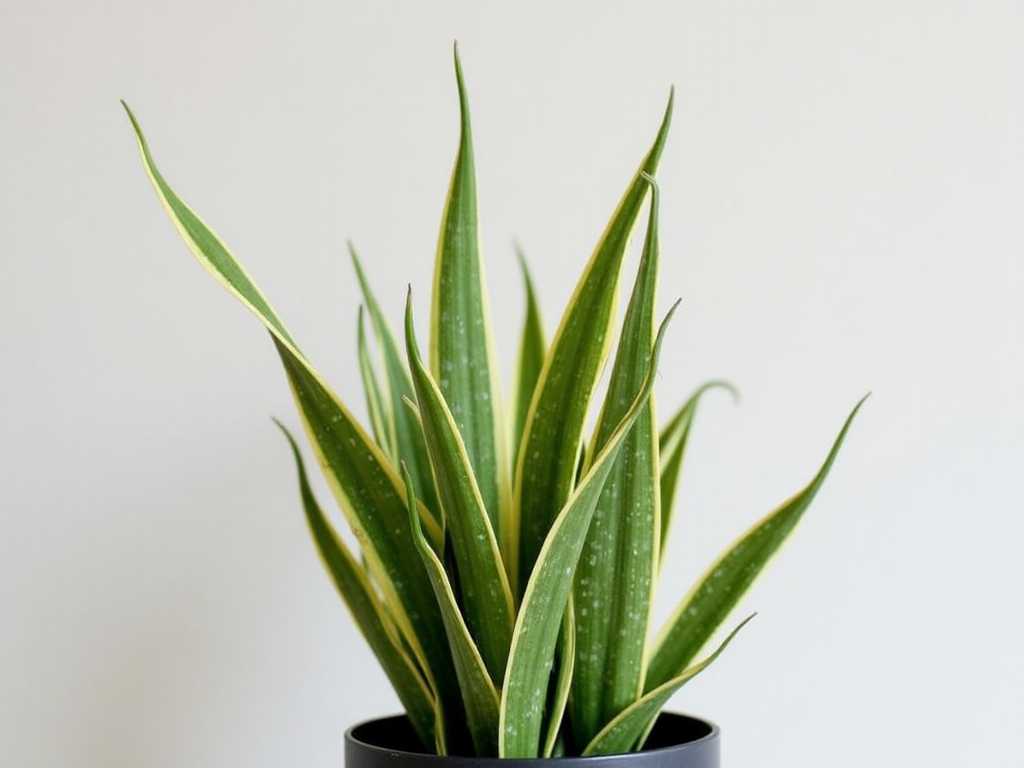
Some succulents, like Aloe, Haworthia, and Sempervivum (Hens and Chicks), do the work for you by producing ready-made baby plants, known as offsets.
Step 1: Identifying and Separating PupsWait until the offset is a decent size (about one-quarter the size of the mother plant). Gently remove the entire plant from its pot and brush away soil to see where the pup connects to the mother. Use a clean knife or your hands to separate them, ensuring the pup retains some roots.
Step 2: Potting the New PlantLet any cut areas on the pup callus for a day. Then, plant it in its own small pot with fresh succulent soil. Water lightly after a few days, then care for it as you would a mature plant.
Top Tips for Propagation Success
- Patience is Key:Propagation is a test of patience. Some varieties sprout in weeks; others take months.
- Ignore the Urge to Overwater:More propagations die from love (overwatering) than neglect. When in doubt, don’t water.
- Light is Crucial:Bright, indirect light fuels growth. Direct, harsh sun can scorch delicate propagules.
- Season Matters:Spring and summer are the optimal growing seasons for propagation. Growth is slower in fall and winter.
Why is the leaf I’m trying to propagate just shriveling up and dying?If your leaf is shriveling from the tip inward without producing roots or a baby, it likely didn’t have enough stored energy. This can happen if the leaf was unhealthy, too old, or not allowed to callus properly before being exposed to moisture, leading to rot that starts at the base. Always start with the plumpest, healthiest leaves and prioritize the callusing step.
How long does it take for succulent cuttings to root?The timeline varies widely by species and environment. Stem cuttings can show roots in 2-4 weeks, while leaf propagations may take 4-8 weeks to show significant growth. The key is to provide consistent, bright indirect light and to disturb them as little as possible during this period.
When can I transplant my new succulent propagations?Wait until the mother leaf has fully withered and the new plant has a established root system and noticeable size. For stem cuttings, wait until you feel firm resistance with a gentle tug, indicating a healthy root network. Transplant them into a small pot with drainage, using a well-draining soil mix, and begin a regular but cautious watering schedule.
Watching a new life emerge from a single leaf or stem cutting is one of the most satisfying experiences for a plant lover. By following these visual, step-by-step methods—whether starting with a leaf, a stem, or a pup—you equip yourself with the knowledge to expand your collection endlessly. Remember, success lies in the details: clean cuts, proper callusing, mindful watering, and ample light. Start with a few leaves from your hardiest succulent, reference the video guides for each technique, and enjoy the rewarding journey of growing your own succulent family from scratch.
发表评论