TheSucculent& Sansevieria Office Desk Garden: My 2-Week Journey to a Thriving, Low-Maintenance Oasis
You know the feeling. Staring at a blank computer screen, the hum of fluorescent lights, and that subtle longing for a touch of life in your sterile workspace. I was there. My desk was a monument to productivity tools, yet it felt lifeless. I craved greenery but had a track record of… let’s say, enthusiastic overwatering. I needed a solution that was beautiful, resilient, and fit into my busy schedule. That’s when I committed to building aSucculent& Sansevieria Office Desk Garden. This is my honest, step-by-step account of what I did, what actually happened over two weeks, and the lessons I learned the hard way.
")
Why This Combo is a Desk-Dweller’s Dream

I didn’t chooseSucculents and sansevierias (often called snake plants) randomly. Research from the Royal Horticultural Society (RHS) consistently highlights their adaptability to indoor conditions. More importantly, a study often cited by environmental health experts points to their air-purifying qualities, a perfect bonus for often-stale office air.Succulentsstore water in their leaves, and sansevierias are famously tolerant of neglect. This seemed like the ultimatelow-maintenance office plantspairing.
My Step-by-Step Setup: Planning is Everything
I decided on a small, shallow terracotta dish about 10 inches wide. Terracotta is porous, which helps soil dry evenly—a key factor I later learned was crucial.
Step 1: The Foundation – Drainage is Non-NegotiableMy first pitfall almost happened before I began. The dish had no drainage hole. I almost used it anyway, thinking I’d just bereallycareful with water. That’s a classic rookie mistake. Instead, I drilled a small hole in the bottom. No drill? A layer of pebbles at the bottom is a decent backup, but a drainage hole is king.
Step 2: The Right Soil MixI bypassed standard potting soil. It retains too much moisture. I bought a pre-mixedcactus and succulent potting soil, which is grittier and drains rapidly. To improve it further, I mixed in a handful of perlite. This creates the fast-draining environment these plants’ roots desperately need.
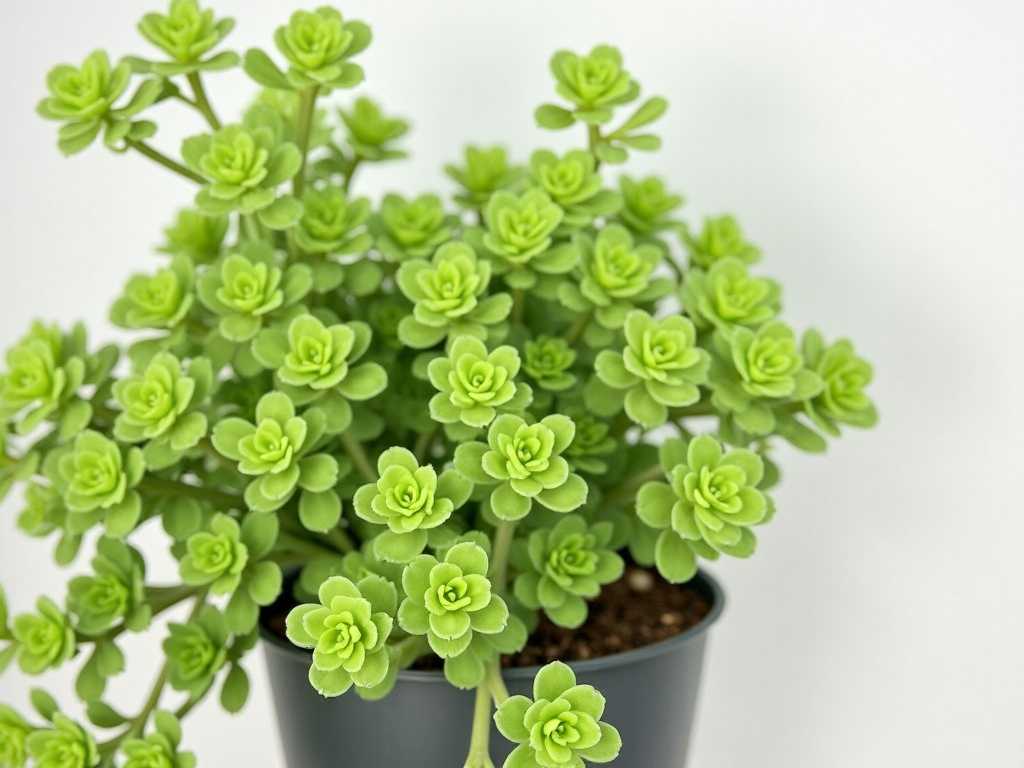
Step 3: Selecting and Arranging the PlantsAt the nursery, I chose three small plants: a rosette-forming Echeveria, a trailing String of Pearls, and a young Sansevieria cylindrica (with its round, spear-like leaves). I gently loosened their roots and arranged them with the taller sansevieria at the back. I left a little space between them for air circulation and future growth.
Step 4: The Initial Watering – Less is MoreAfter planting, I gave the garden a thorough but gentle soak until water trickled out the drainage hole. Then, I placed it on my desk near a window that gets bright, indirect light for most of the day.
The 2-Week Observation Log: Triumphs and Tiny Crises
Days 1-3: The Honeymoon Phase.Everything looked perfect. The Echeveria had a slight blush, the String of Pearls was plump, and the Sansevieria stood proud. I was tempted to water again, just to “help them settle.” I resisted.
Day 5: The First Panic.I noticed the bottom leaves of my Echeveria felt slightly soft and one looked wrinkled. My immediate thought was “It’s thirsty!” and I reached for my watering can. But I paused and checked the soil with my finger—it was still damp an inch down. I recalled reading that overwatering often shows similar symptoms to underwatering because the roots rot and can’t drink. I held off.
Day 7: Diagnosis and Action.The soft leaf on the Echeveria turned translucent and yellow. It was definitely overwatered from the nursery or my initial soak. Using tweezers, I carefully plucked the soggy leaf away from the stem to prevent potential rot from spreading. This was a hard lesson:establishing a watering schedule forSucculentsis less about the calendar and more about the soil. The sansevieria and String of Pearls showed no issues.
Day 10: The Recovery.The Echeveria, minus its bad leaf, looked stable. The soil was now completely dry. I performed the “taco test” on a firm upper leaf—gently squeezing it. It had a little flex but didn’t fold easily. I decided to wait one more day. The String of Pearls pearls were slightly less plump, a good sign they were ready for a drink.
Day 14: The First True Watering.Two weeks after planting, the soil was bone dry. I took the entire dish to the office kitchen sink and gave it a deep, thorough watering until water flowed freely from the bottom. I let it drain completely before returning it to the desk. Within two days, the String of Pearls plumped up visibly, and the Echeveria’s remaining leaves felt firmer. The sansevieria? It looked exactly the same as Day 1—unfazed and thriving.
Key Lessons from My Two-Week Experiment
- The “Soak and Dry” Method is Law.Drench the soil completely, then let it dry out fully before even thinking about more water. This mimics the natural desert rains they’ve evolved for.
- Touch, Don’t Assume.Your finger is the best moisture meter. Ignore the surface; feel the soil an inch down. Learn the feel of your plants’ leaves when thirsty vs. hydrated.
- Light is Their Fuel.My bright, indirect light spot worked. In a darker corner, growth would be stunted, and watering needs would slow even further. Asmall desk garden for low lightwould require even more restraint with water.
- Patience is the Ultimate Tool.The desire to “do something” is the biggest threat to these plants. They thrive on benign neglect.
Addressing Your Curiosities
How often should I really water my desk succulent garden?Throw away the weekly schedule. In my typical office environment, it’s likely every 2-4 weeks. Always let the soil’s dryness and the plant’s slight signs of thirst (like subtle leaf wrinkling) be your guide, not the date.
Can this garden survive in a windowless office with only fluorescent light?It will be a challenge for theSucculents, which may become “leggy” as they stretch for light. A Sansevieria would be your best bet. For a truly light-starved desk, consider a quality small LED grow light to provide the essential energy for a healthyoffice desk garden.
One of my plant’s stems is turning black and mushy. What now?This is stem rot, usually from overwatering. Act fast. Using a clean, sharp knife, cut well above the rot into healthy tissue. Let the cutting callous over for a few days, then place it on fresh, dry soil. It may re-root. Remove any other affected plants to protect the rest.
Building this small garden transformed my desk from a mere workstation into a living, breathing project. It taught me observation and restraint. The quiet resilience of these plants, especially the steadfast sansevieria, became a daily reminder to pause and breathe. It’s more than decoration; it’s a tiny, thriving ecosystem that proves even in the most structured of environments, a little wild, patient growth is not only possible but profoundly rewarding. Start small, watch closely, and let your desk come to life.

发表评论