How to PropagateSucculents in Coconut Shells: A Complete Eco-Friendly Guide
Have you ever admired the charming, rustic look ofSucculents planted in unique containers, only to find your own attempts result in waterlogged soil and unhappy, rotting plants? You’re not alone. Many gardening enthusiasts struggle with providing the perfect drainage and root environment these hardy yet particular plants demand. What if the solution was not only effective but also sustainable, cost-effective, and stunningly beautiful? This guide will show you how to propagateSucculents in coconut shells, turning a common waste product into the ideal home for your new plant babies. This method leverages excellent natural drainage and aeration, creating a miniature ecosystem that promotes healthy root growth and reduces the risk of overwatering—the number one killer ofSucculents.
")
Why Coconut Shells Are Perfect for Succulent Propagation
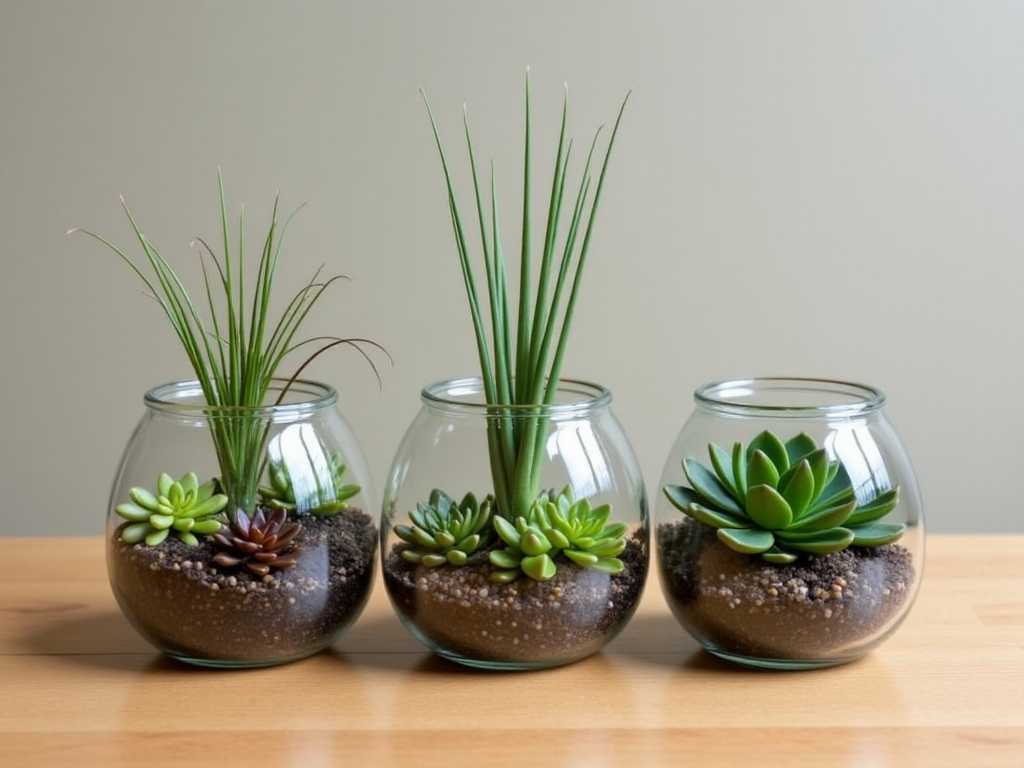
Before we dive into the step-by-step process, let’s understand why this pairing is a match made in gardening heaven.Succulents, native to arid environments, have evolved to thrive in conditions with sharp drainage and minimal organic matter. Traditional plastic pots can often retain too much moisture and heat.

Coconut shells, or coconut husks, offer a brilliant natural alternative. A recent trend noted by horticultural experts in sustainable gardening highlights the shift towards upcycled planters for better plant health. Coconut fibers are naturally porous, allowing excess water to evaporate quickly while still retaining just enough humidity around the roots. This mimics the well-draining, rocky soilsSucculentslove. Furthermore, the shell’s organic nature promotes slight air pruning of the roots, encouraging a denser, healthier root system. From an aesthetic and ecological standpoint, each shell is a one-of-a-kind, biodegradable planter that adds a touch of bohemian charm to any space.
What You'll Need to Get Started
Gathering the right materials is the first step to success. Here’s your essential checklist:
- Coconut Shells:Source whole, empty coconut shells from grocery stores or markets. You’ll need to prepare them (detailed next).
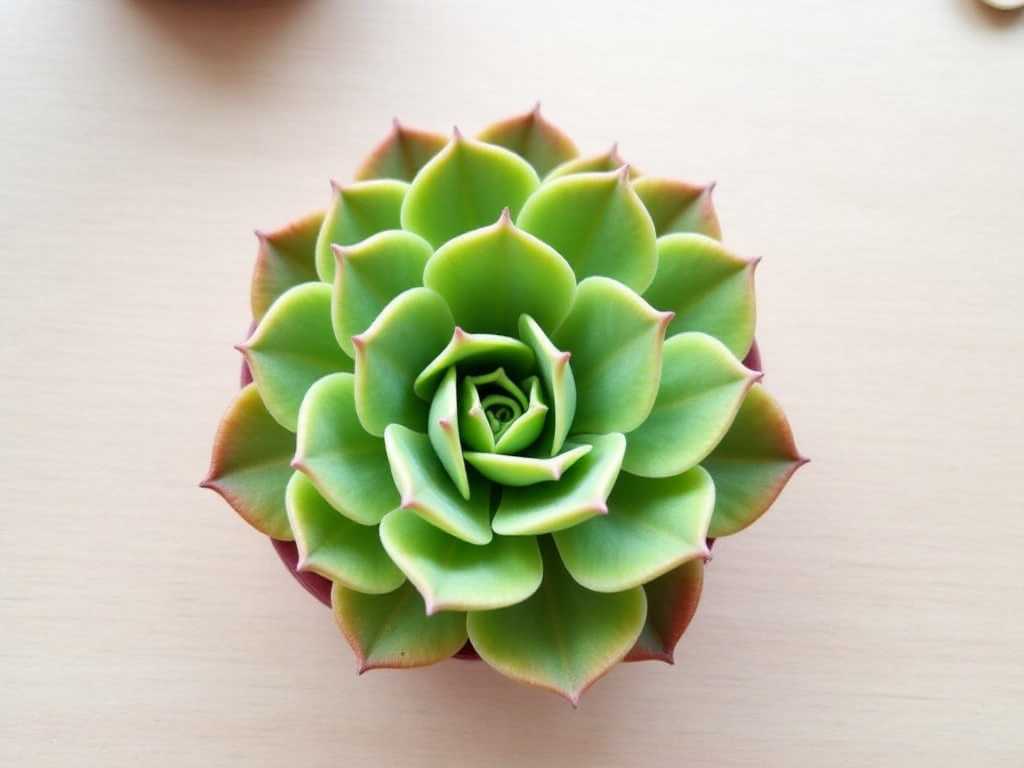
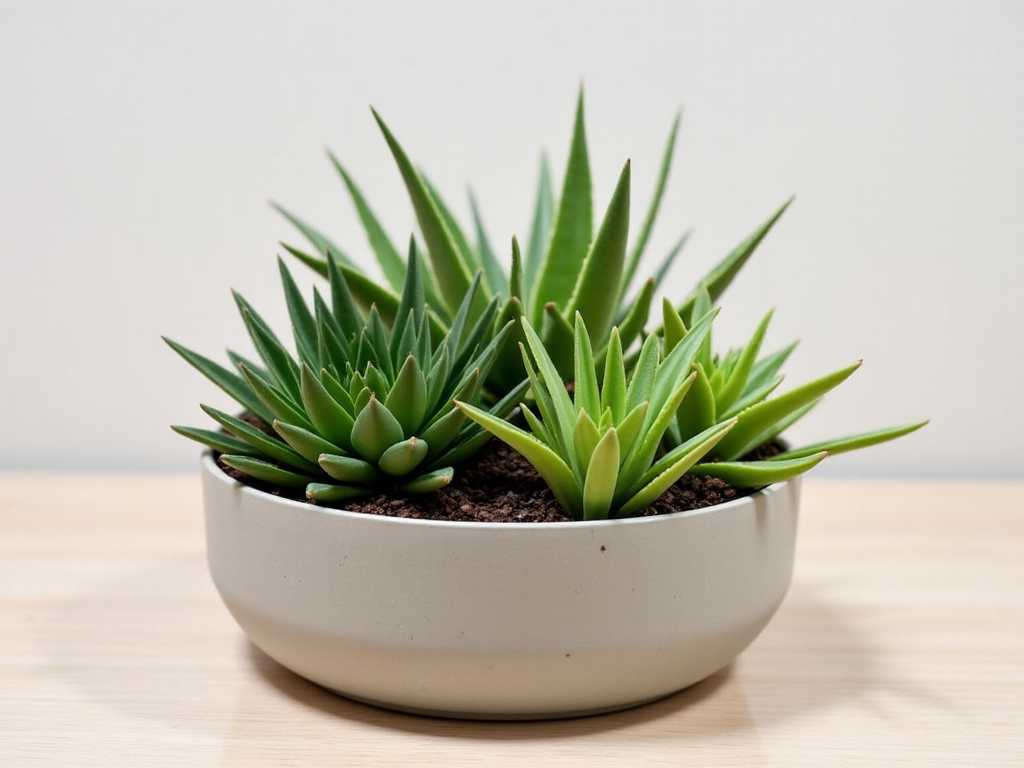
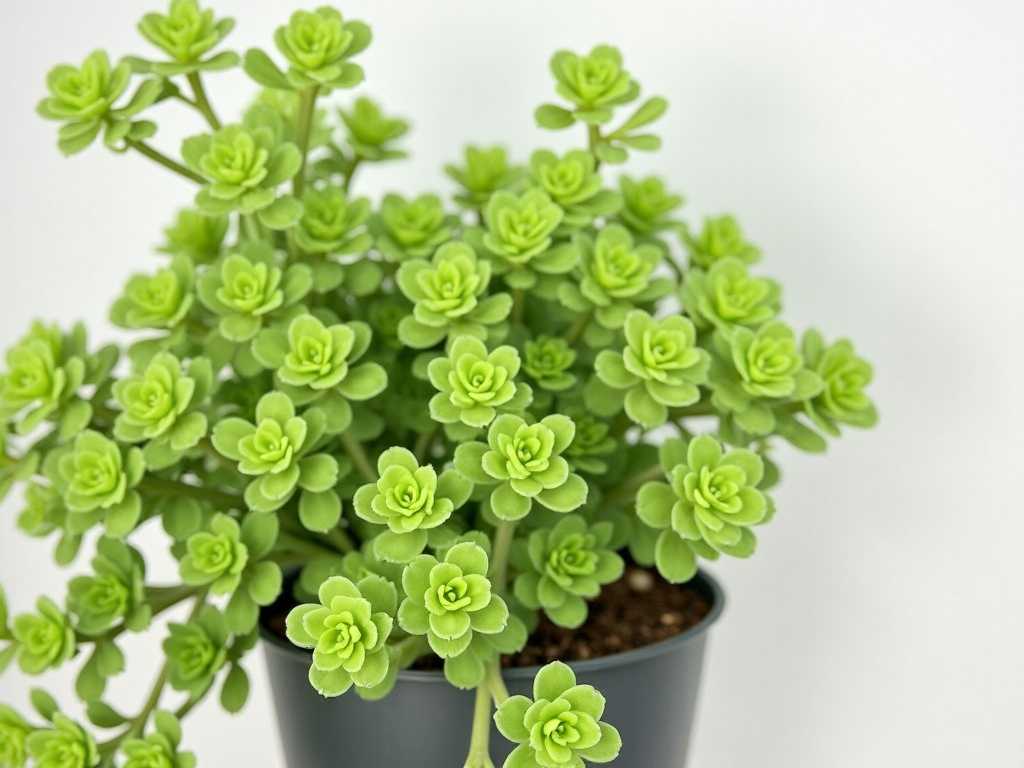
- Succulent Cuttings or Leaves:Choose healthy, plump leaves or stem cuttings from a “mother plant.” Echeveria, Sedum, Graptopetalum, and Crassula varieties are excellent starters.
- Well-Draining Soil Mix:Do not use regular potting soil. Opt for a specialized cactus/succulent mix. For even better results, create your own blend using 2 parts potting soil, 1 part coarse sand, and 1 part perlite or pumice.
- Tools:A drill with a small bit (for drainage holes), a stiff brush, sandpaper, a small trowel or spoon, and tweezers for delicate handling.
- Optional:Activated charcoal (to place at the bottom for extra filtration), rooting hormone powder to accelerate root development.
Step-by-Step Guide to Preparing Your Coconut Shell Planters
A properly prepared shell is crucial. Rushing this step can lead to mold or improper drainage.
1. Cleaning and Curing the ShellsStart by thoroughly scrubbing the inside of the coconut shell to remove any remaining flesh or residue. Soaking it in warm water for an hour can help loosen bits. After scrubbing, let the shell dry completely in the sun for several days. This “curing” process helps prevent premature decomposition and kills any potential pathogens.
2. Creating the Perfect Drainage HoleOnce bone-dry, it’s time to drill. Turn your shell over and carefully drill one or two small holes in the rounded bottom. This is non-negotiable. Even with porous material, a dedicated drainage hole ensures any trapped water can escape, safeguarding your succulents from root rot. Smooth the edges of the hole with sandpaper to prevent injury.
3. Preparing the Growing MediumWhile your shell is drying, prepare your soil. Moisten your succulent soil mix very lightly until it is just barely damp—like a wrung-out sponge. It should never be soggy. If using, you can sprinkle a thin layer of activated charcoal bits into the bottom of the shell before adding soil. This acts as a natural filter.
The Propagation Process: Two Effective Methods
You can propagate succulents in coconut shells using either leaves or stem cuttings. The shell provides an ideal, stable environment for both.
Method 1: Propagating from LeavesGently twist a healthy leaf from the stem, ensuring you get a clean pull with no part left on the stem. This is called a “clean pull.” Let the leaf sit in a dry, shaded spot for 1-3 days until the torn end forms a callus. This callus is vital as it prevents the leaf from absorbing too much moisture and rotting. Once calloused, simply place the leaves on top of the pre-moistened soil in your coconut shell. Do not bury them. Place the shell in bright, indirect light. Mist the soil lightly only when it is completely dry. In a few weeks, you’ll see tiny pink roots and a new rosette forming.
Method 2: Propagating from Stem CuttingsUsing a clean, sharp knife or scissors, take a 2-3 inch cutting from a healthy succulent stem. Remove the lower leaves to expose a small section of stem. As with leaves, allow this cut end to dry and callus over for 2-4 days. After callousing, make a small hole in the soil of your coconut shell planter and insert the stem. Gently firm the soil around it to provide support. Water very sparingly, only once the soil is fully dry, to encourage the cutting to seek out moisture and grow roots.
Caring for Your New Succulents in Coconut Shells
Your job isn’t over once roots appear. Proper ongoing care ensures they thrive.
Light and Watering RequirementsPlace your coconut shell planters in an area that receives plenty of bright, indirect sunlight. A south or east-facing windowsill is ideal. Avoid intense, direct afternoon sun initially, as it can scorch the young plants. The golden rule for watering is “soak and dry.” When the soil is completely dry, thoroughly water it until excess flows out of the drainage hole. Then, let it dry out completely again. This cycle encourages strong root growth.
When and How to TransplantCoconut shells are fantastic starter homes, but as your succulents grow, they may eventually become root-bound. After 6-12 months, check the root system. If roots are circling densely, it’s time to move to a larger home. You can often crack the shell open gently during transplanting, adding the broken pieces to your new soil mix for continued aeration. The entire shell can also be placed into a larger pot with soil.
Troubleshooting Common Issues
- Mushy Leaves or Stems:This is a sign of overwatering. Immediately stop watering, remove any affected leaves, and ensure the shell is in a warm, airy location to dry out.
- Stretched, Leggy Growth:This indicates insufficient light. Gradually move your succulent to a brighter location.
- No Root Growth:Be patient. Propagation can take weeks. Ensure the soil has very light moisture and the cutting/leaf is calloused properly.
Can I use a coconut shell without a drainage hole?It is highly discouraged. While the material is porous, a dedicated drainage hole is the safest guarantee against water accumulation at the bottom, which leads to root rot. Drilling a hole is a simple, essential step for long-term plant health.
How long does a coconut shell planter last before it decomposes?When kept dry between waterings, a coconut shell can last 2-4 years as a planter. It will slowly break down at the base. This gradual decomposition is beneficial, adding organic matter to the soil. Its lifespan is a testament to its sustainability compared to plastic pots.
Is a special soil mix really necessary, or can I use regular potting soil?Yes, a well-draining mix is critical. Regular potting soil retains too much moisture and will compact in the shell, suffocating the roots and creating a rot-prone environment. A gritty cactus/succulent mix replicates the natural, arid conditions these plants are adapted to, making it a non-negotiable component for success.
Propagating succulents in coconut shells is more than just a gardening project; it’s a satisfying blend of creativity, sustainability, and horticultural science. By following these steps—from properly preparing your unique planter to mastering the delicate balance of light and water—you create not only a beautiful display but also the ideal environment for new life to take root. This method solves the core drainage problem, reduces waste, and yields a living piece of art. So, grab a coconut, take a few cuttings, and enjoy the rewarding process of growing your own stunning succulent arrangements in nature’s own perfect pot.
发表评论