My Journey to a ThrivingSucculent& Agave Rock Garden: A 2-Week Diary of Success and Setbacks
For years, I admired those stunning, low-maintenanceSucculentand agave rock gardens in magazines. They promised a slice of serene, architectural beauty with minimal watering. Yet, my own attempts often ended in disappointment—plants turning to mush, soil that never drained, or a layout that looked more haphazard than harmonious. The core problem was clear: creating a resilientSucculent& Agave Rock Garden Designisn't just about tossing plants onto gravel. It requires understanding the desert-like ecosystem these plants crave. After my last failed bed, I decided to approach it methodically, documenting every step and observing the results over a critical two-week establishment period. Here’s my honest, step-by-step account.
The Foundation: Planning and Site Selection
I started by choosing a spot that gets a solid 6-8 hours of direct sunlight, crucial for mostSucculentsand agaves to prevent etiolation. My chosen area was a gentle south-facing slope, which promised excellent natural drainage—a non-negotiable factor. I marked out a 10x4 foot space. My core philosophy for thisdrought-tolerant rock garden designwas to mimic nature: sharp drainage, poor but appropriate soil, and strategic placement.
Key Step: Soil and Drainage PrepThis is where I’ve failed before. This time, I removed about 8 inches of existing clay-heavy soil. I then created a custom mix recommended by several resources from the American Horticultural Society (AHS), which emphasizes gritty mediums for xeric plants. My blend was:

- 40% coarse sand (not play sand)
- 30% screened topsoil
- 30% fine crushed granite or poultry grit I laid a 2-inch base of this mix across the entire area. Then, I began placing my larger, statement rocks. I learned to bury at least one-third of each rock’s height to make it look natural and anchored, a tip straight from alpine and rock garden society guidelines.
The Art of Plant Selection and Layout
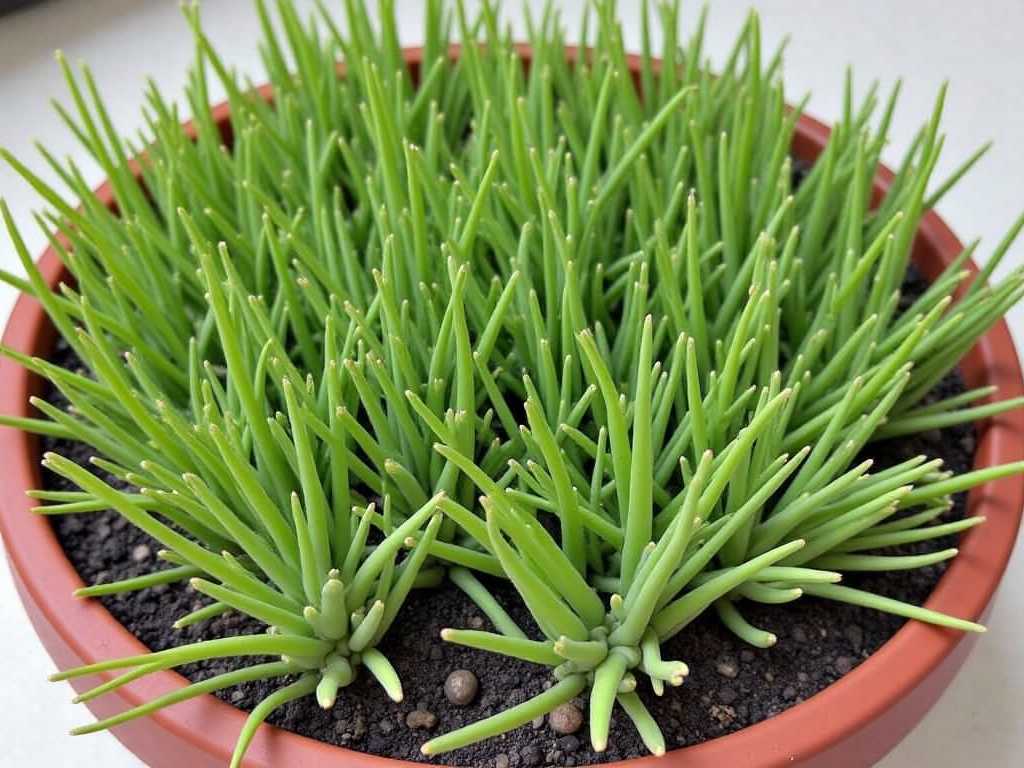
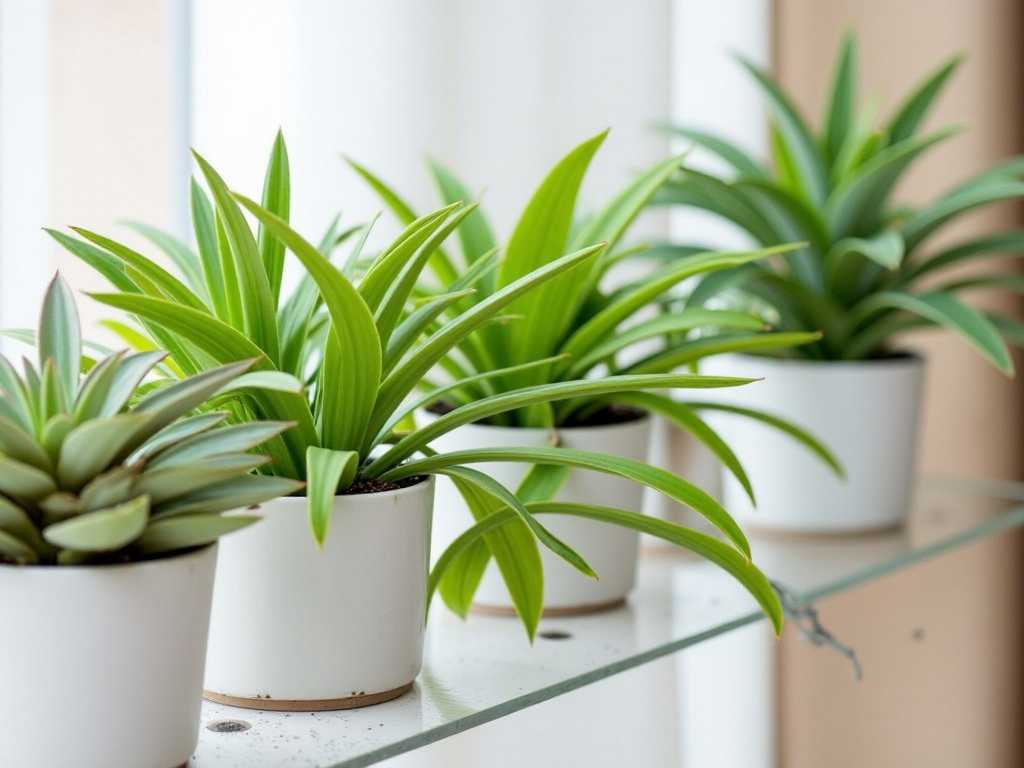
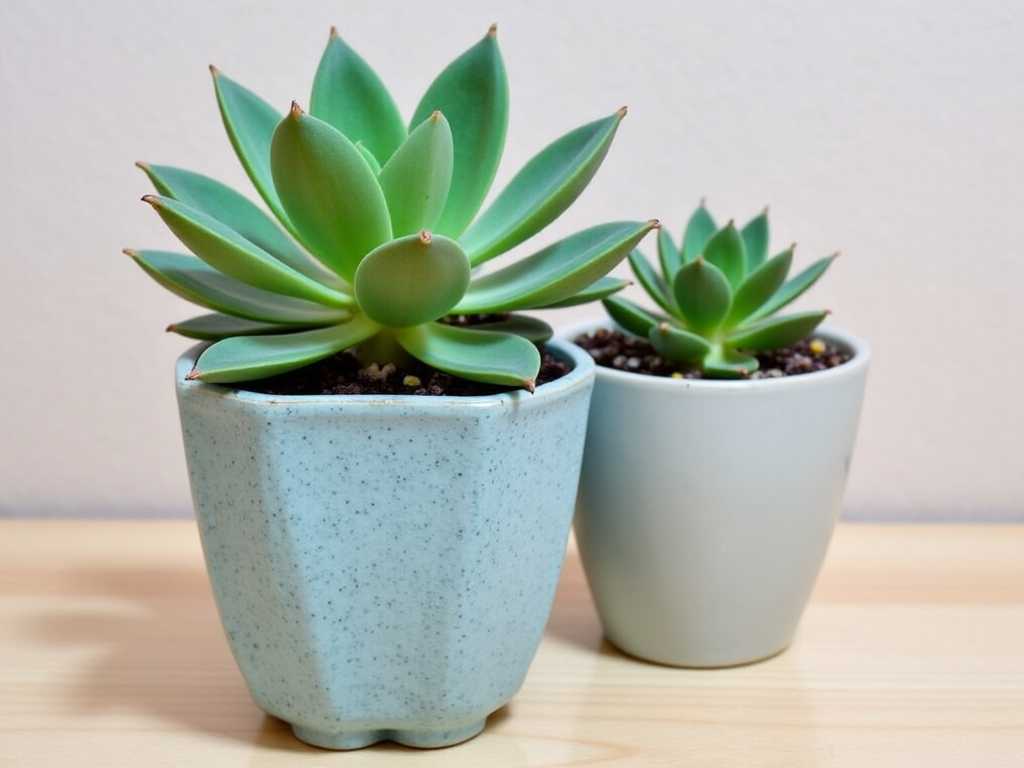
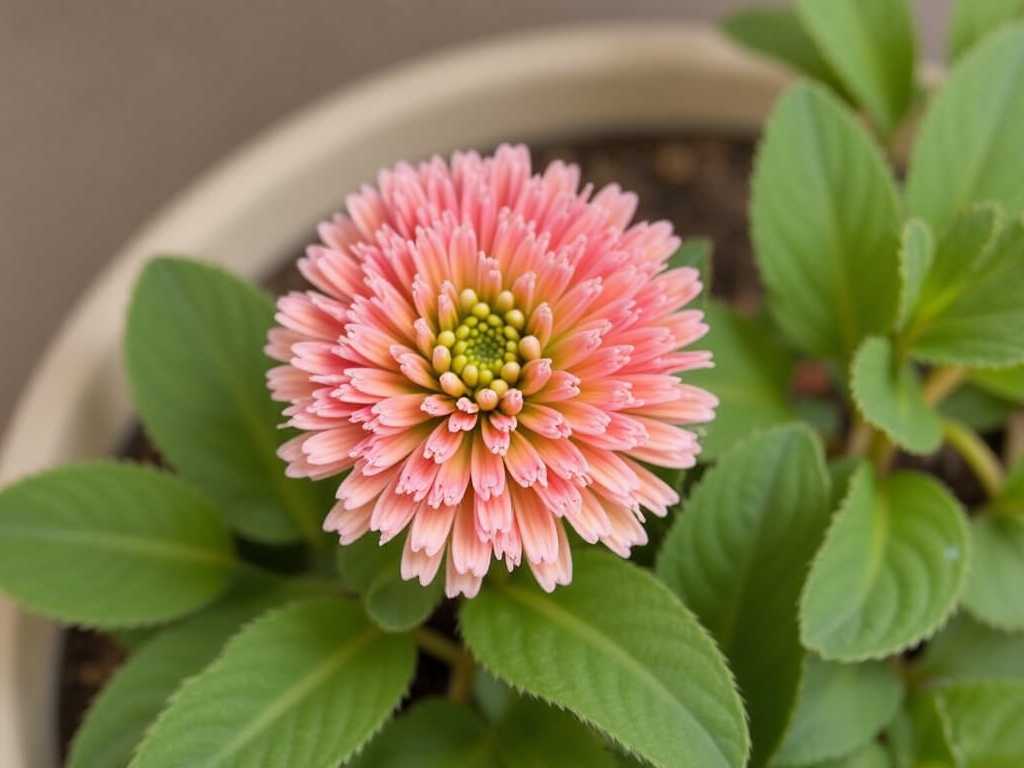
I visited a specialty nursery to choose my plants, focusing on texture, form, and cold-hardiness for my zone. My centerpiece was a stunningAgave parryi(Parry’s Agave). Around it, I planned for contrasting forms: verticalSansevieria cylindrica, rosettes ofEcheveria ‘Lola’andSempervivum(hens and chicks), and trailingSedum morganianum(burro’s tail) for the edges.
")
I practiceddesigning withSucculentsand agaves for textureby arranging all plants in their nursery pots on the soil surface, playing with groupings of three and five for visual impact. I ensured each agave and larger succulent had ample space to reach its mature size, avoiding the tempting but fatal mistake of overcrowding.
Planting Day and Initial Setup
Once satisfied with the layout, I started planting. For each plant, I dug a hole slightly wider than the root ball and backfilled with my gritty soil mix. I planted them at the same depth they were in their pots. After all were in place, I applied a top dressing of ¾ inch crushed slate. This was a game-changer—it locks in the gritty soil, suppresses weeds, keeps leaves dry, and gives a finished, professional look that elevates the entirexeriscape rock garden design.
I gave the entire garden a thorough, deep watering to settle the roots and eliminate air pockets. This is the only time it would be truly soaked for a while.
The Critical First Two Weeks: Observation and Adjustment
This period was all about monitoring and subtle intervention.
Week 1 Observations:The garden looked fantastic right after planting. However, by day 3, we had an unexpected heatwave. I noticed some of theEcheverialeaves looking slightly wrinkled. This was my first “pitfall.” The temptation was to water immediately, but I knew shallow, frequent watering encourages weak roots. Instead, I checked the soil moisture two inches down near a plant—it was still slightly damp. I held off. I also observed that theSedum morganianumon the sunniest edge was getting a bit scorched.My fix:I used a piece of burlap clipped to a garden stake to provide light, temporary afternoon shade for just that section. Within two days, the stress coloring halted.
Week 2 Observations:The heatwave broke, and cooler temperatures returned. The wrinkledEcheveriaplumped back up without any extra water, proving the deep initial watering was working and the roots were seeking moisture. This was a huge win for mylow-maintenance succulent landscapeapproach. However, a new issue arose: birds! They were fascinated by the shiny slate and were occasionally dislodging smallSempervivum.My fix:I placed a few small, prickly branches from a trimmed rose bush around the most disturbed areas. The gentle deterrent worked without harming the aesthetic. By the end of week two, every plant showed signs of new root establishment—no further wilting, and a few even had the beginnings of new, compact growth.
Lessons Learned and Pitfalls Avoided
- Pitfall: The Wrong “Sand.”In a past attempt, I used fine builder’s sand, which compacted like concrete.Solution:Invest in coarse, sharp sand or poultry grit. Drainage is everything.
- Pitfall: Watering on a Schedule.Succulentsdon’t care what day it is.Solution:Water based on signs of thirst (slight wrinkling) and soil dryness, not the calendar. The two-week test proved deep, infrequent watering builds resilience.
- Pitfall: Ignoring Microclimates.Even a small garden has hotter and cooler spots.Solution:Observe daily. Use temporary shade for newly planted or stressed specimens, and place the most sun-hardy plants (like many agaves) in the hottest zones.
- Pitfall: Skipping Top Dressing.I used to think it was just cosmetic.Solution:It’s functional. It kept the soil structure intact during heavy rain in week two and kept the lower leaves of my rosettes dry and rot-free.
How often should I water my new succulent rock garden?After the initial deep watering, wait. Let the soil dry out completely before watering again. In my two-week observation, with moderate temperatures, no additional water was needed. Always check the soil a few inches down near a root zone.
Can I use any rocks I find for my garden?Be cautious. Porous rocks like limestone can alter soil pH. I used locally sourced granite and slate. Rounded river rocks can work, but angular rocks often create a more natural, “outcrop” look and stay in place better.
What’s the biggest mistake beginners make?Using rich, moisture-retentive potting soil or garden soil. It’s a death sentence for most succulents and agaves. Your goal is to create a fast-draining, gritty environment that replicates their native, arid habitats. The custom soil mix and top dressing were the most critical factors in my two-week success story.
Building this garden taught me that success lies in the preparation. By focusing on perfect drainage, mindful plant placement, and close observation during the critical establishment phase, you create a living sculpture that requires less care and offers more joy with each passing season. The true beauty of a well-designed succulent and agave rock garden is not just in its appearance, but in its resilient, self-sufficient nature.
发表评论