HydroponicSucculent Care: My 2-Week Journey from Soil to Water
For years, I considered myself a decentSucculentparent. My windowsills were dotted with echeverias and haworthias, all sitting pretty in their terracotta pots. But I kept hitting the same wall: overwatering. No matter how careful I was, the dreaded mushy leaves or root rot would claim another victim. I was tired of playing a guessing game with soil moisture. That’s when I decided to dive headfirst intoSucculentcare in hydroponics. The promise of precise control over water and nutrients, eliminating the guesswork of soil, was too compelling to ignore. This is my honest, step-by-step account of transitioning mySucculents to water, the dramatic changes I observed over two weeks, and the crucial lessons I learned the hard way.
Why I Chose Hydroponics for MySucculents
The logic seemed counterintuitive at first. Aren’tSucculentsfamous for thriving on neglect and dry conditions? Absolutely. But traditional soil cultivation creates a paradox. We use fast-draining mixes, yet the organic matter can still retain unwanted moisture around the roots, the main cause of rot.Hydroponic systems forSucculentsflip this script. Instead of hoping the soil dries out fast enough, you provide direct access to water and oxygen simultaneously. The roots drink what they need from a nutrient solution or water reservoir, while the crown and stem remain completely dry. It’s about giving them consistent, controlled hydration without the soggy environment. Organizations like the Royal Horticultural Society (RHS) note that while unconventional, hydroponics can offer superior control over the root zone environment, which is critical for moisture-sensitive plants.
My Step-by-Step Setup and Transition Process
I didn’t jump into a complex system. I started with the simplest method: passive hydroponics, specifically the “water culture” technique. Here’s exactly what I did.

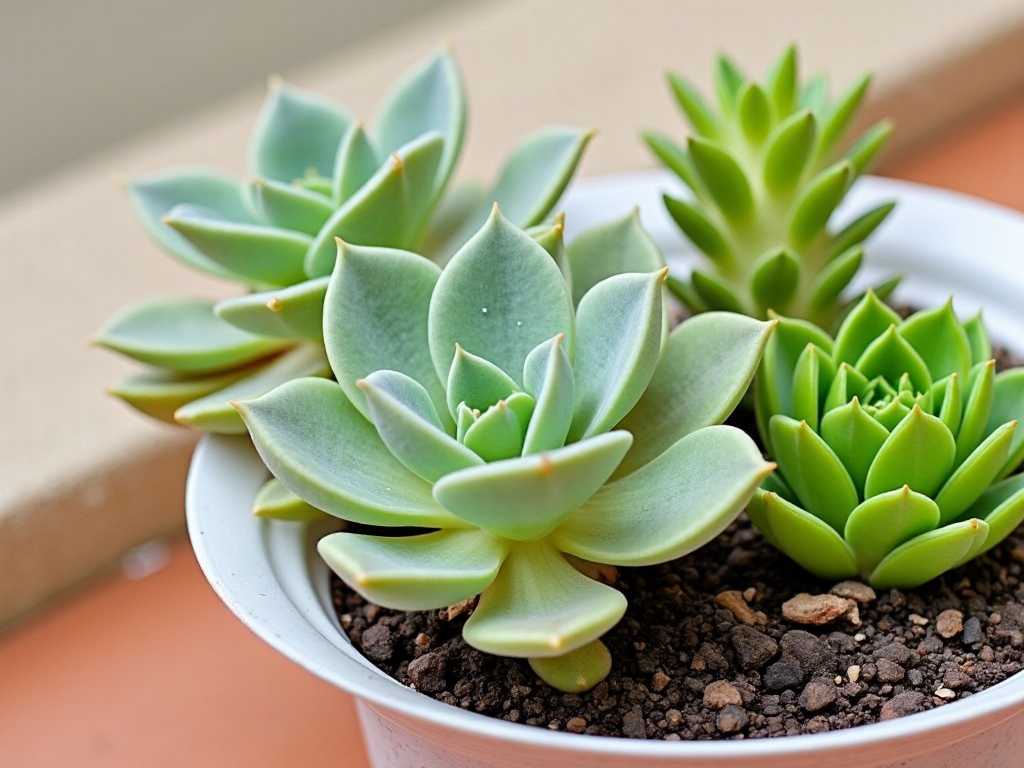
Week 0: Preparation and Plant SelectionI chose two healthy, established succulents for this experiment: a robust Echeveria ‘Perle von Nürnberg’ and a trailing Sedum burrito (Burro’s Tail). Health is non-negotiable; a sick plant won’t magically recover in water. I gathered clear glass jars, distilled water, a balanced hydroponic nutrient solution formulated for succulents (with a lower nitrogen ratio), and a pair of sharp, sterilized scissors.
The first critical step was unpotting and bare-rooting. I gently removed all the soil from the root balls under lukewarm running water. This took patience to avoid breaking too many roots. Once clean, I performed the most nerve-wracking part: the root trim. Following expert advice, I cut away the fine, soil-adapted root hairs, leaving the main, thicker taproots. This encourages the plant to develop new, water-adapted roots. I then let the plants air-dry on a paper towel for a full 48 hours. This callusing period is essential to prevent the cut ends from rotting when introduced to water.
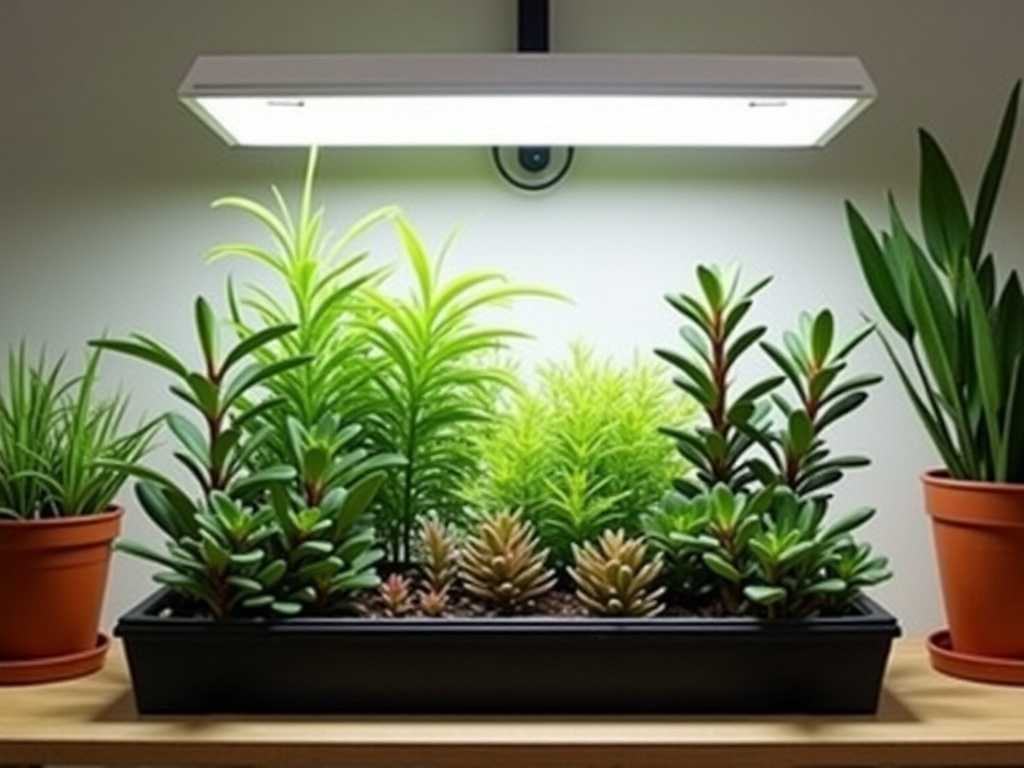
Day 1: The Hydroponic HomeAfter the callusing period, I prepared my nutrient solution. I used a quarter-strength dose of the succulent-specific nutrients in distilled water, as recommended for the transition phase. I filled my jars so the water level would just barely kiss the very bottom of the roots, leaving the vast majority suspended in air. Using foil or net pots to hold the plant stable over the jar mouth is ideal, but I used cling film with a hole poked in the center as a quick fix. The goal is to suspend the plant, allowing the roots to seek out the moisture below while getting maximum oxygen exposure. I placed the jars in a spot with bright, indirect light—direct sun through glass could overheat the water and “cook” the roots.
The 2-Week Observation: A Rollercoaster of Change
The transformation wasn’t instant, and it wasn’t always pretty. Here’s my daily log of the key phases.
Days 1-5: The Shock PhaseMy Echeveria looked miserable. Its lower leaves began to wrinkle and soften significantly. My heart sank—this looked like underwatering! The Sedum showed less dramatic change. This was the first major test of faith. I learned this is normalhydroponic shock. The plant is shedding its soil roots and hasn’t yet grown water roots. It’s living on stored moisture. The American Horticultural Society (AHS) emphasizes that transplant shock is a period of high stress where the plant reallocates energy. I resisted the urge to water it traditionally or change the setup. I simply ensured the environment was stable.
Days 6-10: The First Signs of LifeAround day 7, I noticed tiny, bright white nubs emerging from the trimmed root ends of the Echeveria. These were the firsthydroponic roots! They looked completely different from the brown, fuzzy soil roots—crisp, white, and almost translucent. This was the breakthrough. The leaf wrinkling on the Echeveria stopped progressing. The Sedum, slower to show, also began developing these new root tips. I topped up the jars with fresh quarter-strength nutrient solution, maintaining the same water level.
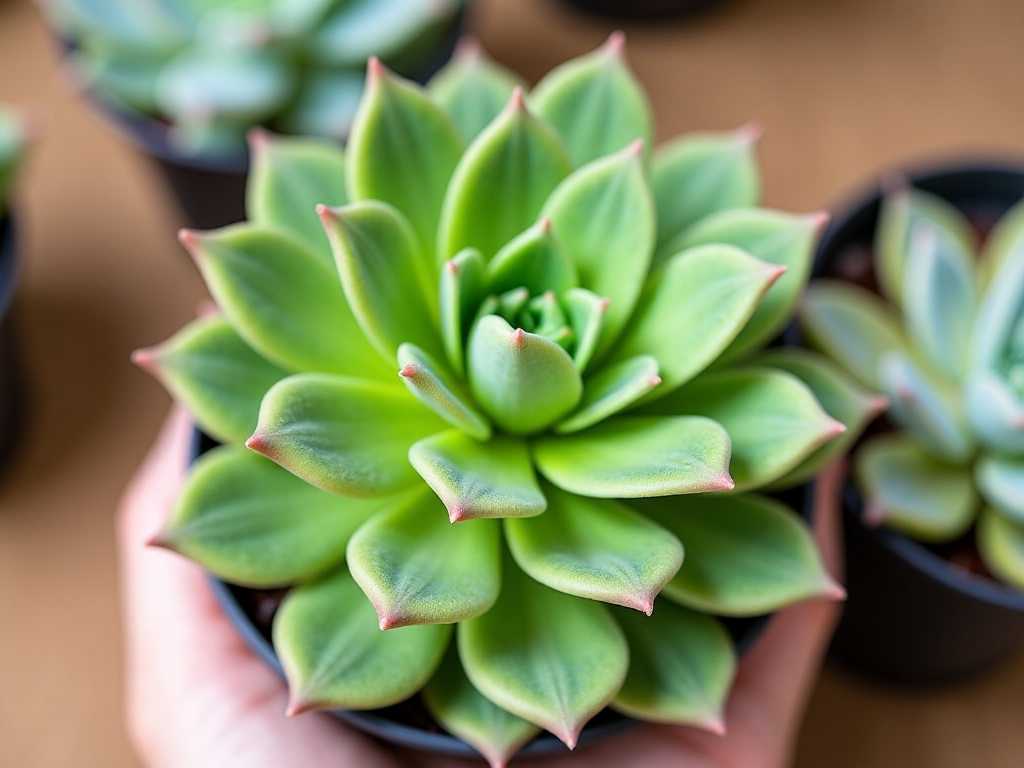
Days 11-14: Stabilization and GrowthBy the end of the second week, both plants had a network of these new water roots, several centimeters long. The most remarkable change was in the Echeveria’s plumpness. The leaves that had wrinkled began to rehydrate and firm up from the center outwards. The new growth at the center became a deeper, more vibrant purple. The plant wasn’t just surviving; it was visibly thriving on the consistent moisture availability. The Sedum’s beads plumped up beautifully. The growth was subtle but undeniable—the plants had successfully adapted.
The Pitfalls I Encountered (And How I Fixed Them)
My journey wasn’t flawless. I made mistakes that taught me invaluable lessons.
Pitfall 1: Algae Bloom in the JarBy day 4, I noticed a green film forming on the glass and roots in the clear jar. Algae thrives on light and nutrients. My clear jar was an algae paradise.Solution:I immediately switched to amber or opaque containers for future setups. For this batch, I carefully rinsed the roots with distilled water, cleaned the jar with a mild bleach solution (10%), and refilled with fresh nutrient solution. I also wrapped the jar in aluminum foil to block light from reaching the water and roots.
Pitfall 2: Incorrect Water LevelInitially, I submerged too much of the stem. I saw a slight softening at the base of a few lower leaves. This was the beginning of stem rot.Solution:I lowered the water level dramatically, ensuring only the very tips of the new white roots were in contact with the solution. The rest of the root mass and the entire stem stayed in the humid air above. This balance is the secret topreventing rot in hydroponic succulents.
Pitfall 3: Using Tap WaterMy first nutrient mix was made with tap water. Within days, I saw white mineral crusts on the jar and roots.Solution:I switched exclusively to distilled or reverse osmosis water. Succulents in hydroponics are sensitive to mineral buildup, which can block nutrient uptake. This simple switch made a dramatic difference in root health.
")
Maintaining My Hydroponic Succulents Long-Term
After the two-week transition, the realcare for succulents in waterbegins. The maintenance is surprisingly simple. I now change the nutrient solution completely every two weeks, rinsing the jar and roots gently. I’ve increased the nutrient strength to half-dose. The light remains bright and indirect. The most significant change is the peace of mind—I no longer worry about a watering schedule. The plant has constant access to what it needs.
Will my succulents bloom in hydroponics?It’s too early to tell for mine, but many hydroponic growers report prolific blooming. The consistent nutrient delivery and lack of environmental stress can encourage flowering. My plants are certainly putting energy into vigorous growth, which is the first step.
Can any succulent be grown hydroponically?From my research and experience, epiphytic succulents like Schlumbergera (Christmas Cactus) or Rhipsalis adapt exceptionally well, as they naturally grow on trees with minimal soil. Rosette-forming succulents like Echeveria and Sempervivum also do well. Avoid succulents with giant taproots or those extremely prone to rot, like some Lithops.
What’s the biggest advantage over soil?For me, it’s the elimination of the over/underwatering cycle. The root health is visible, and the plant’s hydration is consistent. It turnsSucculent Carefrom an art of drought simulation into a science of precise provision.
My two-week experiment has permanently changed how I viewSucculent Care. While it requires a precise start and vigilance against pitfalls like algae, the payoff is a set of incredibly healthy, low-maintenance plants. The transition period is tense, but witnessing those first white hydroponic roots is a thrill every plant lover should experience. If you’re battling with soggy soil and root rot,succulent hydroponicsoffers a clear, controlled, and deeply rewarding alternative.


发表评论