How to Care for Haworthia Cooperi: A 2-Week Journey from Wrinkled to Wonderful
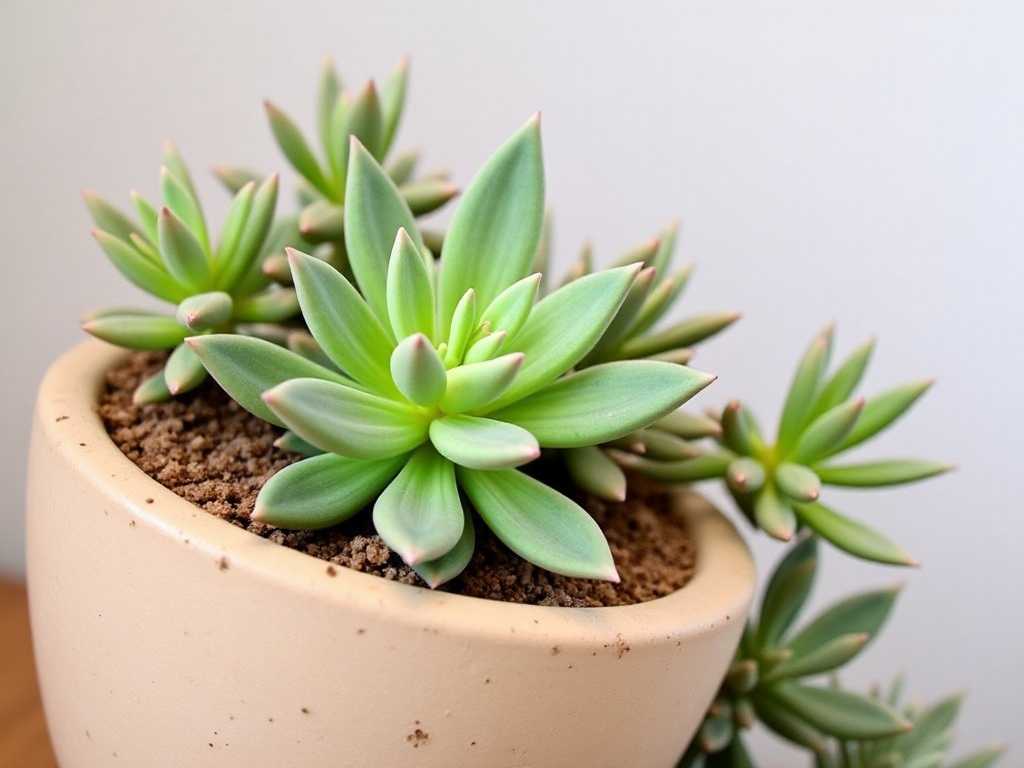
I remember the day I brought my first Haworthia cooperi home. Its plump, translucent leaves, like little green windows to another world, were mesmerizing. But within days, those plump leaves began to wrinkle and soften. I was heartbroken. I thought I had killed this beautiful, otherworldlySucculent. If you've ever panicked over a softening Haworthia cooperi, you're not alone. Their care is deceptively simple, yet a small misstep can lead to confusion. Over years of collecting, I've learned that understanding its specific needs is the key to unlocking its full, jewel-like beauty. Let me walk you through my proven care routine, tested and refined over a recent two-week rescue mission with a struggling plant.
My journey with this particular Haworthia cooperi began with a clear problem. I had neglected it during a busy period, and it was showing clear signs of thirst. The lower leaves were noticeably wrinkled and less firm than the plump center growth. My goal was simple: revive it using properHaworthia Cooperi caretechniques and document the exact process. This isn't just theory; it's a real-life case study from my plant shelf.

Understanding Your Haworthia Cooperi's Native Needs
Before we dive into action, it's crucial to think like the plant. Haworthia cooperi hails from South Africa, often growing partially shaded by rocks or taller grasses. This means it loves bright, indirect light, not the harsh, direct desert sun we associate with many cacti. Experts from the Royal Horticultural Society (RHS) note that Haworthias, including cooperi, are excellent houseplants precisely because they thrive in the bright light of a windowsill without needing scorching direct exposure all day. They've adapted to store water in those juicy leaves, but they also have a compact root system that hates sitting in moisture.
The Rescue Protocol: A Step-by-Step Guide
Here is the exact regimen I followed for my stressed plant. I started this protocol on a Saturday morning to give the plant a full weekend of recovery time before my work week.
Step 1: The Thorough Inspection and Diagnosis
First, I gently removed the plant from its decorative pot. I was checking for two major issues: root rot and compacted, hydrophobic soil. The soil was bone dry and had pulled away from the edges of the nursery pot—a classic sign of prolonged dryness. I carefully brushed away the old soil and inspected the roots. To my relief, they were thin, white, and healthy-looking, with no signs of mushiness or rot. The problem was purely underwatering. This diagnosis is critical; watering a plant with root rot using this method would be disastrous.
Step 2: The Bottom-Watering Technique
This is the most important step I've learned forSucculent Care. Top-watering can sometimes bypass the dry root ball, especially with peat-heavy mixes. Instead, I took a bowl, filled it with room-temperature water (cold water can shock the roots), and placed the entire nursery pot inside. I let it sit for about 20-30 minutes, allowing the soil to wick up moisture from the bottom until the top surface felt damp. I then removed it, let all the excess water drain out completely, and placed it back in its dry decorative pot.Neverlet the pot sit in a saucer of water.
Step 3: The Perfect Spot for Recovery
I placed the plant on an east-facing windowsill. This provided several hours of gentle morning sun but protected it from the intense afternoon rays. A north or south window with a sheer curtain would also work perfectly. The goal is bright, filtered light to encourage photosynthesis without causing sunburn on its stressed leaves.
")
The Two-Week Observation Log
This is where the real learning happened. I kept a simple daily log to track progress.
- Days 1-3:No visible change. The soil was drying nicely. This is normal; the plant is absorbing water into its roots and transport system.
- Days 4-7:I noticed the very center of the rosette looked slightly greener and tighter. The wrinkled leaves still felt soft, but they hadn't gotten worse. This was the first sign of success.
- Day 10:A clear turning point! The lower, wrinkled leaves began to plump up from the base toward the tip. They weren't fully firm yet, but the texture was noticeably improved. The plant overall looked more hydrated and vibrant.
- Day 14:Mission accomplished. The previously wrinkled leaves were about 90% plump and firm. The entire plant had a robust, turgid appearance. The new growth in the center was pushing out vigorously. The transformation from limp to lively was complete.
The Pitfalls I've Faced (And How to Avoid Them)
My success today is built on past failures. Here are the common traps and how I solved them.
The Overwatering Trap: The Soggy Soil SagaEarly on, I treated my Haworthia cooperi like a tropical plant, watering it on a weekly schedule. The leaves turned mushy and yellow, and a horrible smell came from the soil—root rot. The American Horticultural Society (AHS) advises that forSucculents, "when in doubt, wait it out." The fix was drastic: I un-potted the plant, cut away all black, mushy roots with sterile scissors, let it callous over for two days, and re-potted it in a fresh, gritty mix. I didn't water for another week. It survived, but it was a stressful lesson. Now, I only water when the soil is completely dryandthe lower leaves show slight give when gently squeezed.
The Sunburn Blunder: When Too Much Love HurtsThinking "more sun must be better," I once moved a cooperi to a full-south window. Within days, the beautiful translucent tips turned brown, crispy, and scarred. The solution was immediate relocation to bright, indirect light. The scars remained, but new growth was healthy. I learned that filtered light is key for maintaining those pristine "windows."
The Potting Mix Mistake: Why Grit is Non-NegotiableUsing standard potting soil led to compaction and poor drainage. My plants were constantly at risk. I now use a specialized mix: about 50% potting soil, 25% perlite, and 25% coarse sand or pumice. This creates the fast-draining, aerated environment their roots crave. Repotting into this mix was a game-changer for my entire collection's health.
Sustaining Your Success: Long-TermHaworthia Cooperi care
Once your plant is happy, maintenance is simple. Water deeply using the bottom-soaking method only when the soil is fully dry. Feed it with a diluted, balanced fertilizer once in spring and once in summer. They enjoy being slightly root-bound, so repot only every 2-3 years, ideally in spring. Watch for pests like mealybugs, especially in the leaf crevices; a dab of rubbing alcohol on a cotton swab takes care of them.
Your Questions, Answered
How often should I water my Haworthia cooperi?Throw away the calendar. Watering frequency depends on light, temperature, and pot size. The best method is the "soak and dry" approach: water thoroughly only when the soil is 100% dry. In my home, this averages every 2-3 weeks, but it can be longer in winter.
Why are the tips of my Haworthia cooperi turning brown?This is almost always sunburn. While they need bright light, direct afternoon sun, particularly through a hot window, is too intense. Move your plant to a spot with bright, indirect light (like near an east-facing window) and the new growth will come in green.
Is it normal for the bottom leaves to dry up?Yes, occasionally. As the plant grows, it will naturally reabsorb nutrients from its oldest, lowest leaves. They will dry into a papery husk. You can gently pull them away once they are completely dry. This is different from widespread wrinkling or yellowing, which signals a watering issue.
Caring for Haworthia cooperi is a rewarding practice in mindful observation. It teaches you to read the subtle signs—the slight give of a leaf, the color of the soil, the pace of new growth. By mimicking its native conditions with bright, indirect light, deep but infrequent watering, and a gritty home for its roots, you'll be rewarded with a thriving, geometric jewel that adds a touch of serene beauty to any space. Start by checking your plant's soil and light today; that's the first step on your own journey to success.

发表评论