Succulent& String of Pearls Hanging Gardens: My 2-Week Journey from Bare Walls to Lush, Living Art
I used to stare at my empty, sun-drenched walls and think, “What a waste of perfect light.” I craved greenery, but my limited floor space said otherwise. That’s when I discovered the transformative magic of creating aSucculentand string of pearls hanging garden. It promised vertical beauty, minimal footprint, and the unique charm of trailing plants. But theory is one thing; practice is another. Here is my complete, real-world account of building and nurturing my own hanging oasis over two intensive weeks, including every triumph and stumble along the way.
Why a HangingSucculentGarden Solves the Modern Plant Lover’s Dilemma

The core problem for many urban plant enthusiasts is space. We have the light, we have the desire, but we lack the square footage. Asucculent hanging gardenisn’t just a decoration; it’s a space-saving revolution. By utilizing vertical air space, you can cultivate a stunning collection. Incorporating specimens like the belovedString of Pearls(Senecio rowleyanus) adds dynamic, cascading lines that floor-bound pots simply cannot achieve. According to the Royal Horticultural Society (RHS), vertical gardening, especially with drought-tolerant plants likeSucculents, is an excellent strategy for maximizing growing areas and improving indoor air quality. This was the expert confirmation I needed to begin.
My Step-by-Step Blueprint for a Thriving Hanging Display
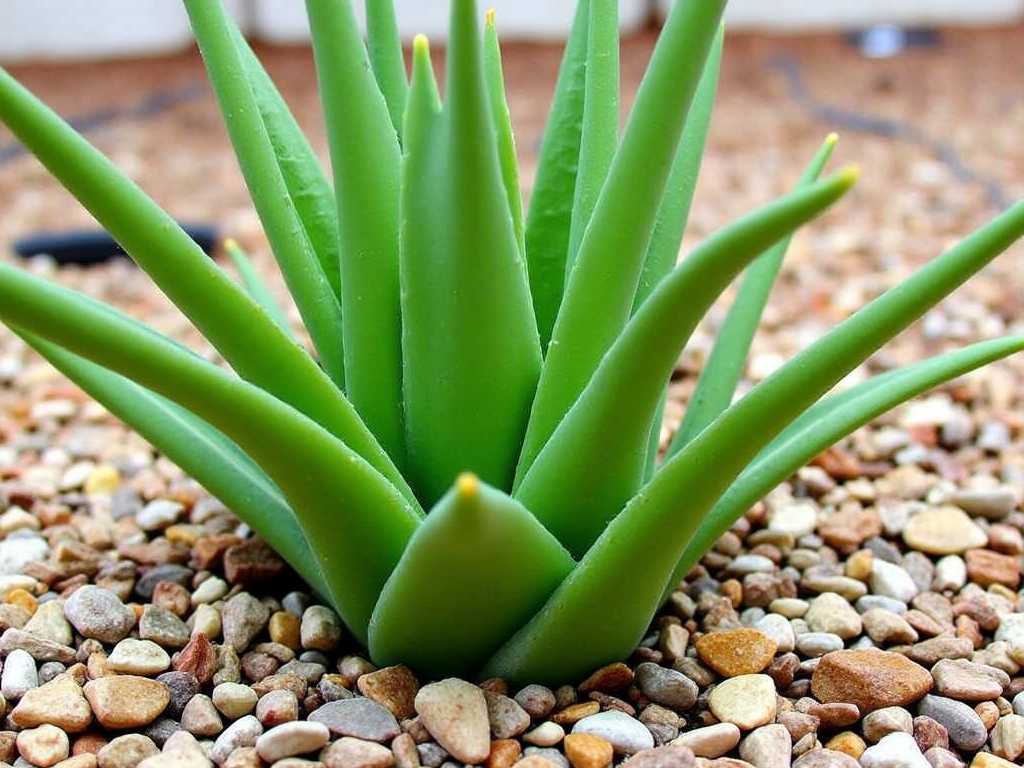
I decided to focus on a mix of texturalSucculentslike Echeveria and Sedum, with severalString of Pearls plantsas the star trailers. My goal was a layered, living sculpture.
Week 1: The Foundation – Assembly and Planting
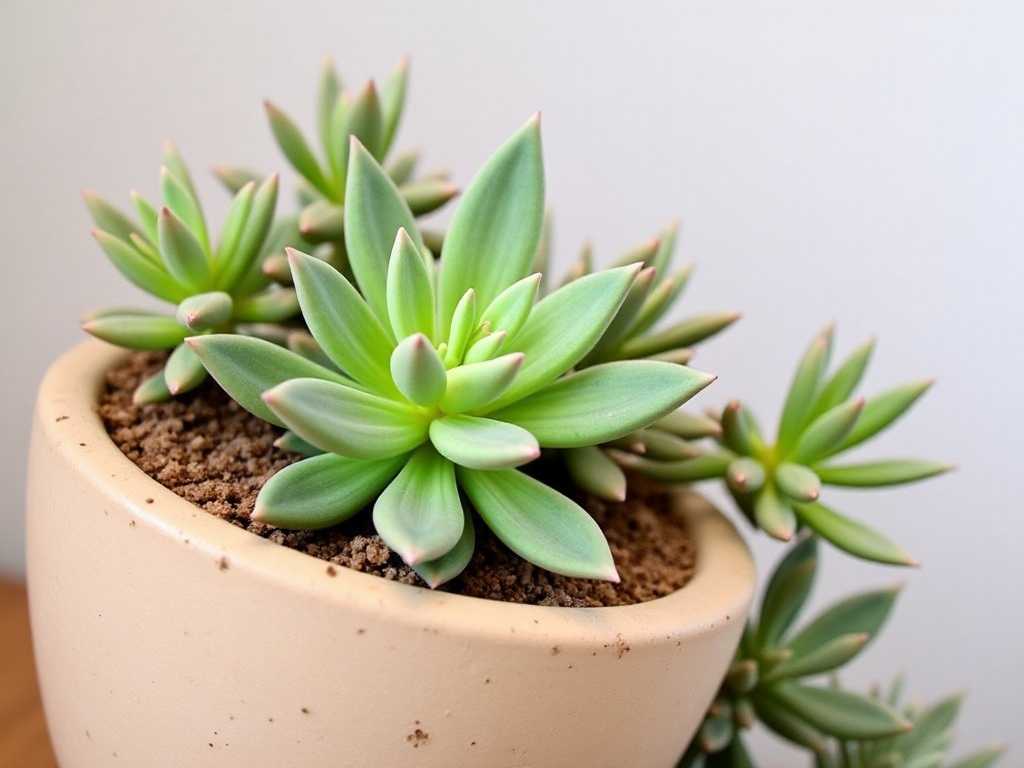
Day 1-2: Gathering Supplies and Choosing the Right Plants. I selected two types of planters: a wide, shallow wire frame lined with coco coir for a “living wall” effect, and individual ceramic hanging pots with large drainage holes for my Strings of Pearls. The American Horticultural Society (AHA) emphasizes drainage as non-negotiable forSucculents, so I ensured every container complied. I sourced my plants from a reputable nursery, checking for firm, plump leaves and no signs of pests on the pearls.
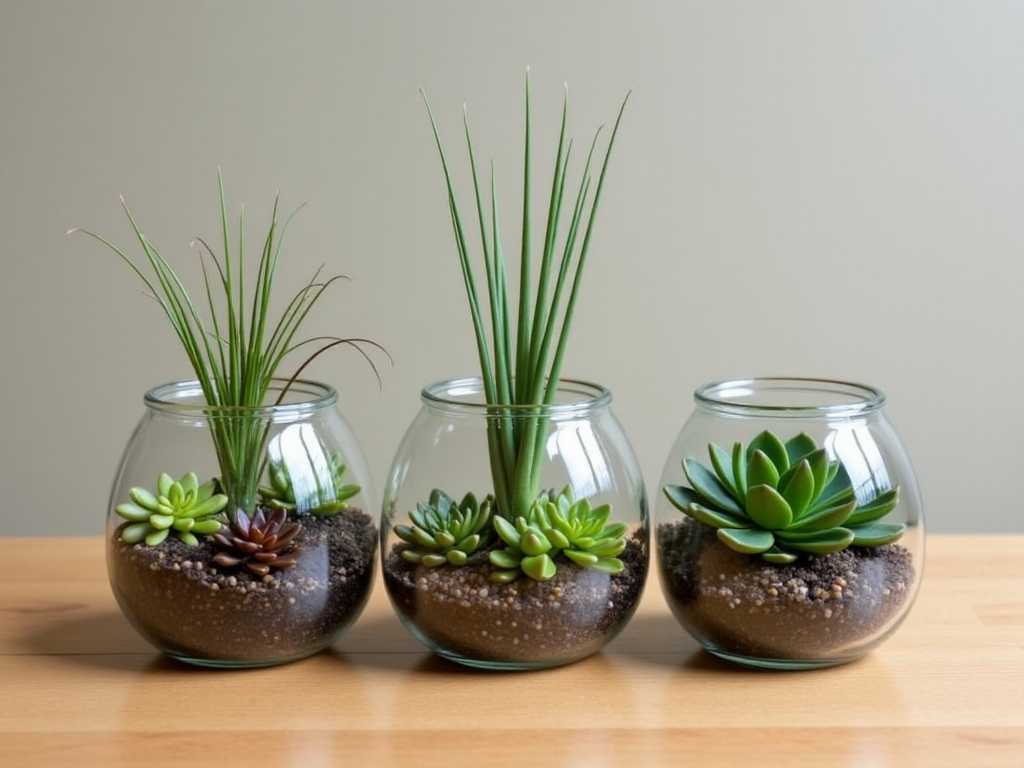
Day 3: The Planting Process. For the wire frame, I created a well-draining mix using 2 parts potting soil, 1 part perlite, and 1 part coarse sand. I firmly packed the moistened mix into the coco coir liner. Then, I carefully tucked the root balls of various rosette succulents into the pockets, ensuring good soil contact. For the individualString of Pearls hanging baskets, I filled them with a similar mix, made a small hole, and gently coiled the strands on top of the soil, lightly pressing the nodes into the mix to encourage rooting. I did not water immediately.
Day 4: Initial Placement and First Watering. After letting the plants settle for 24 hours, I gave them a thorough bottom soak. I placed the entire garden in a bright, indirect light spot for what I planned as a 5-day “acclimation period” before hanging. This was my first planned precaution against shock.
The First Week’s Observations and Immediate Hurdles
By Day 7, the rosette succulents in the frame looked stable. However, I noticed a few pearls on one strand looking slightly shriveled. My instinct was to water again, but I checked the soil—it was still damp an inch down. I realized the issue wasn’t thirst but potential root disturbance and humidity adjustment.
- The First “Catch”:Overcare. I was misting the garden lightly every morning, thinking it would help. Upon consulting AHA resources, I learned misting succulents, especiallyString of Pearls, can lead to rot and does little for humidity. I stopped misting immediately.
- The Solution:I moved the slightly stressedString of Pearlspot to a slightly brighter spot (still no direct sun) and left it completely alone. I trusted the process.
Week 2: Adjustment, Growth, and Refinement
Day 8-10: The Hanging and Light Optimization. Confident the plants were acclimated, I hung the display. The wire frame went on a wall receiving bright, filtered light for most of the day. The individual pearl baskets were hung in a spot with a few hours of gentle morning sun—ideal for encouraging tight growth, as per RHS guidance. I began a simple rotation routine, turning each pot a quarter turn every 3 days to ensure even growth.
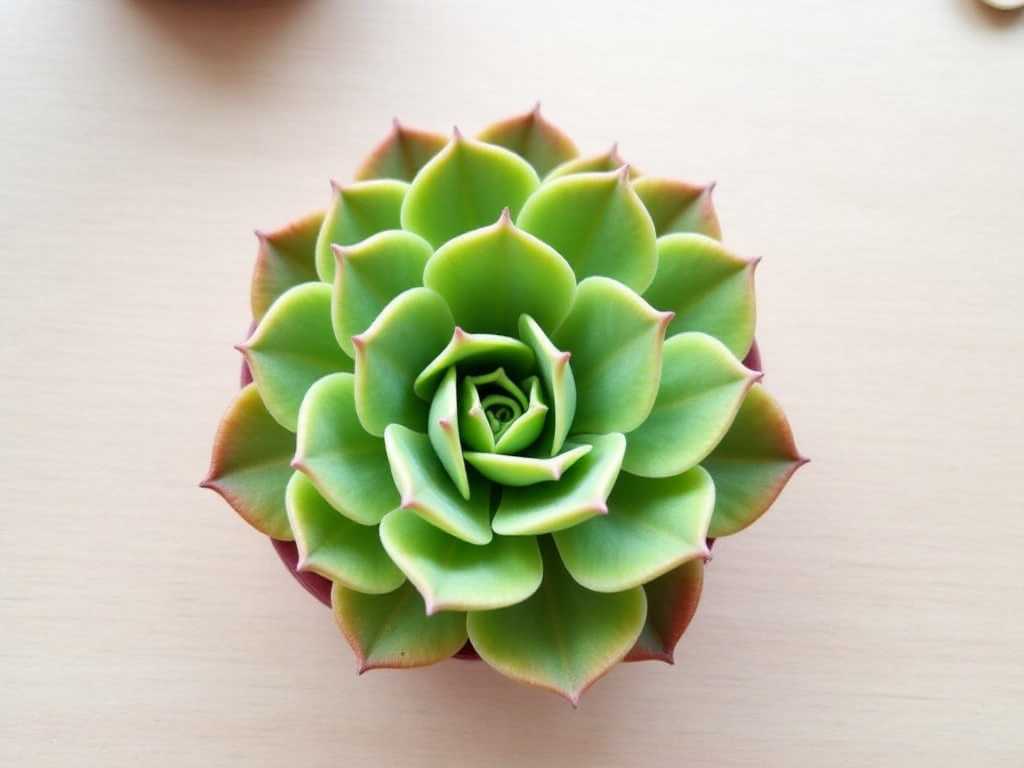
Day 11-14: Monitoring and the Second Challenge. Growth was subtle but visible. New tiny pearls emerged at the ends of the strands. The Echeverias in the frame began to orient their heads toward the light. Then, on Day 12, I saw a single yellowing pearl at the soil surface of one pot.
- The Second “Catch”:Early Signs of Overwatering. The yellow pearl was a warning. I investigated and found the topsoil was dry, but the pot felt heavier than it should. The drainage hole was clear, but the soil mixture in that particular pot retained more moisture than the others.
- The Solution:I carefully removed the affected strand section. I then improved aeration by gently poking small holes into the soil surface with a chopstick to allow moisture to evaporate more efficiently. I resolved to extend the watering interval for that specific pot and considered repotting it with a grittier mix after the two-week mark if no further improvement occurred. This incident underscored the importance of tailoring care even within the same garden.
The 2-Week Verdict: A Success with Learned Nuances
After 14 days, mysucculent and string of pearls vertical gardenis not just surviving; it’s establishing itself. The initial shriveling on the pearls plumped back up with adjusted care. The yellowing was isolated and addressed. The visual impact is profound—the cascading strings are beginning to spill over elegantly, and the wall frame is a tapestry of form and color.
The key takeaways from my hands-on experiment are:
- Patience is Part of the Process:Acclimation is real. Don’t panic at initial slight stress; adjust environment before reaching for the watering can.
- Drainage is King, But Soil is Queen:Even with perfect holes, the soil composition must be gritty enough. One-size-fits-all mixes might need tweaking per plant.
- Observation Over Schedule:Water based on plant signs and soil dryness, not the calendar. Myhanging succulent displaytaught me to “listen” to each plant.
Addressing Your Curiosities
How often should I water my String of Pearls in a hanging basket?In my two-week observation during establishment, once a week was sufficient. However, the true test is the soil. Water only when the pearls near the soil look slightly less plump and the soil is completely dry. In deeper baskets, this can take 10-14 days. When in doubt, wait a day or two.
")
Can I use regular potting soil for my succulent hanging garden?I strongly advise against it. Regular soil retains too much moisture. My mix of potting soil, perlite, and coarse sand provided the fast drainage my plants needed to avoid root rot. It’s a simple step that guarantees success.
Why are the pearls on my String of Pearls popping or splitting?This is almost always a sign of overwatering. The plant absorbs too much water too quickly, and the leaf cells burst. This happened to one of my pearls early on when I was overzealous. The solution is to let the soil dry out thoroughly and increase the time between waterings significantly. Ensure your plant is in a breathable pot with excellent drainage.
Creating this garden was a lesson in balance and attention. It requires less frequent care than many houseplants, but more thoughtful observation. The result—a living, breathing piece of art that defies spatial constraints—is utterly worth the mindful effort. Start with the right foundation, watch closely, and soon you’ll have your own thriving cascade of greenery.

发表评论