How to FixSucculentRoot Bound: A Step-by-Step Guide from a Plant Lover
There’s a quiet panic that sets in when you realize your favoriteSucculentisn’t thriving. The leaves might be wrinkling despite regular water, growth has completely stalled, or worse—roots are snaking out of the drainage hole like they’re making a desperate escape. If this sounds familiar, you’re likely dealing with aroot boundSucculent. I’ve been there, staring at a beloved Echeveria that seemed to have given up. Through trial, error, and a lot of patience, I’ve perfected a process to not only fix this common issue but to ensure your plant comes back stronger. This guide is my personal, hands-on account ofhow to fix succulent root boundproblems for good.
Understanding the Root Bound Crisis

A root bound plant, also known as pot-bound, isn't just a minor inconvenience. It's a full-blown survival crisis for your succulent. The roots have completely filled the container, forming a dense, tangled mat that circles the pot. This tight mass prevents proper absorption of water and nutrients, strangles the plant's own growth, and can lead to rot as moisture gets trapped. According to the Royal Horticultural Society (RHS), restricted root growth is a primary cause of stress and decline in container plants. ForSucculents, which are adapted to sparse, well-draining conditions, this compression is especially harmful.
My Personal Rescue Mission: A Two-Week Journey
")
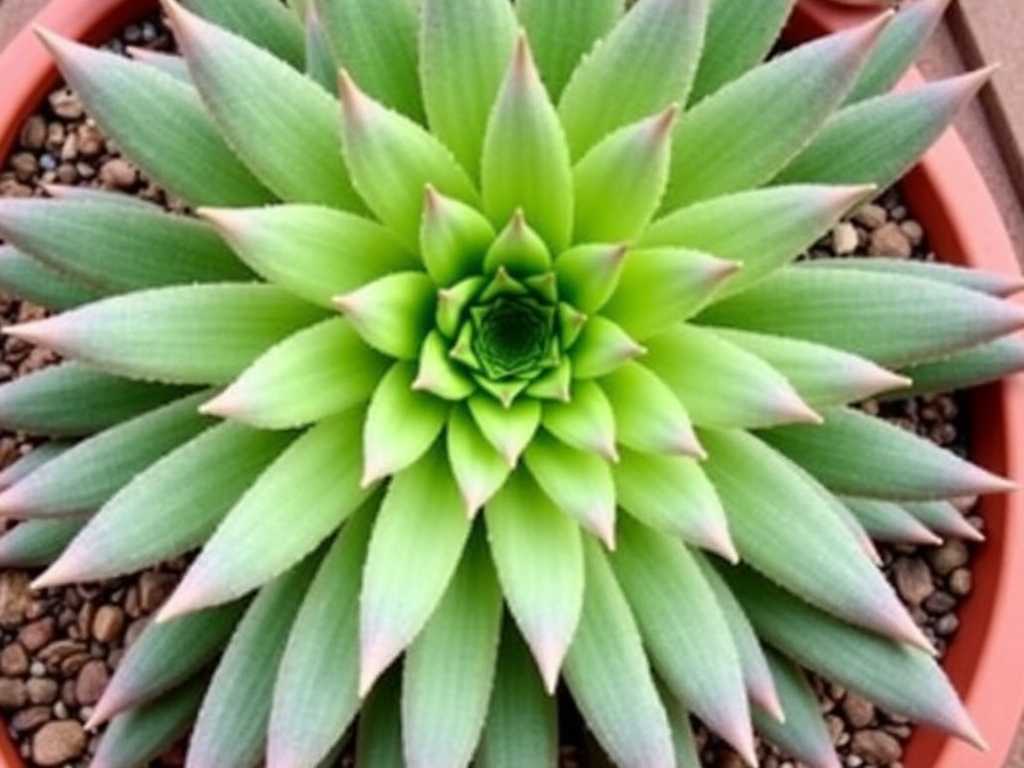
My test subject was a Haworthia attenuata, a sturdy plant I’ve had for years. It had been in the same ceramic pot for over three years. The signs were all there: no new pups, leaves losing their plumpness, and water running straight through the pot without being absorbed. It was time for action.
Week 1: Assessment and Action
Step 1: The Gentle ExtractionI stopped watering the plant for a full 10 days before the operation. Bone-dry soil makes the process much cleaner and reduces root damage. I tipped the pot sideways and gently squeezed the sides. Instead of sliding out, the entire soil and root mass came out in one solid, pot-shaped block. This was the definitive proof—it was severely root bound. The roots were a tight, white web gripping the soil for dear life.
Step 2: The Delicate UntanglingThis is where I encountered my first majorchallenge. The roots were so densely woven that pulling them apart seemed impossible. My initial mistake was being too aggressive. I tried to pry them apart with my fingers and heard a few unfortunate snaps.The fix: I learned to be patient. I used a clean, blunt chopstick to gently tease the outer layers of the root ball. For the toughest, matted center, I carefully rinsed the root mass under aslowstream of lukewarm water. The water helped wash away the old, compacted soil and made the roots more pliable, allowing me to untangle them without brute force. I aimed to loosen about one-third to one-half of the outer root mass, as recommended by the American Horticultural Society (AHS) for stressed plants.
Step 3: The Pruning DecisionWith the roots exposed, I inspected them. While most were healthy and white, some were dry, brittle, or slightly discolored. Using sterilized, sharp scissors, I pruned away only the clearly dead or damaged roots. I also made a few strategic cuts on longer, circling roots to encourage new outward growth. The goal is not to remove more than 25% of the total root system to avoid shocking the plant.
Step 4: The Fresh Start – RepottingI selected a new pot only about 1-1.5 inches larger in diameter than the root ball. Going too big is a classic pitfall; excess soil holds moisture and can cause rot. The pot must have an excellent drainage hole. My mix was a well-drainingsucculent soil recipeI swear by: 2 parts potting soil, 1 part coarse perlite, and 1 part pine bark fines. This ensures the fast drainageSucculentscrave. I placed a layer of mix in the bottom, set the plant in so its base was just below the pot's rim, and gently filled in around the sides, tapping the pot to settle the soil without compacting it.
Step 5: The Critical AftercareI didnotwater the plant immediately. This was a hard rule to follow! Freshly trimmed roots are vulnerable to rot. I placed the repotted Haworthia in bright, indirect light and left it completely alone for one full week. This allows any micro-abrasions on the roots to callous over.
Week 2: Observation and Recovery
Days 1-7 Post-Repot:The plant looked… sad. A few outer leaves showed signs of increased wrinkling, which is normal as the plant focuses energy on root re-establishment. I resisted the urge to water. The key here is observation, not intervention.
Day 8: The First WateringAfter a full week, I gave the plant a thorough, deep watering. I used the "soak and dry" method, pouring water until it freely ran out the drainage hole. This encourages roots to grow downward. The moment of truth arrived—the soil absorbed the water properly, with no immediate runoff. A great sign!
Days 9-14: Signs of LifeBy the end of the second week, the change was subtle but clear. The previously wrinkled leaves began to firm up. The center of the rosette, which had been static, showed the faintest hint of new, green growth. The plant was no longer in survival mode; it was recovering. It had successfully begun to explore its new, spacious home with its roots.
Common Pitfalls and How I Avoided Them
- Pitfall 1: Overpotting.My early mistake was giving a small plant a mansion. This leads to waterlogged soil. The fix is simple: always choose a new pot that is only slightly larger.
- Pitfall 2: Immediate Watering.Watering right after repotting invites fungal issues. Always wait at least 5-7 days to let roots heal.
- Pitfall 3: Using Dense, Regular Potting Soil.This retains too much moisture. Investing in or creating a gritty,well-draining soil mix forSucculentsis non-negotiable for preventing future bound roots and rot.
- Pitfall 4: Rough Handling.Tearing roots causes more stress and slows recovery. Use tools like chopsticks and water to gently loosen the root ball.
Frequently Asked Questions
How often should I repot my succulents to prevent them from becoming root bound?As a general rule, plan to check your succulents every 2-3 years. Fast-growing varieties may need it sooner, while slow-growers can go longer. The best indicator is to look for the physical signs mentioned, not the calendar.
Can a root bound succulent kill the plant?Absolutely. If left unchecked, it will severely stress the plant, leading to dehydration, nutrient deficiency, and increased susceptibility to pests and diseases like root rot. It’s a slow decline that is entirely preventable.
Is it better to break the root ball or leave it intact?For a severely bound plant, you must gently break and loosen the outer root ball. Leaving it completely intact in a new pot will often cause the roots to continue circling, failing to solve the problem. The goal is to encourage roots to grow outward into the new soil.
Seeing your succulent rebound from being root bound is incredibly rewarding. It’s a direct lesson in plant care—understanding their hidden needs beneath the soil. The process requires a gentle touch, the right materials, and patience. By recognizing the signs early, using a propersucculent repotting technique, and providing attentive aftercare, you’re not just fixing a problem. You’re giving your plant a renewed foundation for years of healthy growth. Remember, sometimes the most important growth happens where you can’t see it.


发表评论