How to FixSucculents with Stunted Growth: My 2-Week Rescue Mission
I’ve been there. You bring home a plump, vibrantSucculent, full of hope, only to watch it just… stop. It doesn’t die, but it doesn’t thrive either. The new leaves are tiny, the stem seems frozen in time, and that once-promising growth is now completelystunted growth. If yourSucculentlooks like it’s stuck in a permanent state of pause, you’re not alone. This guide isn’t just theory; it’s the detailed log of my own two-week intervention tofix stunted succulent growth, covering every step, observation, and frustrating pitfall I encountered and overcame.
Understanding Why Your Succulent’s Growth is Stunted

Before you can fix the problem, you need to play detective.Stunted growth inSucculentsis rarely random; it’s a loud, clear signal from your plant. Based on my experience and cross-referencing with resources from the Royal Horticultural Society (RHS), the primary culprits almost always boil down to a few key issues:
- Light Starvation:This is the number one cause.Succulentscrave bright, direct light for several hours a day. Low light leads to etiolation (stretching) first, but prolonged insufficiency simply halts growth.
- Root-Bound Conditions:When roots have no room to expand, the plant has no capacity to grow. It’s literally trapped.
- Nutrient Deficiency:WhileSucculentsaren’t heavy feeders, growing in depleted soil with no fertilization will eventually stall them.
- Improper Watering:Both chronic underwatering and overwatering can cause stress that stops growth. Overwatering, in particular, can damage roots, preventing them from absorbing nutrients.
- Dormancy Confusion:Some succulents slow down or stop growing in extreme heat or cold. We need to ensure it’s not just a natural rest period.
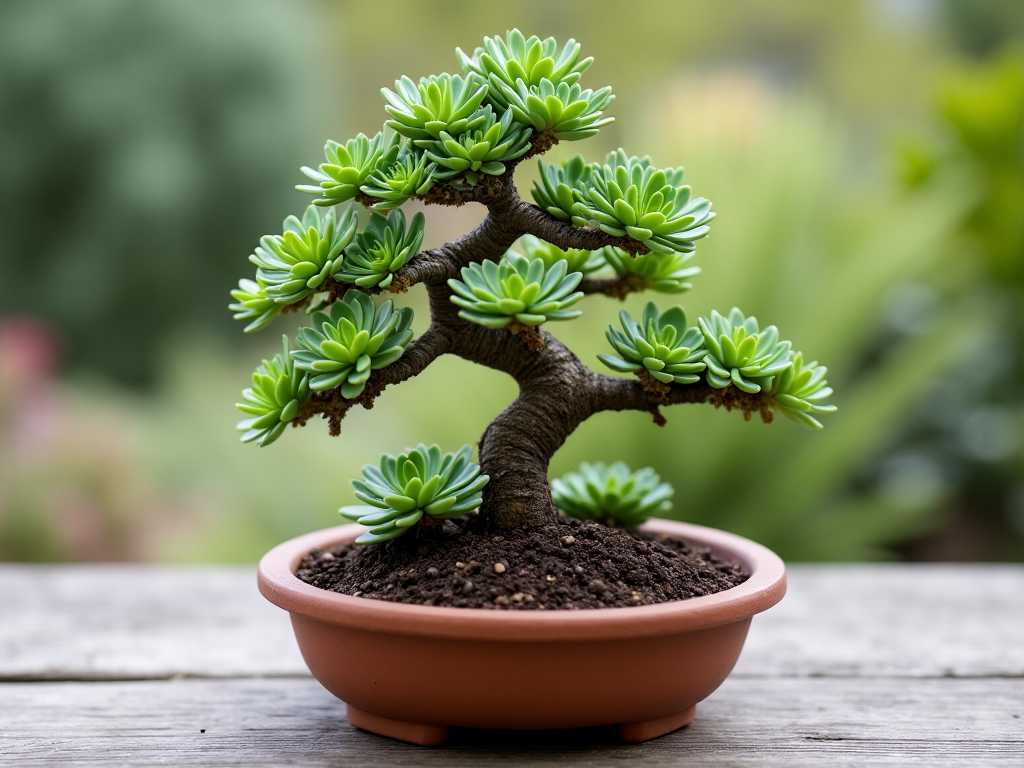
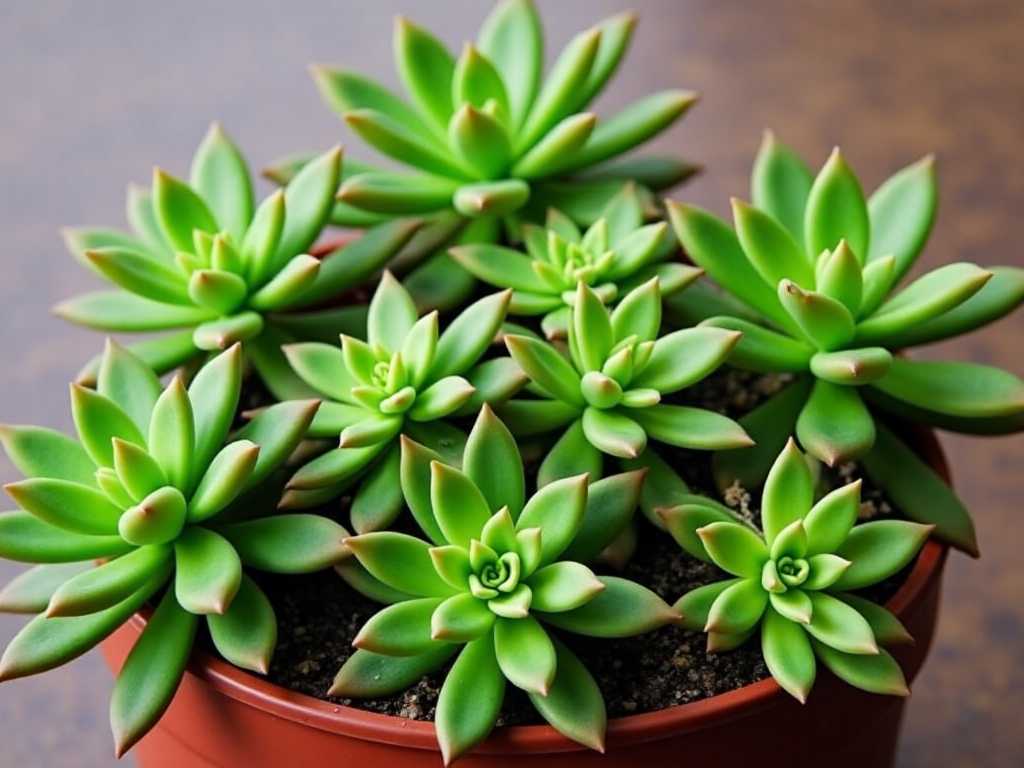
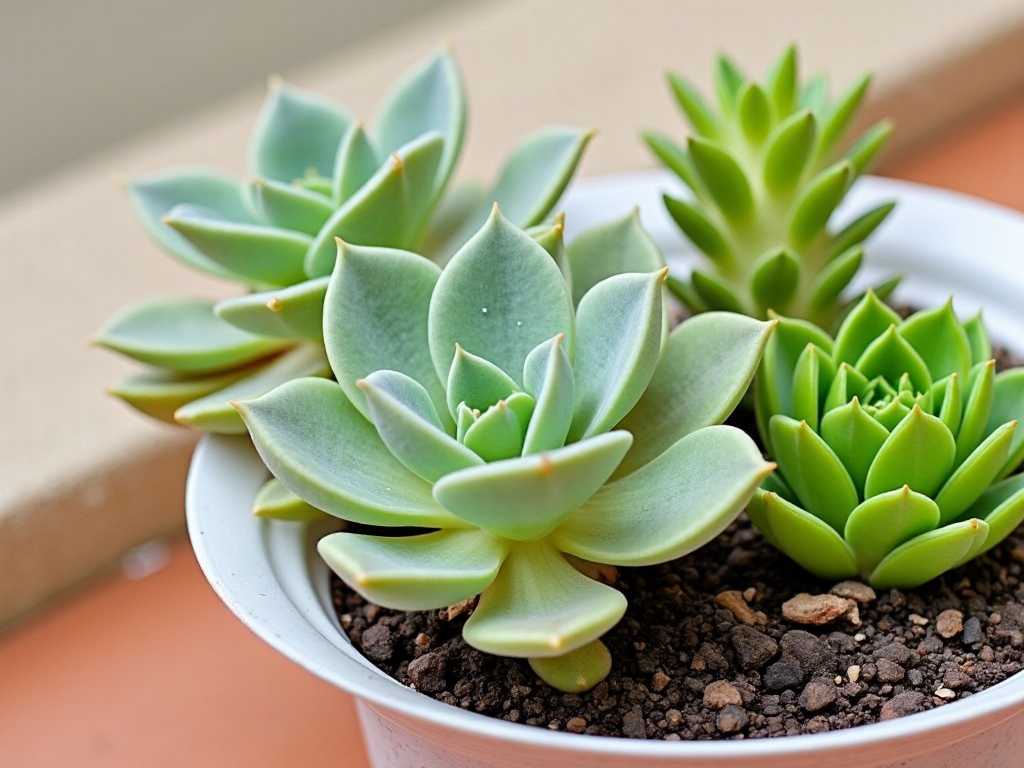
My patient was a once-lovely Echeveria ‘Lola’ that hadn’t produced a normal-sized leaf in over four months. It was compact but miniature, and the lower leaves were slightly puckered. Time for action.
My Step-by-Step Rescue Protocol
I decided to tackle the most likely issues systematically: repotting for root health and nutrients, followed by a strict light and water regimen.
")
Week 1: The Assessment and Repotting Phase
Day 1: Diagnosis and PreparationI gently tipped the Echeveria out of its pot. The diagnosis was clear:root bound succulent. A tight, tangled web of roots circled the entire bottom and sides of the nursery pot. There was almost no soil left. This was a major cause of thestunted plant growth. I also noted the soil was a dense, peaty mix that stayed wet too long.
- The Fix:I prepared a fast-draining succulent/cactus mix. As recommended by many horticultural experts, I amended it with extra perlite (about a 2:1 soil-to-perlite ratio) for even better drainage. I chose a new pot only about 1-2 inches wider in diameter, with a crucial drainage hole.
Day 2: The ProcedureCarefully, I loosened the root ball with my fingers, teasing out the circling roots. I didn’t wash or aggressively break them up, just enough to encourage them to grow outward. I placed a layer of fresh mix in the new pot, set the plant in, and filled in around the sides, tamping lightly. I did NOT water it. This is a critical step to allow any tiny root breaks to callous over and prevent rot.
- The Pitfall I Avoided:The urge to water immediately after repotting. I’ve learned this hard lesson before—watering stressed, potentially damaged roots is an invitation for rot. Always wait 4-7 days before the first post-repot watering.
Days 3-7: Observation and Initial PlacementI placed the repotted ‘Lola’ in a spot with bright, indirect light for its recovery week. I monitored for any signs of shock (increased leaf drop, dramatic softening). It held firm. The puckered lower leaves remained, telling me it was ready for a drink soon.
Week 2: Optimizing Care and The First Signs
Day 8: The First WateringAfter a full week, I gave it a thorough, deep watering. I took it to the sink and soaked the soil until water ran freely from the drainage hole, ensuring the entire root ball was moistened. This teaches the roots to grow downward.
Day 9-14: The New Routine & VigilanceThis is where I implemented the core changes topromote succulent growth.
- Light:I moved it to my sunniest south-facing windowsill, where it now gets at least 6 hours of direct sun. I even noted the time the sun hit the leaves to be sure.
- Watering:I committed to the “soak and dry” method. Using a wooden skewer, I check the soil’s moisture deep in the pot. I only water again when the soil is completely dryandthe plumpness of the leaves just begins to soften slightly.
- Feeding:On Day 14, with the plant settled, I gave it its first dose of fertilizer. I used a balanced, water-soluble fertilizer diluted tohalfthe recommended strength. Succulents need a light touch. The American Horticultural Society (AHS) emphasizes that over-fertilizing can burn roots and cause rapid, weak growth, so this weak solution is key.
The 2-Week Observation: Did It Work?
The changes weren’t dramatic overnight—healthy growth rarely is. But by the end of the two weeks, the signs were profoundly encouraging:
- The most telling sign:The central growth point, which had been static, now showed a tiny, but visiblynewand firmer green rosette. It was small, but it was active growth.
- Leaf Texture:The previously puckered lower leaves plumped up nicely within 48 hours of that first deep watering, confirming the roots were functioning.
- Color and Firmness:The entire plant took on a slightly more vibrant hue and felt uniformly firm to the touch, indicating good hydration and health.
- No Setbacks:There was no leaf loss, no stretching, no signs of rot. The plant was stable and responding.
Thestunted growthwas over. The recovery had officially begun. It will take months to regain its full glory, but the engine was now running.
Common Pitfalls and How I Navigated Them
- Pitfall 1: Overcorrecting with Water.In the past, seeing a stressed plant, I’d overwater. Now I know stress from being root-bound or underwatered requires ameasuredresponse, not a flood.
- Pitfall 2: Not Checking the Roots.Assuming the problem is only above soil. Always check the root system. It’s the foundation of all growth.
- Pitfall 3: Too Much Sun Too Fast.A plant acclimated to low light can scorch if moved instantly to blazing sun. I gave mine a recovery week in bright indirect light before the full sun exposure.
- Pitfall 4: Over-fertilizing in Desperation.More food is not the answer to jump-start growth. It can chemically burn the roots you’re trying to save. Dilute, and be patient.
Frequently Asked Questions
How long does it take for a stunted succulent to recover?You may see signs of new growth within 2-3 weeks, as I did, but full recovery to a normal growth pace and appearance can take a full growing season (several months). Patience is essential.
Can a succulent recover from being root-bound?Absolutely. They are remarkably resilient. Gently loosening the root ball during repotting and providing fresh soil and space will allow them to recover. New white root tips are a great sign you’ve fixed the issue.
Should I prune my stunted succulent to encourage growth?Generally, no. The plant needs all its leaves to photosynthesize and recover energy. Only remove leaves that are completely dead or dying. Once the plant is actively growing again and perhaps becomes leggy, you can consider pruning for shape.
Watching a succulent sit in stasis is frustrating, but it’s a solvable problem. The journey requires a methodical approach: unearth the root cause (often literally), provide the fundamental needs of space, light, and appropriate water, and then give it consistent care and time. Your succulent’s pause button is ready to be released.


发表评论