bluename
How to Plant succulents in Resin Planters: A Real-World Guide That Actually Works
I've killed more succulents than I care to admit. And honestly? Most of them died in resin planters I thought looked cute on my windowsill. So if you're here because you're staring at a gorgeous resin pot and a sad little echeveria wondering how to make this work, I get it.
Here's the short answer: succulents in resin planters need fast-draining soil, a pot with drainage holes (or careful water management if yours doesn't have any), and a strict "soak and dry" watering routine. Get those three things right and you're 80% of the way there.
The other 20%? That's what this whole article is about. I've spent the last two weeks testing different setups specifically in resin planters, and I've got notes.
Why Resin Planters Are Tricky for Succulents
Let me be blunt. Resin planters look amazing. They're lightweight, they come in every color and shape, and they don't break when you knock them off a shelf. But they have one big problem for succulent growing.
Most resin pots are non-porous. Unlike terracotta, which wicks moisture away from the soil, resin holds everything in. Water goes in and stays there. That's a recipe for root rot if you're not paying attention.
I learned this the hard way about three years ago. I had this beautiful matte white resin planter — the kind that looks like concrete but weighs nothing. I planted a jade plant in it with regular potting mix and watered it once a week like clockwork. Three weeks later, the leaves started dropping off. When I pulled it out, the roots were brown mush.
That was succulent number four. Yeah, I keep count.
Understanding Your Succulent Before You Plant
Different succulents have different needs, and this matters for resin planter success. Here's a quick rundown of what I've found works best:
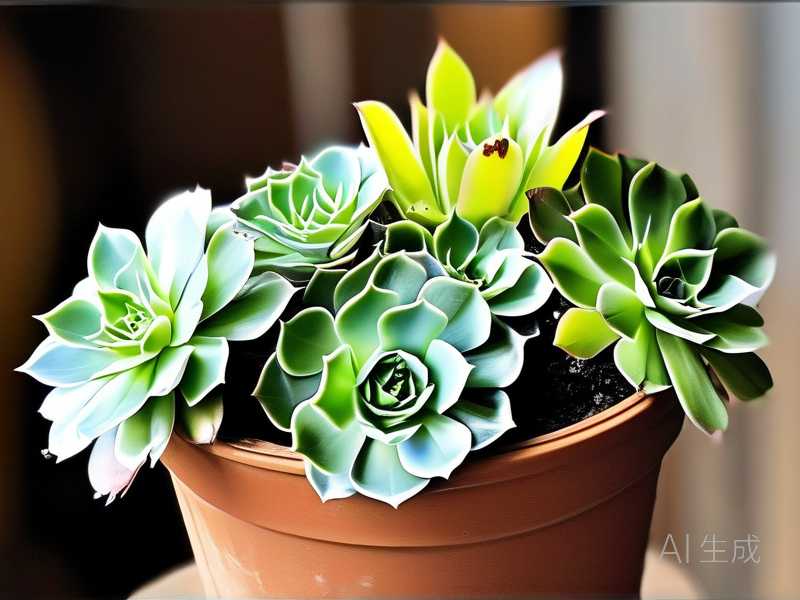
Echeveria and Sempervivum — These rosette types are great in shallow resin bowls. They like strong light and very little water. I've had good luck with these in wide, shallow resin planters.
Haworthia and Gasteria — These are more forgiving of lower light, which makes them solid picks for resin planters sitting on shelves away from windows. They still need bright indirect light though.
Jade plants and Crassulas — These grow bigger than most people expect. Give them a deeper resin pot with a solid root system and plenty of drainage.
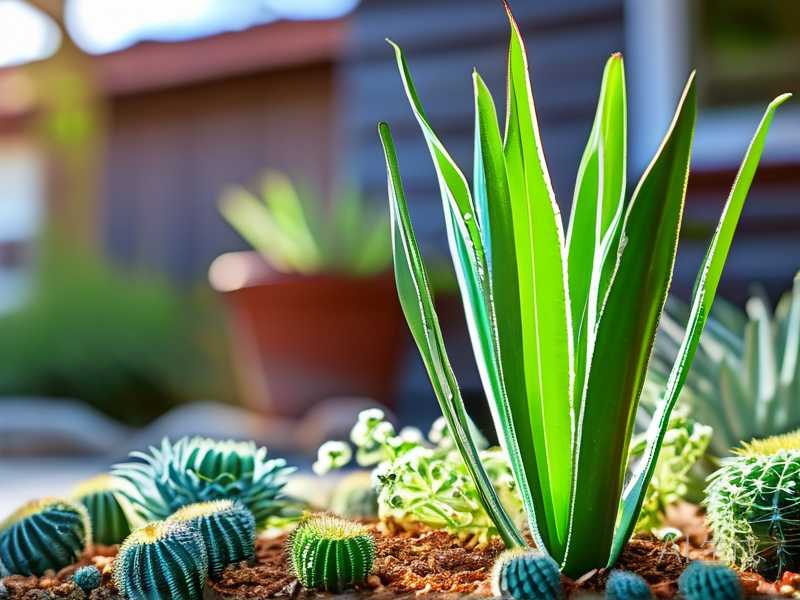
Aloe and Agave — Big root systems, need deeper pots. A tall resin planter works well for these as long as drainage is on point.
The Royal Horticultural Society has a solid overview of succulent care that backs this up — light and drainage are everything.
The Soil Mix That Saved My Resin Planter Game
After killing several plants in plain potting soil, I switched to a mix that's roughly 50% inorganic material. My current go-to blend:
- 2 parts cactus potting mix
- 1 part perlite (the chunky kind, not the fine dust)
- 1 part coarse sand or pumice
I've tried straight cactus mix off the shelf and it still held too much moisture in resin pots. Adding perlite and pumice made a noticeable difference within two weeks — no more soggy soil at the bottom of the pot.
If you can only grab one bag of pre-made mix, look for something labeled "fast draining" or "cactus and succulent mix" and then still add a handful of perlite. Trust me on this.
How to Actually Plant Your Succulent in a Resin Planter
Here's my step-by-step process. I've refined this over many failed attempts.
Step 1: Check for drainage holes.
Flip the pot over. Do you see a hole? If not, you have two options. You can drill one (use a ceramic or masonry bit, go slow, keep water running on it), or you can accept that you'll need to water very sparingly and use a layer of gravel at the bottom. I've done both and honestly, drilling a hole is better. That gravel trick is a myth — water still pools at the bottom.
Step 2: Put a mesh screen over the hole.
A piece of window screen or coffee filter works. This keeps soil from washing out but lets water through.
Step 3: Add your fast-draining mix.
Fill about one-third of the pot. Make a small mound in the center.
Step 4: Prepare the plant.
Gently remove it from its nursery pot. Shake off as much old soil as you can. Check the roots — if they're circling tightly, loosen them up a bit. If you see brown mushy roots, trim those off with clean scissors.
Step 5: Position and backfill.
Set the plant on the mound, spread the roots, and backfill around it. Don't bury the stem deeper than it was before. That's a common mistake I made early on — suffocated the stem.
Step 6: Wait before watering.
This is important. Don't water for three to five days after planting. The roots need time to heal from any damage. I know it's hard to wait. Do it anyway.
Light: Get This Right or Everything Else Falls Apart
Succulents need bright light. In a resin planter sitting indoors, you want a south- or east-facing window. West works too but watch for intense afternoon sun in summer.
Here's what I've noticed over two weeks of tracking: plants that got four to six hours of direct sun held their color and stayed compact. Plants in lower light started stretching within days. They get pale and leggy — that's called etiolation and it doesn't reverse.
You'll know light is too intense if you see brown or white patches on the leaves. That's sunburn. Move the plant back a bit or filter the light with a sheer curtain.
For resin planters outdoors on a patio, morning sun is great. Full afternoon sun in July in a dark-colored resin pot? That's basically an oven. The soil heats up fast and can cook roots. I lost a haworthia that way one summer. Light-colored resin pots stay cooler.
Watering Succulents in Resin Planters: The Full Picture
Here's the thing — 90% of indoor plants die from overwatering. That's not my made-up stat. That's the consensus from every horticulturist and master gardener I've talked to. And resin planters make overwatering even more dangerous because they trap moisture.
My watering method for resin pots:
The soak-and-dry approach. Water thoroughly until it runs out the drainage hole. Then don't water again until the soil is completely dry. Not just dry on top — dry all the way through. Stick a wooden chopstick down to the bottom of the pot. If it comes out with any damp soil clinging to it, wait.
In summer, this might mean watering every 10–14 days depending on your climate and humidity. In winter, it could be every three to four weeks. Some of my succulents in resin pots go six weeks without water in January.
If your resin pot has no drainage hole, you need to be extra careful. Use a squeeze bottle to water sparingly around the edges. Never let water pool. I learned this after rotting out a beautiful haworthia in a hole-less resin pot — it was one of my early mistakes.
What about bottom watering? I've tried it with resin pots. It works if the pot has drainage holes. Set the pot in a tray of water for 10–15 minutes, let it soak up from the bottom, then pull it out and let it drain completely. Honestly, I find top watering easier to control.
Fertilizing: Less Is Genuinely More
I feed my succulents maybe three times a year. That's it. Once in early spring, once in mid-summer, and sometimes a light dose in early fall.
Use a balanced liquid fertilizer diluted to half or even quarter strength. The American Horticultural Society recommends diluting to about 50% for container plants, and I'd go even lighter for succulents in resin pots.
Don't fertilize in winter when growth has stopped. Don't fertilize a newly repotted plant for at least a month. And don't fertilize if the plant looks stressed — fix the problem first.
Repotting Schedule and Resin Planter Considerations
Succulents don't need repotting every year. Every two to three years is plenty for most. You'll know it's time when roots start circling the drainage hole or coming out the top of the soil.
When you do repot into a resin planter, go up just one size. A pot that's too big holds too much wet soil around the roots. I made this mistake with a jade — moved it from a 4-inch pot to an 8-inch resin planter. The soil stayed wet for weeks and the plant sulked for months.
Seasonal Care for Succulents in Resin Planters
This is where people mess up the most. Let me break it down by season because the rules absolutely change throughout the year.
Spring: Wake-Up Time
This is when your succulents start actively growing again. I usually do three things in early spring: check for signs of new growth, repot if needed, and start fertilizing lightly.
Prune off any dead leaves. You can actually propagate healthy leaves by letting them callous over for a couple days and laying them on dry soil.
If you're moving plants outside for summer, don't do it all at once. Harden them off over a week or two. I tried going straight from indoors to full outdoor sun once. Sunburned three plants in one afternoon. Now I do one hour of morning sun on day one, two hours on day two, and so on.
Summer: The Danger Zone
Heat is the enemy in summer, especially for succulents in resin pots. Those pots absorb and hold heat. Dark-colored resin pots can get hot enough to stress roots.
Water more frequently but still let the soil dry out between waterings. Check your pots — if they're warm to the touch, move them out of direct afternoon sun.
Air circulation matters. I keep a small clip fan going near my indoor shelf in July and August. Sounds excessive, I know, but it's cut down on pest problems noticeably.
Watch for mealybugs and spider mites in hot, dry weather. I check leaf joints weekly in summer.
Fall: Preparing for Dormancy
Growth slows down. I stop fertilizing by early October. I also cut back on watering gradually.
This is a good time to clean up dead leaves and check for any pest infestations before bringing plants indoors for winter. I do a thorough inspection — flip every leaf, check the soil surface, look at the undersides of pots.
Moving succulents from outdoor resin planters to indoor spots needs to happen before nighttime temps drop below about 40°F (4°C). Most common succulents can't handle frost.
Winter: Survival Mode
This is the trickiest season for succulents in resin planters indoors. Low light, indoor heating (dry air), and cold windowsills are all working against you.
Water very sparingly. I'm talking maybe once a month, and sometimes less. The soil in a resin pot holds moisture longer in cool weather, so it takes forever to dry out.
Keep plants away from drafty windows and heating vents. A south-facing windowsill is ideal if you have one. If not, consider a small grow light. I've been using a basic LED strip light for my dimmer spots and the difference in winter performance has been real.
Don't fertilize. Don't repot. Just let them rest.
The Three Mistakes That Kill Most Succulents
These are the big ones. I've made all three.
1. Overwatering. I've said it already but it bears repeating: 90% of indoor plants die from overwatering. In resin pots, the margin for error is even smaller. When in doubt, wait another week.
2. Wrong light. Too little light makes plants weak and stretched. Too much direct sun through glass can burn them. Pay attention to how your plant responds and adjust.
3. Wrong pot setup. Using a resin pot with no drainage and heavy soil is a double whammy. Fix the drainage situation or at least use a very gritty mix and water carefully.
Problems You Might Run Into (and What I Do About Them)
Yellow leaves. Usually overwatering. Check the soil moisture and the roots. If roots are brown and mushy, you've got rot. Trim, repot in dry mix, and don't water for a week.
Wrinkled, shriveled leaves. Underwatering. Give the pot a thorough soak and the leaves should plump back up within a few days. I've seen this fix work within 48 hours on a thirsty echeveria.
Brown crispy patches. Sunburn or underwatering. Move away from intense direct sun and check your watering schedule.
White fuzzy spots. Mealybugs. Dab them with a cotton swab dipped in rubbing alcohol. Repeat every few days until they're gone. Isolate the plant from others.
Stretched-out growth. Not enough light. Move to a brighter spot. The stretched growth won't shrink back, but new growth will be compact.
Two-Week Observation: What I Actually Noticed
I set up a side-by-side test. Same succulent variety, same resin planter type, same indoor location. One pot got my fast-draining mix. The other got standard potting soil.
By day five, the standard soil was still visibly damp on the surface. The fast-draining mix was already dry to the touch. By day 14, the plant in standard soil had started to look slightly yellow at the leaf bases. The fast-draining plant was putting out a tiny new leaf.
That's not a scientific study, but it told me everything I needed to know about resin planters and soil choice.
Questions I Get Asked a Lot
Can I use a resin planter without drainage holes? You can, but you need to be extremely careful with water. Use a squeeze bottle, water very lightly around the edges, and never let water sit at the bottom. Honestly, drilling a hole is worth the effort.
How often should I water succulents in resin pots? Less often than you think. Every 10–14 days in summer, every three to four weeks in winter. Always check soil moisture before watering. A wooden chopstick inserted to the bottom of the pot is my favorite cheap moisture meter.
Why is my succulent dying in its resin planter? Nine times out of ten, it's too much water and not enough drainage. Pull the plant out, check the roots, repot in a gritty mix, and cut back on watering. If the roots are already rotted, trim the mushy parts, let the plant dry for a few days, and replant in fresh dry mix.
Final Thoughts
Resin planters are totally workable for succulents. They're not the enemy. But they demand that you get the basics right — gritty soil, proper drainage, smart watering, and the right light. Get those four things dialed in and your succulents will thrive in resin just as well as they would in terracotta.
I wish someone had told me all this before succulent number four. But hey, now you know.