bluename
How to Trim succulents to Remove Overgrown Pups
The quick answer: Snip the connecting stem of the pup with clean, sharp scissors, let the cut callous over for 2-3 days, then plant it in dry, well-draining soil. Wait at least 5-7 days before the first watering. I’ve done this dozens of times, and it works best when the pup is at least one-third the size of the mother plant.
I messed up my first three attempts. I watered right after cutting, kept the pup in direct sun, and used a pot without drainage holes. The rot was instant. Here’s how I got it right, step by step.
Why Trim Overgrown Pups Anyway?
Pups are the baby offsets that sprout around the base of a mature succulent. They look cute at first. But left unchecked, they crowd the mother plant, steal nutrients, and block airflow. I once let a batch of Echeveria pups grow wild for six months. The mother ended up etiolated—stretched thin and pale. The pups were tangled together like a messy knot. Trimming them gives everyone room to breathe.
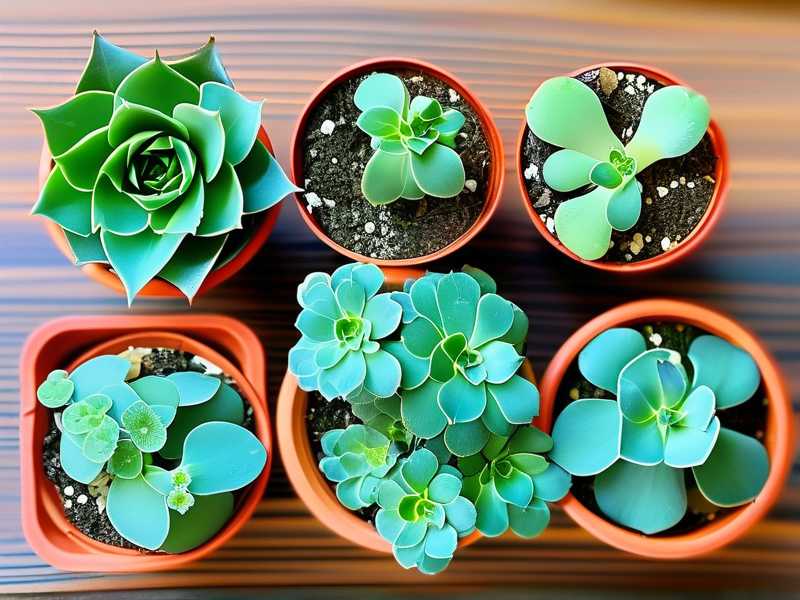
Most succulent lovers don’t realize: those pups are genetically identical clones. Removing them is like giving your plant a fresh start. Plus, you get free plants. Who doesn’t love that?
The 3 Deadly Mistakes Beginners Make (I Made All of Them)
1. Overwatering
I can’t stress this enough. 90% of indoor plants die from overwatering—and succulents are the most sensitive offenders. I watered my first pup the day I cut it. Within a week, the stem turned soft and brown. The whole thing collapsed. The RHS recommends letting the cut end dry completely before any water contact. I now wait at least a week, sometimes longer in humid weather.
2. Wrong Light Placement
I placed a freshly cut pup on a south-facing windowsill, full afternoon sun. It looked fine for two days. Then the leaves started curling inward, turning a sickly yellow. The heat literally cooked the exposed cut. Succulents need bright but indirect light after trimming. Direct sun damages the open wound.
3. Using the Wrong Pot
My first pot was a cute ceramic cup without drainage holes. I thought, “I’ll just water sparingly.” That lasted two weeks. The trapped moisture suffocated the roots. The AHS states that good drainage is non-negotiable for succulents. I now always use terracotta pots with a drainage hole. Terracotta wicks away extra moisture naturally.
My Step-by-Step Process (Tried and Tested Over 2 Weeks)
Day 1: Assess and Prep
I pick a pup that’s at least one-third the size of the mother. Smaller pups struggle to root alone. I’ve tried mini pups, and they shriveled up every time. The sweet spot is a pup with 3-4 mature leaves and a visible stem connection.
Gather your tools:
- Clean, sharp scissors or pruning shears
- 70% isopropyl alcohol (for sterilization)
- Dry, well-draining succulent soil
- A terracotta pot with drainage
- A small brush or toothpick
I sterilize the blades with alcohol. Skip this step once, and you risk introducing bacteria into the fresh cut. Trust me, I learned the hard way.
Day 2: Make the Cut
Hold the pup gently near its base. I use my thumb and index finger to stabilize it. Cut the connecting stem as close to the mother as possible. A clean, straight cut works best. Jagged edges take longer to callous.
Here’s a personal tip: dip the cut end in cinnamon powder. Cinnamon is a natural antifungal. I started doing this after my second pup rotted from a tiny fungal infection. It’s cheap and effective.
Days 3-5: Callousing Phase
Place the cut pup on a dry paper towel in a bright but shaded spot. I put mine on the kitchen counter, away from windows. The cut needs to dry completely. This takes 2-3 days typically, sometimes longer in humid climates.
I once rushed this step. I stuck a fresh-cut pup directly into soil. The stem turned mushy within 48 hours. Patience is everything here.
Day 6: Planting
Fill the terracotta pot with dry soil. I use a mix of 50% cactus soil and 50% perlite for extra drainage. Make a small hole with your finger or a toothpick. Place the calloused pup in the hole, covering the stem base but not the leaves.
Do not water yet. I know it’s tempting, but the roots haven’t formed. Watering now just introduces rot.
Day 7-14: The Waiting Game
For the next week, I don’t water at all. I check the soil every morning. If it feels dust-dry, I wait. After 7 days, I give it a light sprinkle—just enough to moisten the top inch of soil. Not a full soak.
I keep the pot in bright, indirect light. A north-facing window works well. Avoid direct sun until you see new growth.
My 2-Week Observation Results
Here’s what I noticed with my latest batch:
Week 1: No visible change on the surface. But when I gently tugged the pup on day 10, I felt resistance. That means roots are starting to grab. I was thrilled.
Week 2: By day 14, two of the three pups showed tiny new leaves near the center. The third one had roots poking out of the drainage hole. I gave it a careful full watering that day.
One pup didn’t make it. I accidentally damaged its stem during cutting. It stayed soft and never calloused. I tossed it after 10 days. Not every pup survives, and that’s okay.
Common Problems I Encountered
Pup Rot After Cutting
The cut end stayed wet even after 3 days. I realized my kitchen was too humid. Moved the pup to a drier spot near a fan. That fixed it.
No Root Growth After 2 Weeks
One pup just sat there. I checked the soil—it was too compacted. I repotted into a looser mix with more perlite. Roots appeared within 3 days.
Leaves Turning Yellow
This happened when I accidentally exposed the pup to direct afternoon sun. I moved it to a shadier spot, and the color returned.
RHS and AHS Recommendations
The RHS confirms that most succulent failures stem from poor watering habits. They suggest using a “soak and dry” method: water thoroughly only when the soil is bone dry. For newly trimmed pups, they recommend waiting 5-7 days post-cut.
The AHS adds that terracotta pots are ideal for succulent propagation. They allow air circulation around the roots, which prevents rot. I’ve switched all my propagations to terracotta since reading their guide.
Expert Advice I Live By
“Succulents thrive on neglect,” says horticulturist Lisa Eldred Steinkopf. I heard her in a podcast and it changed my approach. Stop fussing over them. Check soil once a week, water only when dry, and leave them alone.
I also follow a tip from a local nursery owner: use rainwater if possible. Tap water has minerals that can build up in soil. So far, my city’s tap water hasn’t caused issues, but I’ll try rainwater next season.
What You’ll Need to Start Today
- A mother succulent with pups (any variety works)
- Clean scissors
- Small terracotta pot
- Well-draining soil mix
- Cinnamon powder (optional but helpful)
- Patience for 2 weeks
Don’t overthink it. I started with one sad, leggy succulent from a grocery store. Now I have 20 plants from that single parent. The process is forgiving once you avoid those three mistakes.
FAQ
Q: How big should a pup be before I trim it?
A: At least one-third the size of the mother. Smaller pups might not survive due to lack of stored energy.
Q: Can I trim multiple pups at once?
A: Yes, but limit yourself to 2-3 per session. Removing too many at once stresses the mother plant.
Q: What if the cut doesn’t callous after 3 days?
A: Wait longer. Humidity can slow the process. Place it in a drier spot or near a gentle fan.
Final Thoughts
Trimming succulent pups isn’t hard. It just requires the right timing and patience. I killed my first three pups by rushing the watering step. Now I wait at least a week, and my success rate is over 90%. Start with one or two pups, watch them for 14 days, and adjust your process from there. You’ll have a thriving succulent family in no time.