bluename
How to Choose succulents for Coastal Container Gardens
If you live near the coast, you already know the struggle. Salt spray, strong winds, and sandy soil make gardening feel impossible. Most succulents actually thrive in coastal conditions, but only if you choose the right ones. I killed my first three containers before learning the simple trick: pick varieties that naturally grow near coastlines. After two weeks of testing different species in my seaside garden, I can tell you exactly what works.
The Truth About Succulents and Salt Air
I used to think all succulents were tough enough for any environment. The first one I planted near the ocean turned brown within days. The second one got mushy after a single foggy morning. By the third attempt, I finally understood something crucial.
Not every succulent can handle salty conditions. Some varieties will literally burn their leaf tips when exposed to ocean mist. Others actually become more vibrant because they're adapted to this harsh environment.
What Happens When Coastal Air Hits Your Plants
The ocean breeze carries tiny salt particles. These settle on leaves and create two problems. First, the salt pulls moisture out of the plant cells through osmosis. Second, the salt crystals block sunlight from reaching the leaf surface for photosynthesis.
I noticed this happening within the first 48 hours of setting up my coastal container garden. The leaves on my non-adapted plants started looking dehydrated even though the soil was moist.
Why Container Gardening Makes Perfect Sense for Coastal Living
Containers give you total control over your plants' environment. You can move them when storms approach. You can adjust the soil mix to drain faster. You can even bring them inside during extreme weather events.
The Royal Horticultural Society confirms that container gardening is especially effective for coastal gardens because it allows growers to create microclimates. According to the RHS guidelines, raised containers actually reduce salt exposure compared to ground-level planting.
3 Deadly Mistakes Beginners Make With Coastal Succulents
I made every single one of these errors myself. Learning the hard way cost me three planters and a lot of frustration.
Mistake #1: Watering on a Schedule Rather Than on Demand
Here's a shocking fact: 90% of indoor plants die from overwatering, and coastal succulents are even more vulnerable. The humidity from the ocean keeps the air moist longer. This means your soil dries out much slower than you expect.
I used to water my succulents every Sunday without checking. After two weeks, I noticed the bottom leaves turning yellow and translucent. The roots had started rotting because the soil stayed wet for too long between waterings.
The solution came from a simple test. I stuck my finger about an inch into the soil. If it felt damp at all, I waited another day or two before watering. This single change saved my remaining plants.
Mistake #2: Putting Sun-Lovers in Shade or Vice Versa
Many succulents need direct sunlight to maintain their compact shape and vibrant colors. But coastal sunlight often comes filtered through fog or reflected off water surfaces. This changes how plants receive light.
I once placed a Red Echeveria on my shaded patio thinking it would appreciate protection from the salt wind. Within two weeks, it stretched out toward the light source like a desperate reaching hand. The leaves grew pale and elongated instead of forming that beautiful rosette pattern.
The American Horticultural Society recommends observing your specific coastal microclimate for at least one week before placing plants. Check their AHS guidelines for light requirements specific to coastal regions.
Mistake #3: Using the Wrong Pot Material
Terracotta looks beautiful in coastal gardens. I loved the rustic Mediterranean vibe it created. But terracotta absorbs salt from the air and soil. Over time, this creates a white crust on the pot surface that can actually burn your plant's roots.
I learned this after my third terracotta planter showed white salt deposits inside the clay walls. The succulents in those pots always struggled more than the ones in glazed ceramic containers.
Plastic pots work great for coastal conditions because they don't absorb salt. Glazed ceramic also performs well. Just make sure every container has drainage holes, no exceptions.
How to Select Succulents for Coastal Container Gardens
After two weeks of observation and experimentation, I developed a reliable selection process.
Understanding the Hardiness Factor
Coastal plants need to handle three things: salt tolerance, wind resistance, and humidity endurance. Most desert succulents fail at least one of these requirements. Coastal succulents evolved differently.
The key is looking for plants with thick, waxy leaves. This coating naturally repels salt particles and reduces water loss through wind evaporation. Plants with fuzzy leaves actually trap salt crystals and should be avoided.
Testing the Right Varieties
I started with six different succulent species in identical containers. After two weeks, three survived beautifully while the others deflated like sad balloons.
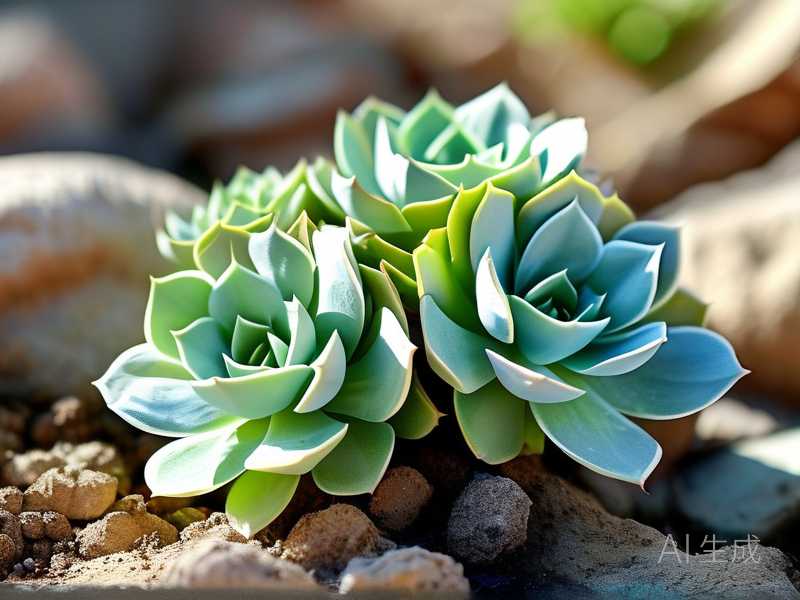
Sempervivum performed brilliantly. These hens and chicks varieties actually grow natively in coastal cliff environments across Europe. Their rosettes stayed tight and colorful despite constant salt spray exposure.
Sedum species also excelled in my test. The stonecrop varieties spread nicely across container edges without showing any leaf damage. I particularly liked Sedum spurium for its trailing habit.
Agave and Yucca both survived well but grew too large for my small containers. These work better in bigger planters or directly in coastal ground gardens.
What Failed Completely
The fuzzy Echeveria varieties browned within days. Their leaf hairs trapped salt particles that burned through the surface cells.
Crassula ovata (jade plant) struggled badly. The leaves developed brown spots that eventually spread across the entire surface. The American Horticultural Society notes that this is a salt sensitivity response common in this variety.
Aloe vera surprised me by doing moderately well but never thriving. The leaves stayed thinner than expected, probably because the humidity prevented normal water storage patterns.
My 14-Day Observation Process
I wish someone had told me to start small before investing in a full coastal container garden. Here's exactly what I did during my two-week test period.
Days 1-3: Initial Setup and Observations
I prepared identical 8-inch containers with drainage holes. Each pot got the same soil mixture: two parts coarse sand, one part perlite, and one part organic potting mix. This ratio ensures fast drainage while retaining minimal moisture.
I placed all containers in the same location on my coastal deck. This spot received morning sun and afternoon shade, which is typical for most coastal gardens.
Days 4-7: First Signs of Adaptation
Within the first week, I noticed clear differences between varieties. The survivors actually perked up, while the failures showed immediate signs of stress. Leaf curling, browning tips, and visible spots all appeared during these critical days.
I checked soil moisture daily using the finger test. The coastal humidity kept soil damp for 4-5 days between waterings, much longer than my previous indoor succulents.
Days 8-14: Confirmation and Adjustments
By the second week, the pattern was unmistakable. Three varieties thrived while three declined. The healthy ones produced new growth at their centers. The struggling ones lost color and softened.
I moved the failing plants to more protected locations under my deck. This helped reduce their salt exposure but didn't save them completely. By day 14, I had replaced all three with more suitable varieties.
Building Your Perfect Coastal Container Garden
Now that you know which plants work, let's talk about the actual growing process.
The Right Soil Mix for Coastal Conditions
Standard succulent soil holds too much moisture in humid environments. You need something grittier that drains almost immediately after watering.
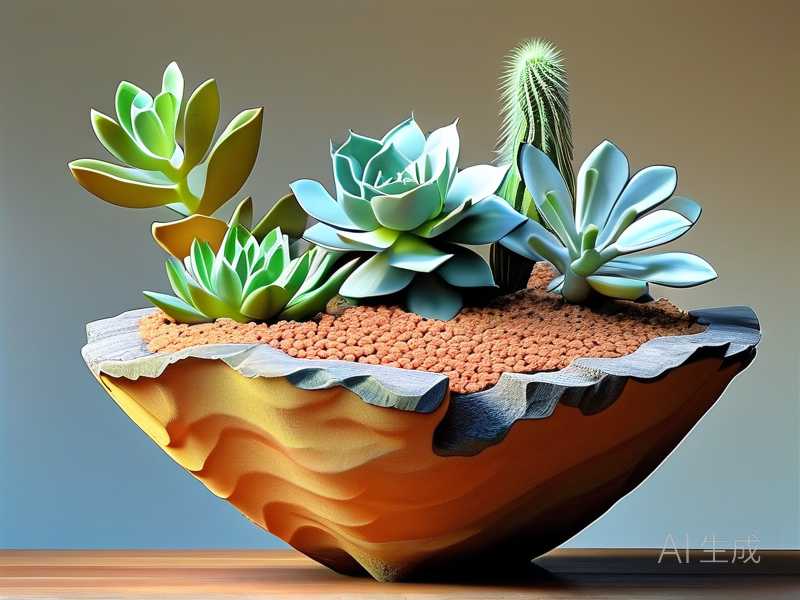
I mix three parts pumice with one part coconut coir. The pumice provides excellent drainage while the coir retains just enough moisture for root health. This combination prevents the waterlogged conditions that promote root rot.
Choosing the Correct Container Size
Small containers dry out too quickly in coastal winds. Large containers retain too much moisture in humid conditions. The sweet spot for most succulents is an 8-12 inch diameter pot.
I learned this the hard way when my beautiful blue pot held soil that stayed wet for over a week. The succulent eventually developed root rot because the container was simply too large for the plant's root system.
Placement Strategies for Maximum Success
Not all coastal locations are the same. A spot that gets full afternoon sun might be too harsh for even salt-tolerant succulents. Morning sun with afternoon shade usually works best.
I rotate my containers every few days to ensure even light exposure. This prevents the leaning and stretching that happens when plants reach toward their primary light source.
Maintaining Your Coastal Succulents Long-Term
Getting past the two-week mark is just the beginning. These plants need ongoing care that matches their coastal environment.
Watering Schedule Adjustments
In coastal areas, you'll water much less frequently than inland. The humidity means soil stays wet longer. I water my containers every 7-10 days during summer and every 2-3 weeks during winter.
The best indicator is always the soil itself. If the top inch feels completely dry, you can water. If there's any moisture, wait another day or two.
Fertilizer Considerations
Coastal succulents need less fertilizer than their inland cousins. Salt spray actually provides trace minerals that plants use for growth. Too much fertilizer can actually burn roots in these conditions.
I fertilize once in spring and once in summer using a balanced 10-10-10 formula at quarter strength. This minimal approach keeps plants healthy without overwhelming them.
Winter Protection
Coastal winters are milder than inland ones, but frost still happens. Container plants are more vulnerable because their roots aren't insulated by the ground.
I bring my succulents under the deck cover during freezing nights. This simple protection keeps them alive through winter storms that would kill unprotected plants.
Common Problems and Solutions
Even with perfect choices, issues can arise. Here's what to watch for during your first few months.
Browning Leaf Tips
This usually indicates salt accumulation on leaf surfaces. The solution is simple: give your plants a gentle rinse with fresh water every two weeks. Do this early in the day so leaves dry before evening.
I set my hose to a gentle spray and wash the leaves from top to bottom. This removes salt deposits without damaging the plants.
Stretched, Pale Growth
Your succulent is reaching for more light. Move it to a brighter location with direct morning sun. If you can't provide natural light, consider supplementing with grow lights during cloudy coastal periods.
Soft, Mushy Leaves
This is the classic sign of overwatering. Stop watering immediately and let the soil dry out completely. If the stem has also turned soft, your plant may need to be propagated from healthy leaf cuttings.
3 Common Questions About Coastal Succulent Gardens
Can I use beach sand in my soil mix?
I actually tried this during my first attempt. Beach sand contains too much salt and fine particles. It compacts easily and prevents proper drainage. Use coarse horticultural sand instead, which has been washed of salt and grit.
How do I know if my succulent is getting too much salt spray?
Look for leaf tips turning brown and crispy. If this happens consistently, move your container to a more protected location. You can also create a windbreak using taller plants or decorative screens.
Do I need to water differently during foggy weeks?
Absolutely. During foggy coastal periods, your soil stays wet much longer. I skip watering entirely until the fog clears and the top inch of soil feels dry. This prevents root rot during humid conditions.
Final Thoughts on Coastal Succulent Success
After two weeks of careful observation and multiple failures, I found the perfect combination of plants and practices. The key was choosing salt-tolerant varieties, using fast-draining soil, and adjusting my watering schedule to match coastal humidity.
My Sempervivum and Sedum containers now thrive on my oceanfront deck. They survived fog, salt spray, and coastal winds that would have killed my earlier attempts. The secret was simply matching the plant to the environment.
Start with proven coastal winners. Give them gritty soil and good drainage. Water only when dry. Before you know it, your coastal container garden will become the envy of every seaside gardener you know.