 bluename
 How to Fix Leggy (Stretchy) succulents and Bring Them Back to Life
I’ll admit it. I used to think my succulents were just growing taller, reaching for the sun in a happy, healthy way. That was until I realized my beloved echeveria had transformed from a tight, beautiful rosette into a strange, stretched-out version of itself, with a long, bare stem and sparse leaves. This phenomenon, known as etiolation or getting “leggy,” is a cry for help. It’s the plant’s desperate attempt to find more light. If you’ve ever wondered how to fix leggy succulents, you’re not alone. I’ve been there, and after many trials and errors, I’ve developed a reliable, step-by-step method that actually works.
Understanding why your succulent is stretching is the first step to fixing it. Simply put, it’s not getting enough light. According to the Royal Horticultural Society (RHS), succulents native to bright, arid environments require several hours of direct sunlight daily to maintain their compact form. When light is insufficient, they accelerate vertical growth, sacrificing leaf density and color. It’s a survival mechanism, but it leaves us with an awkward, often unstable plant. The good news? This is completely reversible. You can fix stretchy succulents and even propagate new plants from the process.
My go-to solution is a combination of beheading and propagation. This might sound drastic, but it’s the most effective way to restore a plant’s beauty and create more plants in the process. Here is my real-world, tested process.
Step 1: Assessing the Situation and Gathering Tools
First, I examine my leggy specimen. I look for a point on the stem where the growth looks healthier and more compact, usually closer to the top. I make sure my tools are clean and sharp—a sharp knife or pruning shears wiped with isopropyl alcohol. I also prepare a fresh, well-draining succulent mix and several small pots. A study in the Journal of the American Society for Horticultural Science (ASHS) emphasizes the importance of sterile tools and proper medium to prevent pathogen introduction during cutting, a point I learned the hard way.
Step 2: The Beheading (Making the Cut)
This is the moment of truth. I firmly hold the top, healthy rosette part of the succulent. I then make a clean, straight cut about 1-2 inches below the lowest leaves of the rosette. The goal is to leave a short stem on the cutting and a stem with some leaves on the original plant. My first time, I was too timid and cut too high, leaving a long stem on the rosette that later rotted. Now, I ensure the cut is confident and clean.
Step 3: Callousing is Non-Negotiable
Here’s a critical pitfall I stumbled into early on. In my eagerness, I immediately planted the fresh cutting. Big mistake. The open wound needs to dry out and form a callus—a hard, dry layer over the cut surface. This process, which the RHS notes is essential for preventing rot, takes 2-5 days. I now place both the beheaded rosette and the leftover stem (with its leaves) in a dry, shaded spot with good air circulation. I wait patiently until the ends are completely dry and sealed.
Step 4: Potting and the Waiting Game
Once calloused, I plant the rosette cutting in its own small pot with dry succulent soil. I do not water it. For the first week, I simply let it sit in bright, indirect light. This allows tiny roots to begin searching for moisture. After about 7-10 days, I give the soil a very light sprinkle of water around the base. The original stem pot, now just a stem with some leaves, I continue to care for normally. It will often produce new offshoots, or “pups,” from the leaf nodes.
Step 5: Addressing the Root Cause: Light
No fix is permanent without solving the core issue. I moved all my succulents to a south-facing windowsill where they receive at least 6 hours of direct sunlight. For some rooms, this wasn’t enough. I invested in a simple, full-spectrum grow light, placing it about 6-12 inches above the plants for 12-14 hours a day. The difference in preventing future stretching is night and day.
My Two-Week Observation Log
- Days 1-3: Post-beheading, all cuttings are callousing on a tray. The original stem looks unchanged.
- Days 4-7: The beheaded rosette is potted in dry soil. The lower leaves on the original stem appear slightly plumper, a sign it’s focusing energy there.
- Days 8-10: I gave the rosette its first light watering. It still looks the same—no shrinkage, which is a good sign it’s not rotting.
- Days 11-14: A breakthrough! I gently wiggled the rosette and felt slight resistance. Tiny roots have anchored it! On the original stem, I spotted two tiny, bright green growth points where leaves had been. New pups are forming.
Common Pitfalls and My Solutions
- Pitfall 1: Overwatering the Cutting. My early attempts failed because I treated the cutting like an established plant. Solution: Strictly no water until calloused, then only minimal moisture to encourage roots. The soil should be mostly dry.
- Pitfall 2: Insufficient Light After Repair. I once fixed a plant only to have the new growth become leggy again. Solution: I now pre-emptively find the brightest spot or set up a grow light before I even make the cut.
- Pitfall 3: Using Dull or Dirty Tools. This caused a crushed stem and a nasty infection on one plant. Solution: I now keep a dedicated, sharp blade and a bottle of rubbing alcohol for sterilization every single time.
Can a Leggy Succulent Revert Back on Its Own? No, once the stem has stretched and the leaves have spaced out, that growth is permanent. The plant cannot “un-stretch.” The only way to restore a compact appearance is to remove the compact part (beheading) and restart it, using the methods described above.
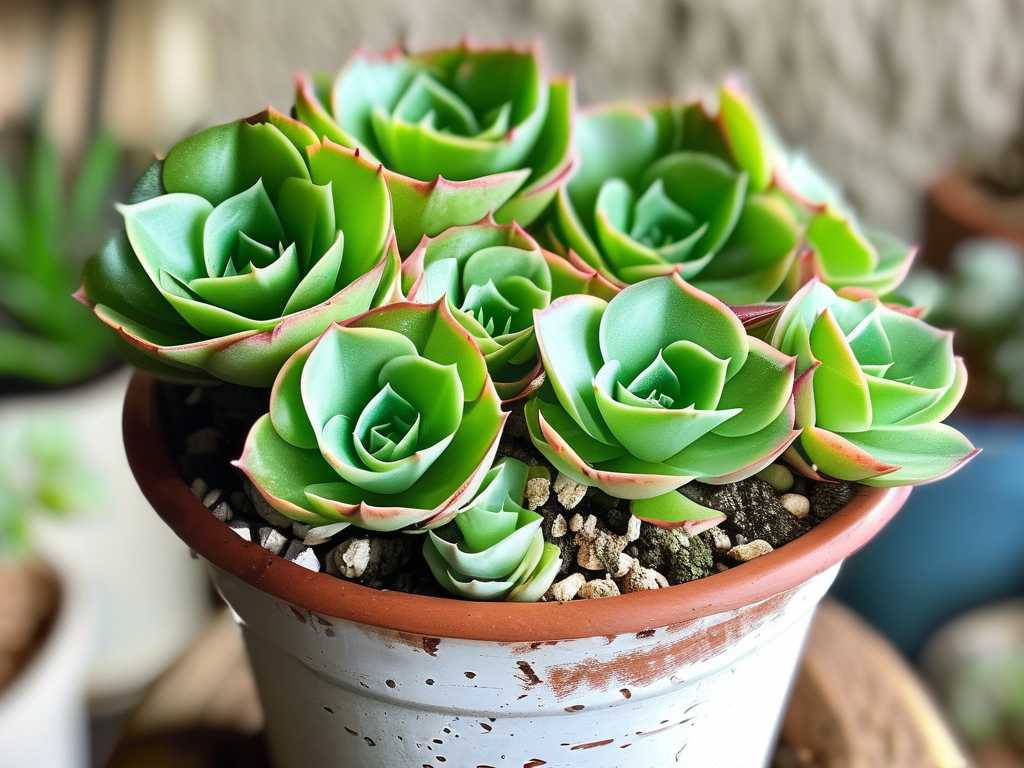
Is It Better to Behead or Just Propagate the Leaves? For a fast, aesthetically pleasing result, beheading is superior. It gives you a new, perfect rosette quickly. Propagating individual leaves is fantastic for multiplying your collection, but it takes many months to grow a sizable plant. I often do both simultaneously from the same leggy plant.
How Can I Prevent Succulents from Getting Leggy in the First Place? Prevention is always easier. Provide at least 6 hours of direct sunlight daily. Rotate your pots regularly for even growth. If natural light is limited, don’t hesitate to use a grow light during darker months. Also, avoid over-fertilizing, as this can encourage weak, rapid growth.
Seeing those first new roots and pups after two weeks is incredibly rewarding. Fixing a leggy succulent isn’t just about salvage; it’s an active lesson in plant care. It teaches you about their light needs, their resilience, and the joy of propagation. By understanding the cause, executing a clean beheading, and most importantly, providing adequate light afterward, you can turn a stretched-out problem into several thriving, beautiful plants. The process connects you deeper to the lifecycle of your collection, making you a more attentive and successful plant parent.





