 bluename
 How to Grow succulents from Seeds: A Complete Guide from a Fellow Plant Lover
Let’s be honest. You’ve seen those stunning succulent arrangements online, the rare hybrids that cost a fortune, and thought, “I wish I could grow that from scratch.” Maybe you’ve tried propagating leaves with mixed success, but the idea of growing succulents from seeds feels like a mysterious, almost mythical process. I was right there with you. The tiny seeds, the fear of failure, the long wait—it’s intimidating. Most guides make it sound simple, but they skip the real-world frustrations. After several attempts, successes, and outright disasters, I’ve perfected a method that works. This isn’t just theory; it’s my hands-on, dirt-under-the-fingernails journey to successfully raising succulents from tiny seeds to robust little plants.
Why Bother with Seeds When You Can Buy Plants?
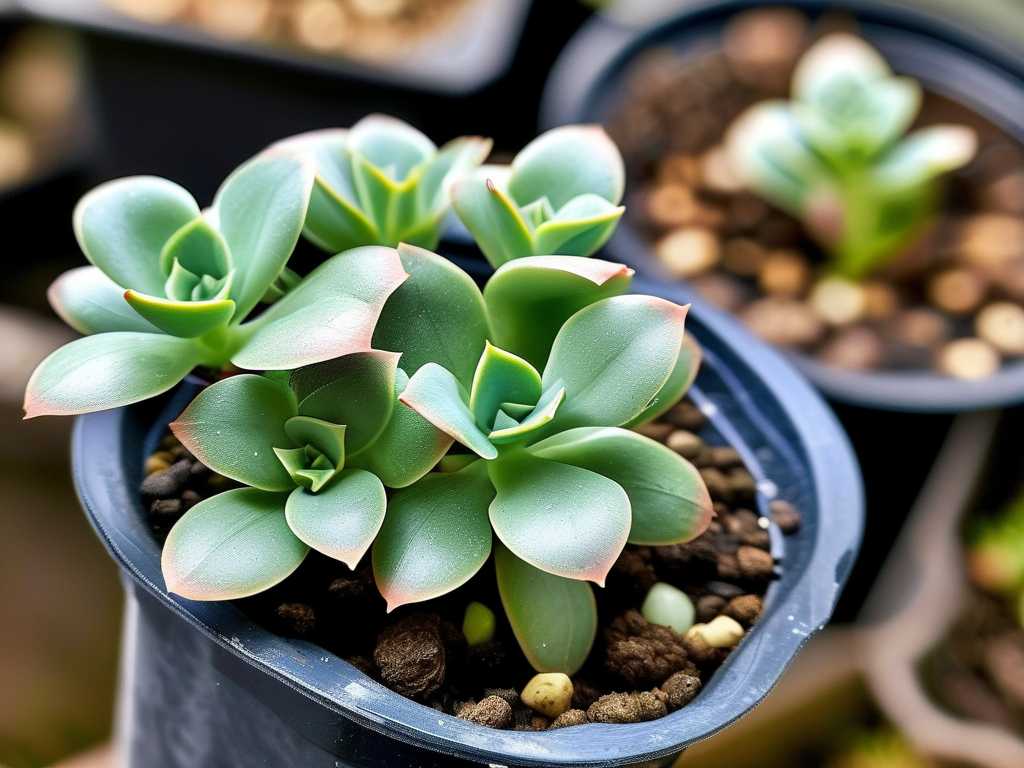
It’s a fair question. Buying established plants is instant gratification. But starting succulents from seed offers something unique: variety, cost-effectiveness, and profound satisfaction. You can cultivate rare species not found in nurseries. A single packet can yield dozens of plants for the price of one mature succulent. But the true reward is watching life begin from a speck of dust. It teaches patience and gives you a deep connection to your plants’ entire lifecycle. I started because I fell in love with a specific Conophytum species that was impossible to find locally. Seeds were my only option.
My Essential Toolkit for Sowing Success
You don’t need a fancy greenhouse. My setup is humble, born from trial and error.
- Seeds: Source matters! I use reputable specialized online sellers. Fresh seeds have dramatically higher germination rates. Avoid generic “assorted succulent” mixes; they’re often disappointing.
- Growing Medium: This is critical. I use a sterile, soilless mix. My recipe: 50% fine horticultural pumice or perlite, 50% sieved coconut coir. It’s airy, drains instantly, and resists algae. Pre-moisten it before sowing.
- Containers: Shallow is key. I repurpose clear plastic food containers with lids. They create a mini-greenhouse. Drill or poke ample drainage holes in the bottom.
- Tools: A small sieve for dusting soil, a spray bottle with a fine mist setting, tweezers for handling seeds, and plant labels. Never skip the labels!
- Light: A bright, indirect light source is vital post-germination. I use a simple, affordable LED grow light on a 14-hour timer.
My Step-by-Step Sowing Process: The Devil’s in the Details
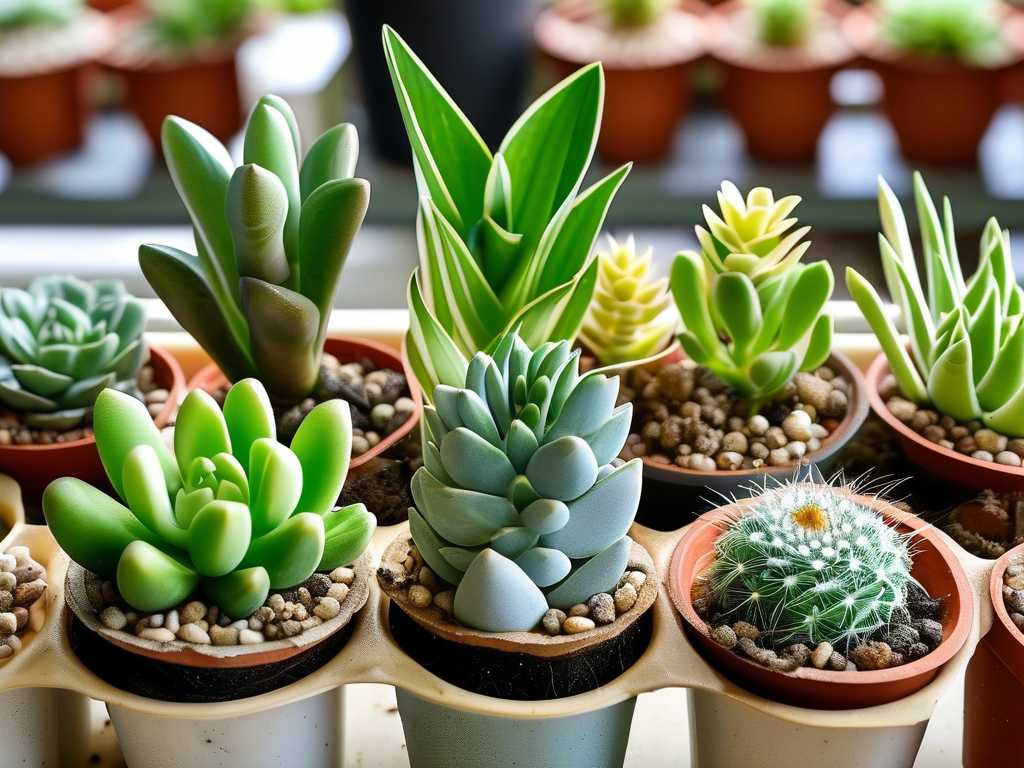
Here is the exact process I follow, refined over multiple sowings.
1. Preparation and Sowing Day I fill my clean containers with the pre-moistened mix, leaving about half an inch from the top. I gently tamp it down to create a level surface. Using the fine sieve, I dust a very thin layer (1-2mm) of dry, fine sand or more sieved mix over the surface. This provides a perfect anchor for the tiny seeds.
Now, the tricky part: distributing the seeds. Succulent seeds are often like fine dust. I carefully tap them from the packet or use a folded piece of white paper to sprinkle them as evenly as possible. I do NOT cover them with soil—most succulent seeds need light to germinate. I lightly mist the surface one more time to settle the seeds. Then, I place the clear lid on top, creating a sealed, humid environment. I label each container with the species and the date. Finally, I place them in a warm spot (around 70-75°F or 21-24°C) with bright, indirect light. Direct sun at this stage will cook them.
2. The First Two Weeks: A Rollercoaster of Hope and Panic This is where most people, including my past self, get anxious. Here was my two-week timeline.
- Days 1-5: The waiting game. I resisted the urge to open the container daily. Condensation on the lid was a good sign, showing humidity was high. Opening it too often invites fungal issues.
- Day 6: First signs! With my Echeveria laui seeds, I spotted the tiniest green dots. Germination had begun. No true leaves yet, just the initial sprout.
- Days 7-10: The nursery exploded with life. Dozens of microscopic green specks appeared across different containers. The Lithops seeds were slower but starting to show. This is a thrilling phase.
- Days 11-14: The seedlings developed their first tiny, fleshy leaves (cotyledons). They were still incredibly fragile. The container lid remained on, but I noticed the first major challenge.
The Pitfalls I Hit and How I Solved Them
My journey wasn’t pristine. Here’s what went wrong and how I fixed it.
- Pitfall #1: The Dreaded Fungus Gnats & Algae. Around Day 10, I saw a faint green film (algae) on the soil surface and a few gnats. Algae thrives in constant moisture and blocks light/air to seeds.
- My Solution: I didn’t panic. I immediately removed the lid for a few hours each day to improve airflow and let the surface dry slightly. I carefully picked out any major algae patches with tweezers. For the gnats, I placed yellow sticky traps nearby. This controlled the issue without harming the seedlings. Prevention is better: next time, I ensured my sowing medium was more porous and avoided over-misting.
- Pitfall #2: “Damping Off” – The Seedling Assassin. In one corner of a tray, a cluster of seedlings shriveled, turned translucent, and died. This was classic damping off, a fungal disease.
- My Solution: I surgically removed the affected seedlings and a bit of the surrounding soil with tweezers. I increased ventilation significantly, going from a sealed lid to a slightly propped-open lid permanently. I also made sure my spray bottle contained water with a tiny drop of hydrogen peroxide (a mild antifungal) for future misting. Sterilizing containers before use is non-negotiable.
- Pitfall #3: Leggy, Stretched Seedlings. Some seedlings started stretching awkwardly toward the light, becoming weak and pale.
- My Solution: They needed more light, fast. I moved them directly under my LED grow light, ensuring it was close enough (about 4-6 inches above) but not so close it generated excessive heat. Within days, new growth was compact and colorful.
The Care Shift: From Germination to Establishment
After the first 2-3 weeks, the game changes. You’re no longer germinating seeds; you’re raising infants.
- Ventilation: I permanently propped open the lid, then removed it entirely after week 4. This hardens them off and prevents rot.
- Watering: This is delicate. I switched from misting to bottom-watering. I’d place the tray in a shallow dish of water for 10-15 minutes, allowing the soil to wick moisture up. The surface stays drier, discouraging algae. I only did this when the soil felt completely dry.
- Feeding: After about 8 weeks, I started using a diluted (1/4 strength) balanced, liquid fertilizer once a month during watering.
- Thinning & Transplanting: Once they developed several true leaves and were crowded (around 3-6 months), I gently transplanted them into individual small pots using tweezers. Patience is key here; rushing kills them.
Answering Your Top Questions
How long does it take for succulent seeds to grow? Don’t expect a plant in a month. From sowing, germination takes 1-4 weeks. They’ll be seedling size for 3-6 months, and it can take a year or more to reach a “saleable” or mature display size. Lithops and other mesembs are famously slow. It’s a marathon, not a sprint.
Why haven’t my succulent seeds sprouted? Several reasons: old/non-viable seeds, incorrect temperature (too cold), sowing too deep, or letting the medium dry out completely during germination. Ensure warmth, surface moisture, and light. If nothing happens after 4 weeks under ideal conditions, the seeds were likely not viable.
Can I use regular potting soil? I strongly advise against it. Regular soil is too dense, retains too much moisture, and is not sterile. It compacts around delicate roots and invites disease. A mineral-heavy, well-draining mix is non-negotiable for healthy succulent seed growth.
Growing succulents from seeds is the ultimate test of a plant lover’s patience and attention to detail. It’s filled with tiny triumphs—that first green speck, the emergence of unique leaf shapes. You will make mistakes. You might lose a batch. But the learning is invaluable. The day you see those first true leaves form on a plant you nurtured from a seed smaller than a grain of sand, every moment of worry is worth it. Start with a easy genus like Echeveria or Sedum, gather your tools, and embrace the slow, magical journey. Your future, one-of-a-kind succulent collection awaits.





