 bluename
 succulent care for Beginners: Mistakes to Avoid
I remember the excitement of bringing home my first succulent, a plump little echeveria I named "Spike." It looked so sturdy, so forgiving. I thought, "How hard could it be?" Fast forward two weeks, and Spike was a mushy, discolored shadow of his former self. That heartbreak launched my journey from a serial succulent killer to a confident plant parent. If you're starting out, you're likely making the same succulent care for beginners mistakes I did. Let's walk through the most common pitfalls, and I'll share exactly what I did to fix them, step by step, based on my own two-week rescue missions and long-term successes.
The Silent Killer: Overwatering and Poor Drainage
This is, without a doubt, the number one reason beginners lose their succulents. We love them, so we water them. It's a natural impulse, but it's fatal.
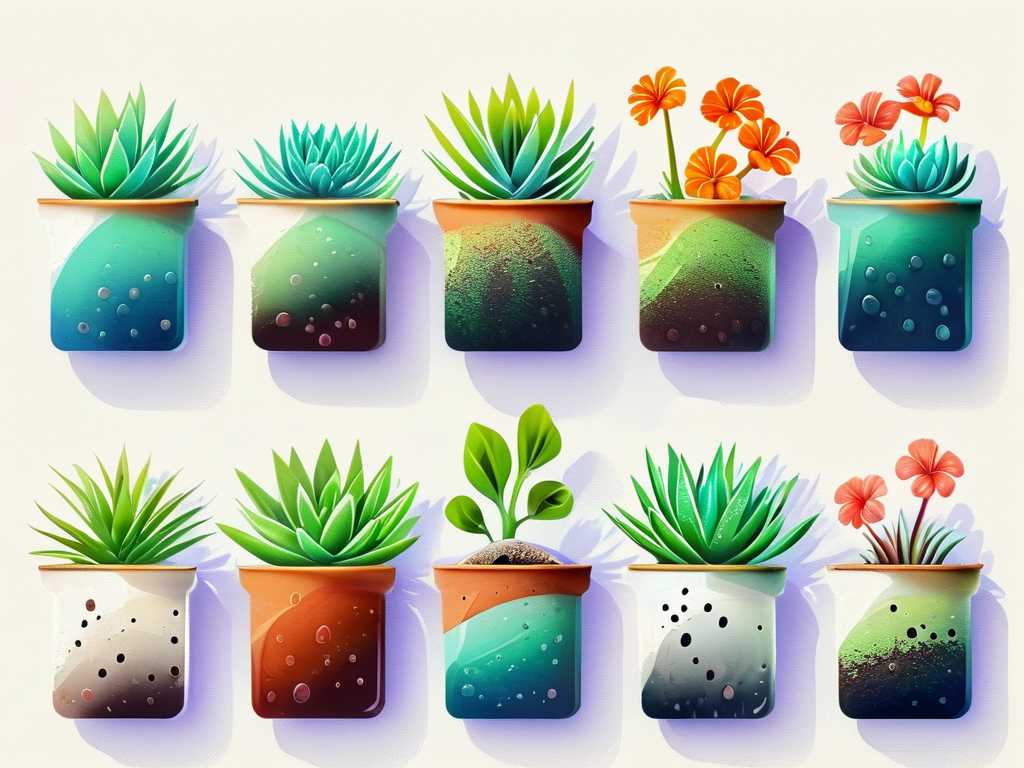
My Personal Two-Week Experiment with Watering
I decided to conduct a clear test. I took two cuttings of the same hardy Sedum 'Burro's Tail.'
- Plant A (The Old Me): I planted it in a cute ceramic pot with no drainage hole. I watered it lightly every 3 days, just to keep the soil "damp."
- Plant B (The New Method): I planted it in a terracotta pot with a large drainage hole, using a specialized succulent & cactus mix I made myself (2 parts potting soil, 1 part perlite, 1 part coarse sand). I gave it a thorough soak until water ran freely out the bottom, then placed it in bright, indirect light.
The Observation & The Fix: By Day 5, Plant A's soil was still dark and cool to the touch. A lower leaf felt slightly soft. By Day 10, that leaf was translucent and yellow—a classic sign of overwatering. The stem near the soil felt suspiciously soft. Plant B, however, was perfectly plump. The soil was bone-dry throughout.
I immediately took Plant A out of its pot. The roots were brown and slimy—root rot had set in. Here's what I did, based on advice from the Royal Horticultural Society (RHS), which stresses that "succulents are drought-tolerant and require the compost to dry out between waterings."
- I gently removed all the wet soil and sterilized a pair of scissors.
- I cut away every soft, brown root and the affected part of the stem, leaving only firm, healthy tissue.
- I let the cutting callous over in a dry, airy spot for 3 full days.
- I then replanted it in the proper, gritty mix and a pot with drainage. I did not water it for another full week to allow roots to seek moisture.
The Lesson Learned: The "soak and dry" method is non-negotiable. Water only when the soil is completely dry, and when you do, drench it. Your pot must have drainage. Terracotta is ideal for beginners as it "breathes," helping soil dry faster.
The Thirst for Light: Why Your Succulent is Stretching
You might notice your compact rosette starting to look leggy, with stretched-out stems and wide gaps between leaves. This is called etiolation. It's not a disease; it's your plant desperately reaching for more light.
My Two-Week Light Adjustment Log
I had a beautiful Haworthia that started leaning dramatically toward the window. I measured the light; it was getting about 2 hours of direct morning sun and then bright indirect light. For a Haworthia, that was insufficient for compact growth.
- Week 1: I moved it to a south-east facing windowsill where it received 4-5 hours of direct morning sun. I rotated the pot 90 degrees every other day to prevent lopsided growth.
- Week 2: I observed a noticeable change. The new growth at the center of the rosette was coming in tighter and denser. The stretching had stopped. The existing stretched stem won't revert, but the new growth was correct.
The Pitfall I Hit: I moved another succulent, a previously shaded Gasteria, directly into intense afternoon sun. Within 48 hours, it developed brown, crispy scorch marks. I had moved it too quickly.
The Solution: Acclimate plants to higher light gradually. Increase exposure by about 30-60 minutes per day. As the American Horticultural Society's (AHS) Plant Heat-Zone Map concepts imply, understanding your plant's origin helps; most succulents thrive in high light, but they need to build up a tolerance, much like we need to build a tan.
The Foundation Matters: Soil and Pot Selection
Using standard potting soil is like putting your succulent in a wet sponge. It retains moisture for far too long.
My Soil Mix Revelation
After losing several plants to root rot, I stopped buying generic "cactus mix" and started making my own. The difference was night and day. Here is my go-to recipe for how to care for succulents indoors successfully:
- 2 parts all-purpose potting soil (for minimal nutrients and structure)
- 1 part coarse perlite or pumice (for aeration)
- 1 part coarse sand or fine gravel (for drainage and weight)
I repotted a struggling Aloe Vera into this mix. After two weeks, its previously pale and limp leaves had firmed up and regained a healthier green hue. The key was the roots finally had oxygen.
Pot Choice: Always choose a pot with a drainage hole. Size matters too. A pot only 1-2 inches wider than the plant's root ball is ideal. Too large, and the excess soil stays wet for weeks, creating a rot hazard.
Feeding with Caution: Less is More
Beginners often think more fertilizer equals faster growth. With succulents, the opposite is true.
My Fertilizer Mistake and Recovery
I once gave my collection a half-strength balanced fertilizer in early fall, hoping for a boost. Several plants responded with weak, overly soft growth that was prone to damage and etiolation. They grew fast but lost their characteristic sturdy form.
The Correct Routine: Now, I only fertilize during the active growing season (typically spring and summer). I use a fertilizer specifically formulated for cacti and succulents, which is low in nitrogen. I dilute it to half or even quarter strength and apply it only once at the very beginning of the growing season. The RHS confirms that "feeding is seldom necessary," and overfeeding can do more harm than good. For beginner succulent care tips, my advice is to skip fertilizer entirely for the first year. Focus on perfecting light and water first.
The Top Dressing Trap
Those pretty layers of moss, polished stones, or glass beads on top of the soil? They might be your succulent's enemy. While attractive, they trap moisture against the stem and prevent the soil from drying evenly.
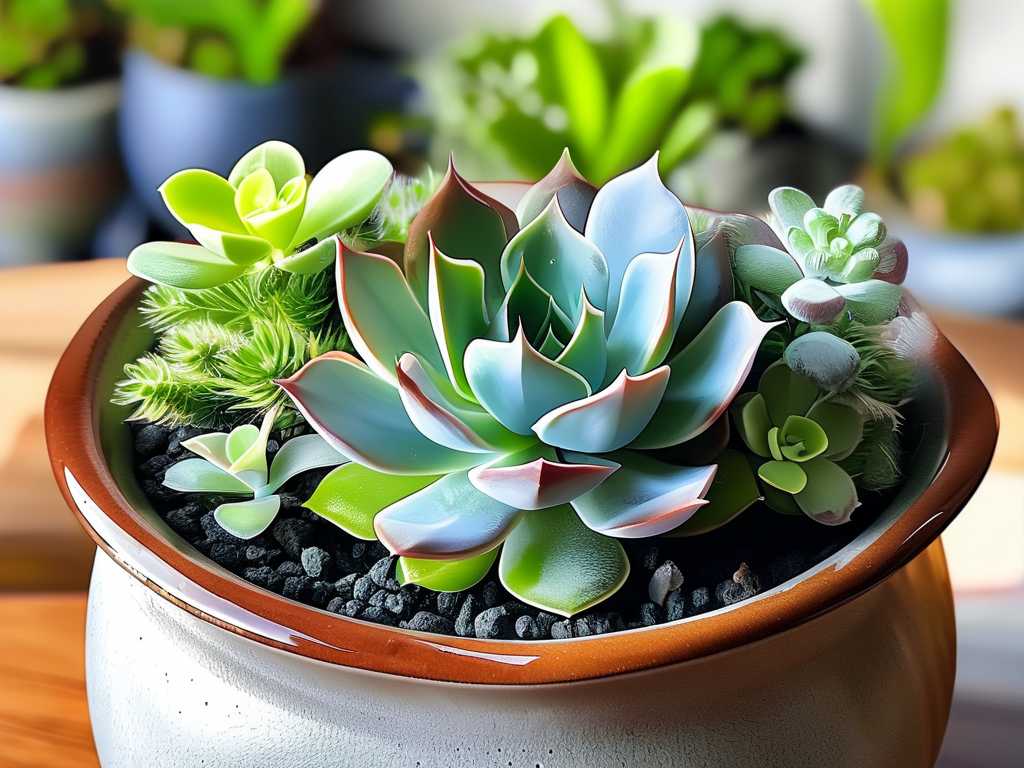
My Two-Week Moisture Test
I planted two small Sempervivums in identical pots and soil. I covered the surface of one with a layer of decorative moss and left the other bare. Using a soil moisture meter, I tracked both.
- The pot with moss showed "moist" readings for 12 days after watering.
- The bare-soil pot showed "dry" readings at 7 days.
The sempervivum under the moss started to show signs of stress at the lower leaves. I removed the moss immediately and let the soil breathe. For aesthetics, I now use only a thin layer of small, porous materials like crushed lava rock or coarse poultry grit, which allow for evaporation.
Frequently Asked Questions
How often should I really water my succulent? Throw away the calendar. The frequency depends on your climate, pot, and soil. The only reliable method is the "finger test." Stick your finger into the soil up to the second knuckle. If it's completely dry, it's time for a thorough soak. In winter, this could mean watering once a month or even less.
Can I save an overwatered succulent? Yes, if you act quickly. Unpot it, remove all wet soil, and cut away any black, mushy roots and stem with a sterile tool. Let the plant dry and callous for several days, then repot in dry, gritty mix. Do not water for at least a week to encourage new root growth.
Why are the bottom leaves of my succulent dying? A small amount of lower leaf drying and shedding is normal as the plant grows and reabsorbs nutrients. However, if multiple leaves are turning yellow, translucent, and mushy, it's overwatering. If they are turning dry, crispy, and brown, it could be severe underwatering or sunburn.
Starting your succulent journey is incredibly rewarding. The key is to mimic their natural, often harsh, habitats: think bright light, infrequent but deep water, and gritty, fast-draining soil. Resist the urge to over-care. Observe your plants closely—they will tell you what they need. By avoiding these common mistakes, you’ll build a foundation for a thriving, resilient collection that brings you joy for years to come. My once-doomed Spike? After his surgery and rehab, he produced three healthy offsets. There’s always hope.





