 bluename
 How to Care for succulents in Small Pots: A Hands-On Guide from a Fellow Plant Lover
Let’s be honest. You saw that adorable, tiny succulent in its charming little pot and couldn’t resist. I’ve been there dozens of times. The appeal of small pot succulents is undeniable—they’re cute, space-efficient, and seem like the perfect low-maintenance green companion. But then, reality hits. The leaves start to shrivel, the vibrant color fades, or worse, the stem turns to mush. If you’ve ever wondered why your miniature desert beauty isn’t thriving, you’re not alone. The unique challenges of caring for plants in a confined space are real, but absolutely manageable. After years of trial, error, and meticulous observation, I’ve honed a practical approach to caring for succulents in small containers. This guide isn’t just theory; it’s a documented journey of what actually works.
Why Small Pots Are a Different Game
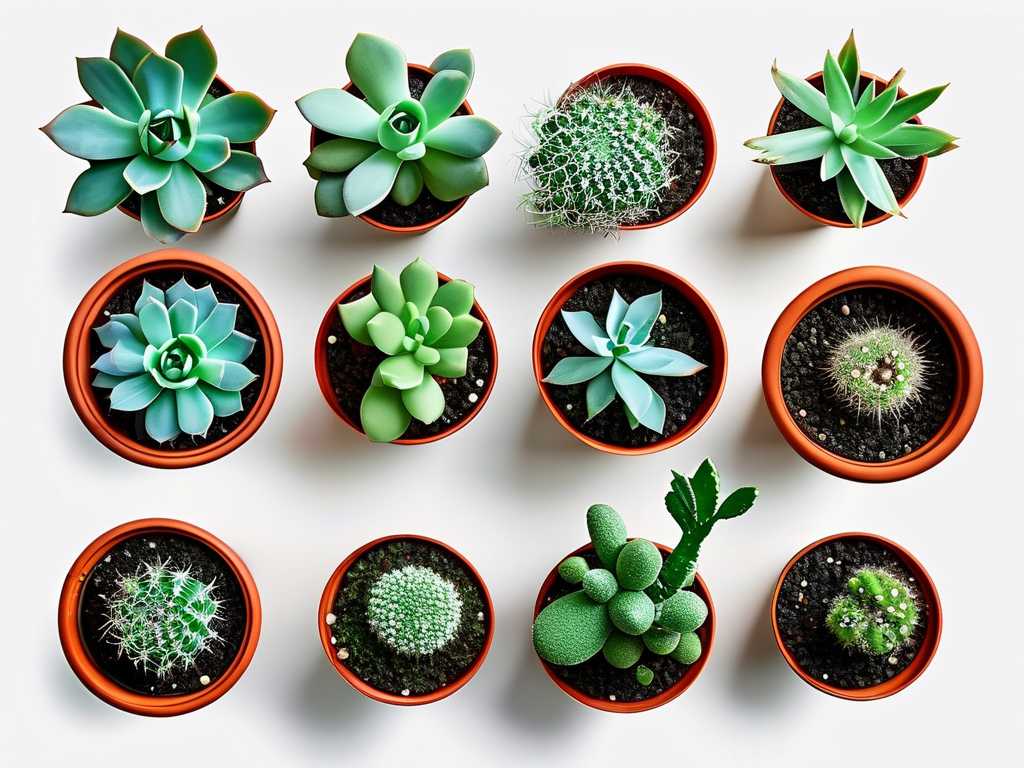
A common misconception is that because succulents are drought-tolerant, they can survive anything. In a small pot, the margin for error shrinks dramatically. The limited soil volume dries out incredibly fast, yet it can also become waterlogged in an instant if we’re not careful. The Royal Horticultural Society (RHS) notes that container size directly impacts watering frequency and root health. A small pot simply doesn’t offer the buffer of a larger one. My goal was to create a stable mini-ecosystem where my succulents could not just survive, but truly flourish.
My Two-Week Experiment: Reviving a Struggling Echeveria
To give you the most actionable advice, I decided to document a full rescue and care cycle. I selected an Echeveria ‘Lola’ that was looking a bit sad—slightly etiolated (stretched) from low light and with a few bottom leaves reabsorbing. It was in a 2-inch ceramic pot with no drainage hole (the first red flag!). Here is my exact, step-by-step process and the results I observed over the following 14 days.
Day 1-3: The Critical Repotting Phase
The foundation of success is proper setup. You cannot out-care a bad setup.
- Step 1: The Right Pot & Soil. I moved my Echeveria into a new, 2.5-inch terracotta pot with a generous drainage hole. Terracotta is porous, allowing soil to dry evenly—a crucial factor for succulent care in limited spaces. For soil, I mixed a high-quality commercial cactus & succulent mix (about 60%) with additional perlite (40%) for extreme drainage. The American Horticultural Society (AHA) emphasizes the importance of “sharp drainage” to prevent root rot, a principle even more critical in small containers.
- Step 2: The Repotting Process. Gently, I removed the plant, brushed away all the old, dense soil from its roots, and checked for rot (none, thankfully). I placed a piece of mesh over the drainage hole to keep soil in, filled the pot one-third with my new mix, settled the plant in, and filled around it. I did not water immediately.
- Step 3: Initial Placement. I placed the repotted plant in a spot with bright, indirect light. Direct sun immediately after repotting can stress a plant dealing with root disturbance.
Observation (First 72 Hours): The plant looked stable but unchanged—which is good. No signs of additional stress. The soil was bone dry.
Day 4-10: Mastering the Watering Rhythm
This is where most people, including my past self, fail. Watering small pot succulents requires a shift from a schedule to a signal-based approach.
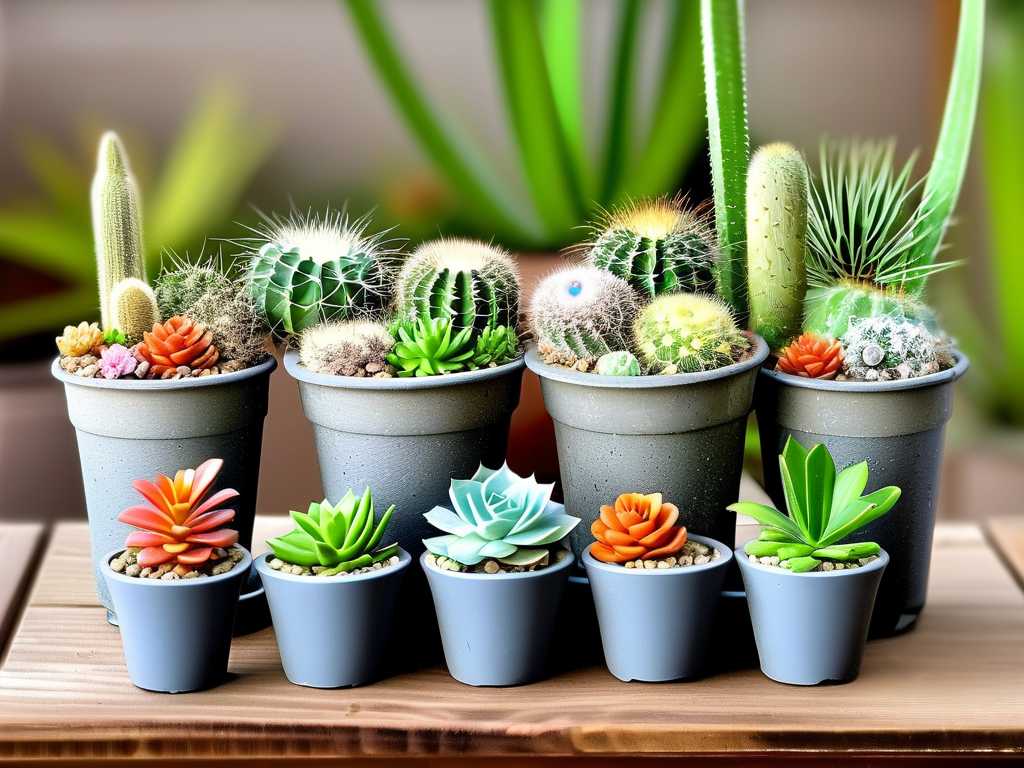
- Step 4: The First Watering. On the morning of Day 4, I performed the “soak and dry” method. I placed the pot in a shallow bowl of water and let the soil wick up moisture from the bottom for about 15 minutes, until the topsoil felt damp. I then removed it and let it drain thoroughly. Top-watering a tiny pot can displace soil and not saturate the root ball evenly.
- Step 5: Observing the Dry-Down. I resisted the urge to water again. Instead, I monitored. By Day 7, the terracotta pot felt light, and the soil was completely dry an inch down. I used a wooden skewer as a “dipstick” to check deeper moisture—it came out clean. The plant’s lower leaves were still firm, indicating it wasn’t thirsty yet.
Observation (Day 10): A noticeable change! The once-slightly-wrinkled inner leaves of the Echeveria had plumped up significantly. The plant looked more taut and hydrated. The color also seemed slightly more intense. This was a clear sign the roots had accessed the water and were happy.
Day 11-14: Light Optimization and Ongoing Care
- Step 6: Adjusting Light. Now that the plant was rehydrated and settled, I gradually moved it to a spot where it would receive about 4-6 hours of direct morning sun. Morning sun is less intense than afternoon sun, which can scorch a plant in a small, heat-retaining pot.
- Step 7: Monitoring and Rotation. I made a habit of rotating the pot a quarter turn every other day to ensure even growth and prevent it from leaning toward the light.
Final Observation (Day 14): The transformation was evident. The Echeveria ‘Lola’ was fully plump, with a compact, rosette shape. The slight etiolation had stopped, and new growth in the center was tight and colorful. The plant had successfully transitioned from “surviving” to “thriving” in its new, appropriate small pot environment.
The Pitfalls I’ve Fallen Into (And How to Climb Out)
My journey wasn’t always this smooth. Here are the big mistakes I’ve made so you can avoid them:
- The “No-Drainage” Death Trap: My first succulent lived (briefly) in a cute mug. I watered sparingly, but moisture pooled invisibly at the bottom. Solution: Always, always use a pot with a drainage hole. If you must use a cachepot, remove the inner pot to water and drain it fully before placing it back.
- Overwatering Out of Love: Seeing dry soil on the surface, I’d give it a splash every few days. This kept the top roots damp and led to rot. Solution: The “soak and dry” method is non-negotiable. Water deeply only when the soil is completely dry, then ignore it until it’s dry again.
- Using Standard Potting Soil: It retains too much moisture and compacts over time, suffocating roots. Solution: Invest in a gritty, airy mix. Your succulent’s roots need air as much as they need water.
- Neglecting Light Needs: “Low light” doesn’t mean “no light.” In a dim corner, my succulents stretched out and became weak. Solution: Provide the brightest light you can. A south or east-facing windowsill is ideal. If natural light is low, consider a small grow light.
Your Questions, Answered
How often should I really water my succulent in a tiny pot? Throw away the calendar. Frequency depends on your environment (light, temperature, humidity). In my sunny, dry climate, my 2.5-inch pot needed water about every 10-14 days in summer. In winter, it was more like every 3-4 weeks. Always let the plant’s condition and soil dryness be your guide.
My succulent is growing tall and leggy. What did I do wrong? This is called etiolation—it’s reaching for more light. While small pots can limit some growth, stretching is primarily a light issue. Gradually introduce it to stronger light. You can also behead the top rosette, let it callous, and replant it to start a more compact plant.
Do I need to fertilize my small pot succulent? Very sparingly. These plants are adapted to poor soils. I use a diluted, balanced liquid fertilizer (half-strength) only during the active growing season (spring and summer), and only once or twice total. Over-fertilizing in a small soil volume can lead to salt buildup and root burn.
Caring for succulents in small pots is a delightful exercise in mindful plant parenting. It teaches you to observe closely, respond to needs rather than routines, and appreciate the resilience of these tiny wonders. By choosing the right container and soil, mastering the art of deep-but-infrequent watering, and providing ample light, you create an environment where your small pot succulent can showcase its full, beautiful potential. Start with these fundamentals, learn from your plant’s cues, and you’ll turn that adorable purchase into a long-lived, thriving piece of living art.





