 bluename
 How to Prevent Root Rot in succulents: My 2-Week Rescue Mission
There’s a special kind of plant-parent heartbreak that comes from lifting your favorite succulent out of its pot, only to find its roots have turned into a mushy, brown, and foul-smelling mess. I’ve been there, staring at a beloved Echeveria I’d over-loved with my watering can. Preventing root rot in succulents isn't just about watering less; it's a holistic strategy involving soil, pots, and keen observation. After losing a few plants to this silent killer, I embarked on a deliberate two-week experiment to test and solidify the best prevention methods. Here’s my hands-on journey, complete with steps, results, and the pitfalls I navigated along the way.
Understanding the Enemy: What is Succulent Root Rot?
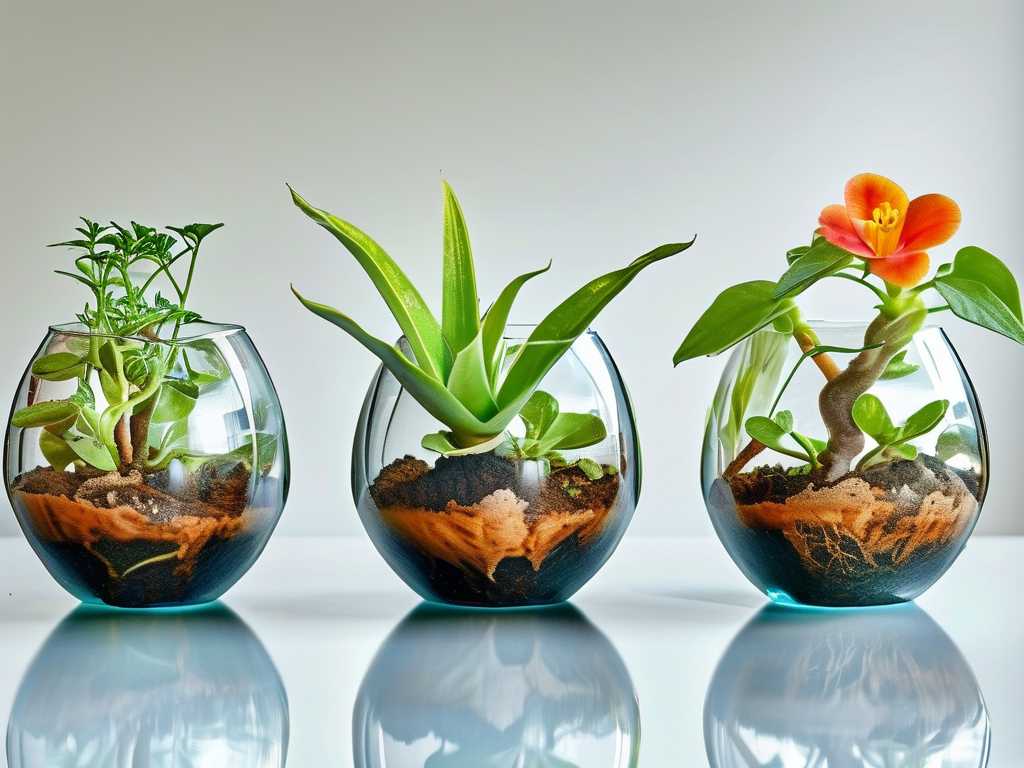
Root rot is a disease caused by overwatering, which creates an anaerobic (oxygen-poor) environment in the soil. This suffocates the roots, damaging their cells and making them vulnerable to opportunistic soil fungi, like those in the Pythium or Phytophthora genera. The Royal Horticultural Society (RHS) clearly states that overwatering is the primary cause of root death in container plants. It’s not the water itself, but the lack of oxygen and the fungal attack that follows. The first sign is often a plant that looks thirsty (wilting, soft leaves) even though the soil is damp—a cruel irony that tricks many into watering more, sealing its fate.
My Prevention Protocol: A Step-by-Step Guide
I selected three succulents showing early stress signals (slightly soft lower leaves) but not full-blown rot: a Jade Plant (Crassula ovata), a Haworthia, and the aforementioned Echeveria. My goal was to stop rot before it could start.
Week 1: The Foundation of Health
Step 1: The Critical Unpotting and Inspection I gently removed each plant from its decorative pot. I brushed away the old, peaty soil and carefully inspected the root systems. The Jade’s roots were white and firm—good. The Haworthia had a few darker tips. The Echeveria’s roots were slightly soft but not yet mushy. Using sterilized scissors (wiped with isopropyl alcohol), I pruned away any dark or dubious roots from the Haworthia and Echeveria.
The Pitfall & Fix: I initially used non-sterilized tools on the first plant. Realizing my mistake, I sterilized them before moving to the next. Cross-contamination is a real risk when dealing with potential pathogens.
Step 2: Repotting with the Right Soil Mix This is non-negotiable. I created my own well-draining soil for succulents. A standard potting mix holds too much moisture. My recipe was: 2 parts potting soil, 1 part coarse perlite, and 1 part poultry grit (small, crushed granite). This mix ensures rapid drainage and plenty of air pockets. The American Horticultural Society (AHS) emphasizes the importance of a porous growing medium for preventing waterlogged roots.
Step 3: Choosing the Correct Container I selected terracotta pots with large drainage holes, each only about 1-2 inches wider than the root ball of the plant. Terracotta is porous, allowing the soil to dry from the sides as well as the bottom. I placed a piece of mesh over the hole to keep soil in while letting water flow freely out.
Step 4: The Strategic Watering Technique After repotting, I waited a full 48 hours before giving them a thorough soak. This allowed any minor root injuries from repotting to callus over. The key technique? Watering succulents properly means drenching the soil completely until water runs out the bottom, then not watering again until the soil is completely dry. I used a wooden chopstick inserted deep into the pot as a moisture meter; if it comes out clean, it’s time to water.
Week 2: Observation and Adjustment
Step 5: Mastering the “Soak and Dry” Method Over the next two weeks, I resisted all urge to water on a schedule. The Jade needed water after 10 days. The Haworthia and Echeveria, now in their gritty mix and terracotta pots, took a full 14 days to dry out. I placed all plants in bright, indirect light with a few hours of morning sun to support their metabolism without scorching them while they re-established roots.
Step 6: Monitoring for Signs of Recovery or Distress Daily, I checked leaf firmness. A plump, firm leaf indicates good water uptake. A soft, translucent leaf often signals overwatering. The lower, softer leaves on my Echeveria gradually firmed up. The Haworthia’s growth center began to look greener and more taut.
The 2-Week Results: What Happened?
By the end of the two-week observation period, the results were clear:
- Jade Plant: Thriving. New, tiny pink roots were visible at the drainage hole when I carefully tipped the pot. Leaves were plump and glossy.
- Haworthia: Recovering. The questionable root tips I’d trimmed did not spread. The plant stopped declining and showed signs of stable, new root growth.
- Echeveria: Saved. The slight mushiness in the stem base receded as it callused. The plant was stable, and the center rosette felt firm. The root rot treatment through preemptive pruning and repotting was a success.
The most significant outcome was the change in the soil’s drying speed. The new gritty mix in terracotta pots dried out 3-4 times faster than their old plastic pots with dense soil, fundamentally removing the conditions rot needs to thrive.
Common Traps I Encountered (And How to Avoid Them)
- The “Surface Dry” Deception: The top inch of soil was bone dry, tricking me into thinking the plant needed water early in the experiment. The chopstick test revealed moisture at the root level. Always check moisture at the bottom of the pot.
- Pot Size Ego: I initially wanted to put them in larger pots “to grow into.” This is dangerous. Excess soil holds excess water, far beyond what a small root system can use. Always pot snugly.
- Misting Misconception: I used to mist my succulents for humidity. This does nothing for their roots and can promote fungal issues on leaves. Water the soil, not the plant.
Your Questions, Answered
Can a succulent recover from root rot? Yes, if caught early. The process involves unpotting, removing all soft, mushy roots and stem tissue with a sterile tool, letting the plant dry and callus for several days, and then repotting in fresh, dry, well-draining soil. Do not water immediately after repotting.
How often should I really water my succulents? There is no universal schedule. It depends on your climate, season, pot material, and soil mix. The only reliable method is the “soak and dry” approach: water deeply, then wait until the soil is completely dry before watering again. In winter, this could mean a month or more between waterings.
What are the best pots for preventing overwatering? Unglazed terracotta or clay pots are superior for moisture management. Their porosity allows for evaporation through the walls. Ensure any pot you use has at least one large drainage hole. Decorative cache pots without holes should only be used as an outer sleeve.
Preventing root rot is about creating an environment where it’s nearly impossible for excess moisture to linger around your succulent’s roots. It’s a shift from reactive care to proactive, preventative gardening. By focusing on a gritty soil mix, a breathable pot, and watering only when truly needed, you build a resilient foundation for your plants. My two-week experiment transformed my approach from hopeful guessing to confident understanding. Your succulents don’t need constant attention; they need the right conditions to thrive with resilient, healthy roots.





