bluename
 How to Create a Succulent Arrangement: A Step-by-Step Guide from a Plant Lover
I’ve always been drawn to the sculptural beauty and resilient nature of succulents. For years, I admired stunning succulent arrangements online, but my own attempts often ended in disappointment—plants stretching out, rotting at the base, or simply failing to thrive together. The dream of a lush, long-lasting succulent dish garden felt out of reach. If you’ve ever felt the same frustration, wondering how to create a succulent arrangement that actually survives and looks gorgeous, you’re in the right place. This guide is born from my own trial, error, and eventual success.
After meticulously following the steps I’ll share, I observed my latest creation for two full weeks. The result? A vibrant, healthy, and cohesive mini-landscape that’s only gotten better with time. I’ll walk you through every detail, including the mistakes I made along the way and exactly how I fixed them.
Why a Proper Succulent Arrangement Matters
Throwing a few succulents into a pot might get you a temporary display, but a thoughtfully crafted arrangement is a living work of art. According to the Royal Horticultural Society (RHS), the key to succulent success lies in understanding their need for excellent drainage and full light. A haphazard setup ignores these core principles.
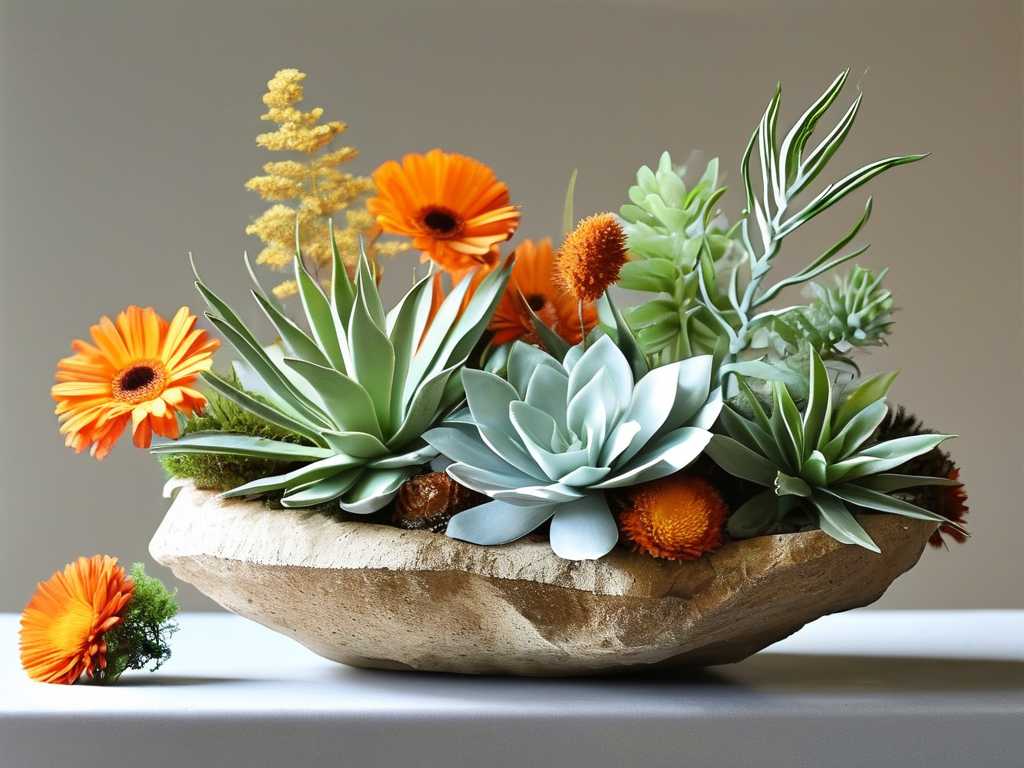
A well-planned arrangement considers growth patterns, color theory, and the individual needs of each plant. It ensures every succulent has the space and conditions to flourish, preventing the common issues of etiolation (stretching) and rot. My goal is to help you build not just a container, but a sustainable ecosystem.
Gathering Your Tools and Materials
First, let’s gather everything you need. Having it all on hand makes the process smooth and enjoyable.
The Essentials:
- Succulents: Choose a variety of forms. I picked a low-growing Echeveria ‘Lola’ as my thriller (focal point), several Sedum rubrotinctum (Jelly Beans) as spillers, and some Haworthia for textural filler. Ensure they all have similar light and water needs.
- Container: Your pot must have a drainage hole. This is non-negotiable. I used a wide, shallow terracotta bowl, which helps soil dry evenly.
- Potting Mix: Standard potting soil is a death sentence. You need a gritty, fast-draining mix. I use a commercial cactus/succulent blend, but I amend it with extra perlite or pumice (about a 1:1 ratio) for even better drainage.
- Tools: Trowel, chopstick (for poking and positioning), soft brush, and gardening gloves.
My First Mistake and Fix: In my early attempts, I used beautiful glass bowls without drainage. Within a week, the base of my echeveria turned mushy. The fix was simple but crucial: I now only use containers with holes. If you fall in love with a pot without one, drill one yourself or use it as a decorative cache pot, placing a draining nursery pot inside.
The Step-by-Step Creation Process
Follow these steps in order for the best foundation.
Step 1: Prepare Your Container and Soil
Start by covering the drainage hole with a piece of mesh or a broken pottery shard to prevent soil washout. Then, fill your container about one-third full with your pre-moistened succulent mix. Moisting the dust out of the mix beforehand makes it easier to work with and less messy.
Step 2: Plan and Position Your Plants
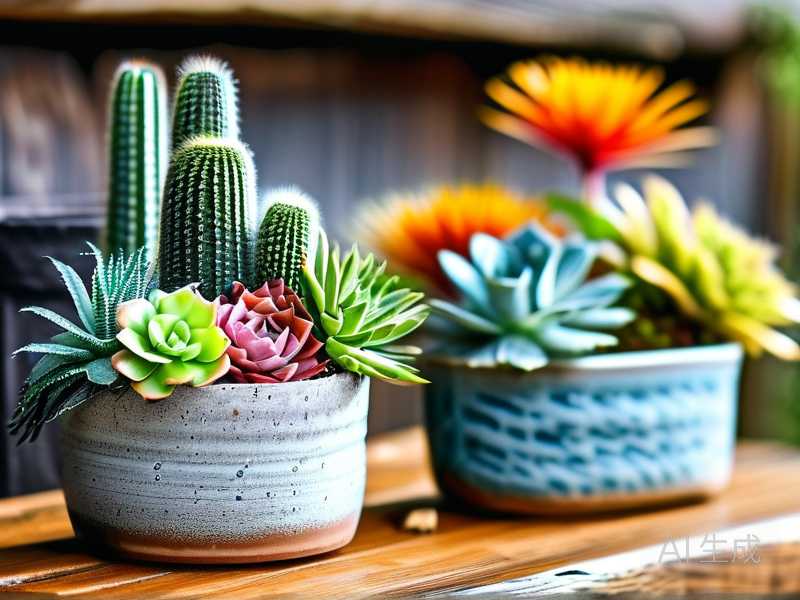
This is the fun, creative part. Arrange your succulents on the soil surface while they’re still in their nursery pots. Play with layouts! I follow the classic “thriller, spiller, filler” formula. Place your tallest or most striking plant (the thriller) slightly off-center. Position trailing plants (spillers) near the edges to cascade over. Use smaller rosettes or interesting textures (fillers) to complete the composition.
Pro Tip from Experience: Give them room to grow. Crowding might look full initially, but it traps moisture and stifles growth. The American Horticultural Society (AHS) notes that good air circulation is vital for preventing fungal diseases in succulent plantings.
Step 3: Planting and Finishing Touches
Once you’re happy with the layout, it’s time to plant. Remove each succulent from its pot, gently teasing apart any tightly wound roots. Using your trowel or fingers, dig small holes and nestle each plant in at the same depth it was growing before. Firm the soil gently around the base.
Use your chopstick to tuck soil into any gaps and ensure the plants are secure. Finally, add a top dressing of small gravel, crushed rock, or decorative sand. This layer is not just aesthetic; it keeps leaves dry, reduces soil evaporation, and gives a polished look. I used a light-colored pea gravel which contrasts beautifully with the green and purple tones of my plants.
Step 4: The Critical Initial Care
Do not water your arrangement immediately! This was my second big lesson. Freshly potted succulents have tiny root tears that need to callous over to prevent rot. Place the finished arrangement in bright, indirect light for 4-7 days. After this resting period, give it a thorough, deep watering until water runs freely out the drainage hole. Then, let the soil dry out completely before the next watering.
My Two-Week Observation Journal
Here’s what happened with my arrangement after following the steps above:
- Days 1-3: The plants looked slightly settled but perky. No signs of transplant shock. The top dressing kept the soil looking neat.
- Days 4-7: After the first deep watering on Day 5, I noticed a burst of vigor. The Sedum tips began to blush a brighter red with increased sun exposure.
- Days 8-14: This is where I saw real success. The center Echeveria tightened its rosette form, showing it was getting enough light (no stretching!). The Haworthia plumped up nicely. There was zero evidence of rot or wilting. A few of the outer “Jelly Bean” stems began to naturally trail over the pot’s edge, just as planned.
The entire arrangement looked established and healthy, confirming that the foundational steps—proper soil, drainage, spacing, and initial dry period—were correct.
Troubleshooting Common Pitfalls
Even with care, issues can arise. Here’s how I’ve dealt with them.
Problem: Stretching or Pale Leaves. This means your succulents aren’t getting enough light. My first arrangement on a north-facing windowsill etiolated within two weeks. Solution: I gradually moved it to a south-east facing spot with several hours of direct morning sun. The new growth became compact again. For low-light homes, consider a grow light.
Problem: Soft, Mushy Leaves or Stems. The classic sign of overwatering. Solution: Stop watering immediately. Check if the pot drains. If the stem is black and mushy, you may need to behead the plant above the rot, let it callous, and re-root it. I saved a Crassula this way. Always err on the side of underwatering.
Problem: Plants Dying in the Center of the Arrangement. Often, the outer plants shade the center, or water doesn’t reach the central roots. Solution: When watering, use a long-spouted can to deliver water directly to the soil at the base of each plant, not just the edges. Rotate the pot occasionally for even light exposure.
Keeping Your Succulent Arrangement Thriving
Long-term care is simple. Water deeply only when the soil is completely dry—stick your finger in an inch to check. Provide the brightest light possible. During the growing season (spring/summer), a half-strength balanced fertilizer can be used once. Your arrangement will evolve; don’t be afraid to prune or remove plants that outgrow their space to maintain the design.
What is the best soil mix for a succulent dish garden? The absolute best mix is a gritty, inorganic-heavy one. A 50/50 blend of a quality cactus potting mix and an additional drainage material like perlite, pumice, or coarse sand is ideal. This replicates their native, arid conditions and prevents root rot.
How often should I water my new succulent planter? There’s no fixed schedule. The golden rule is to water only when the soil is 100% dry. For my arrangement in a terracotta pot indoors, this was about every 10-14 days. In hotter, drier, or sunnier conditions, it may be more frequent. Always check the soil, not the calendar.
Can I use succulents that need different amounts of light in one arrangement? It’s not recommended for long-term success. Pairing a full-sun Sempervivum with a shade-tolerant Sansevieria will leave one plant stressed. Group succulents with similar light and water requirements to ensure all parts of your arrangement thrive equally.
Creating a stunning succulent arrangement is deeply rewarding. It combines creativity with horticultural know-how. By choosing the right components, mastering the planting technique, and providing tailored aftercare, you can cultivate a miniature landscape that brings joy for months or even years. Start with a simple plan, learn from the process, and watch your own living art take root.