bluename
 Signs of Overwatered succulents & How to Fix Them (A 2-Week Rescue Diary)
I’ll be honest—my journey with succulents started with a funeral. A beautiful, plump Echeveria ‘Perle von Nurnberg’ turned into a mushy, translucent mess on my windowsill. I was heartbroken and confused. I thought I was being a good plant parent! This painful lesson sent me down a path of research and hands-on experimentation to truly understand the signs of overwatered succulents. If you’re seeing soft leaves or a sudden droop, you’re not alone. Overwatering is the single most common killer of these drought-loving plants. Let me walk you through exactly what to look for and, more importantly, the step-by-step rescue process I’ve used successfully, documented over a critical two-week period.
Why Succulents Hate Wet Feet: A Quick Biology Lesson
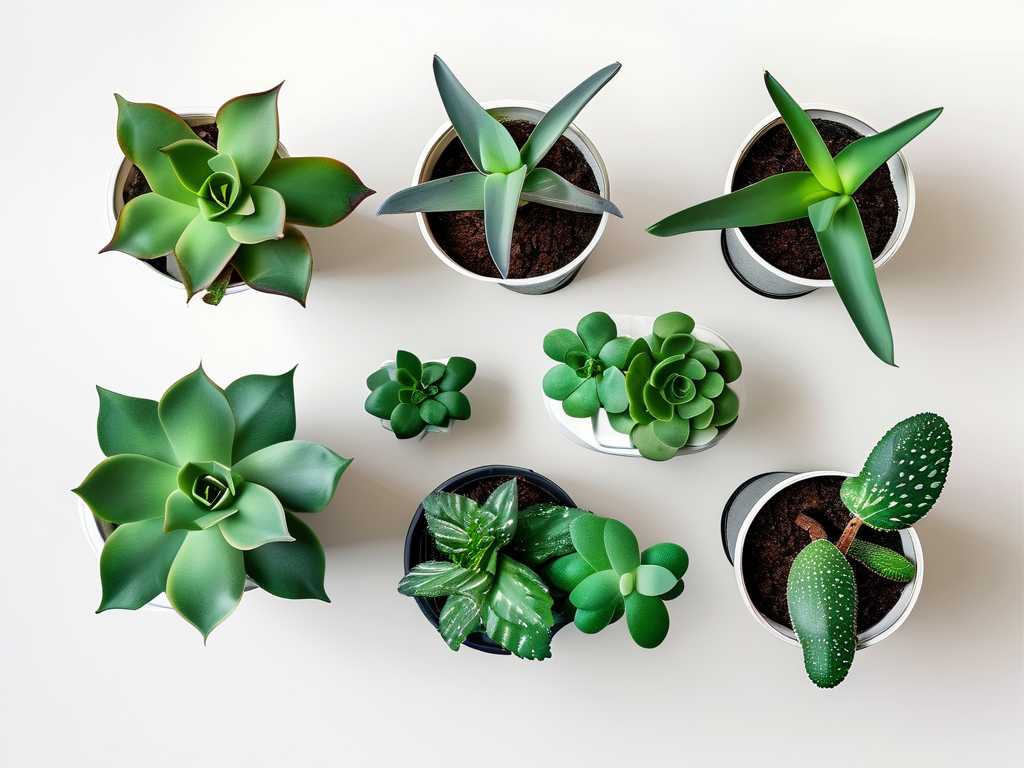
Succulents store water in their leaves, stems, and roots. They are biologically programmed to endure dry periods. Their roots need to breathe. Consistently wet soil suffocates the roots, creating the perfect environment for rot-causing bacteria and fungi to attack. As the Royal Horticultural Society (RHS) notes, “Succulents are far more likely to die from overwatering than underwatering.” The damage happens beneath the soil long before it becomes visible on the plant, which is why early detection is crucial.
The Unmistakable Signs Your Succulent is Drowning
I’ve learned to spot trouble early. Here are the key indicators, from early warnings to critical distress signals.
Early Warning Signs: Catching It Before Rot Sets In The leaves feel soft, mushy, and translucent. A healthy succulent leaf should be firm and taut. When overwatered, the cells fill beyond capacity and burst, turning the tissue to a waterlogged, often yellowish or clear, mush. You might also see leaves dropping at the slightest touch, even plump ones.
Advanced Distress Signals: Time for Immediate Action The stem becomes soft and blackened or brown. This is a major red flag. Stem rot is a fast mover. Leaves turning black from the base outward. A sudden, dramatic drooping or flattening of the rosette. The plant looks deflated. Visible mold or algae growth on the soil surface. This signals prolonged excessive moisture.
The Step-by-Step Rescue Operation: My 2-Week Recovery Protocol
When I found my overwatered Sedum adolphii showing soft lower leaves and a slightly wobbly stem, I sprang into action. Here was my process.
Day 1: The Emergency Unpotting I gently removed the plant from its soggy pot. I brushed away all the wet soil from the roots, being as careful as possible. This is where I saw the damage: several root tips were dark and slimy. Using sterilized scissors (I wiped them with isopropyl alcohol), I snipped off every single dark, mushy root. I cut back until I saw only healthy, firm, white or cream-colored tissue. I also removed all visibly mushy or translucent leaves by gently twisting them off. I then set the plant on a dry paper towel in a warm, airy spot out of direct sun. The goal: let the roots and stem callous over for at least 2-3 days. This step is non-negotiable. Planting a fresh-cut succulent into soil invites immediate reinfection.
The Pitfall & Fix: My first-ever rescue failed here. I was impatient and repotted after one day. The stem rot continued. Now, I wait a full 72 hours, no exceptions. The callous is a vital barrier.
Day 4: The Fresh Start in New Soil After a solid three days, the cut roots and stem base had dried and formed a rough callous. I prepared a new, terracotta pot (porous for breathability) with a drainage hole. My soil mix was radically different: a commercial “cactus & succulent mix” further amended with 50% perlite for extreme drainage. I made a small hole in the dry mix and placed the plant in, supporting it lightly. I did not water it. Not a drop. The plant needs to focus on emitting new roots to seek moisture, not on dealing with wet soil again.
Week 1: The Waiting Game For the entire first week, I placed the plant in bright, indirect light (no harsh sun to stress it further). I resisted all watering urges. I simply observed. By day 7, the remaining leaves had firmed up slightly—a good sign it was using its internal water stores. There was no further progression of mushiness.
Week 2: The First Strategic Watering On day 10, I performed the “taco test” on a lower leaf: I gently tried to bend it. It had some give, indicating the plant was ready for a drink. I used the “soak and dry” method but tailored for a recovering patient. I placed the pot in a shallow dish of water for about 10 minutes, allowing the bone-dry soil to wick moisture upward. I then immediately removed it and let it drain thoroughly. The goal was to provide a hint of moisture to encourage root growth without saturating the medium.
The 2-Week Observation & Outcome By the end of week two, the transformation was clear. The plant was no longer drooping. The stem felt solid. Most importantly, when I gave the plant a very gentle tug, it resisted—a telltale sign that new roots had begun to anchor it into the soil. The rescue was a success. It wouldn’t be ready for a normal watering schedule for several more weeks, but it was firmly on the path to recovery.
How to Perfect Your Watering Routine to Prevent Future Issues
Rescuing a plant is one thing; preventing a repeat is another. Here’s what I changed for good.
Forget the Calendar, Use the Soil Test I never water on a schedule (e.g., “every Sunday”). Instead, I check the soil. I stick a wooden chopstick or my finger deep into the pot. If it comes out with any damp soil clinging to it, I wait. The American Horticultural Society (AHS) emphasizes that “the frequency of watering depends on factors like light, temperature, and humidity.” Only water when the soil is completely dry throughout the pot.
The Right Tools Make All the Difference I switched almost exclusively to unglazed terracotta pots. They breathe, allowing excess moisture to evaporate through the walls. I ensure every pot has a drainage hole. I also use a long-spouted watering can to deliver water directly to the soil, avoiding the leaves which can trap moisture and lead to rot.
Seasonal Adjustments Are Key Succulents are largely dormant in winter. They need far less water, sometimes only once a month or less. I drastically reduce watering from late fall through early spring. During the hot, bright growing season, they’ll drink more frequently, but I still always check the soil first.
Your Top Questions, Answered
Can a succulent recover from overwatering? Yes, absolutely, if you catch it early and act decisively. The key is the presence of healthy tissue. If the stem is completely black and mushy, propagation from remaining healthy leaves may be the only option. But if there’s a firm stem and some healthy leaves, follow the rescue steps outlined above.
How long does it take for an overwatered succulent to heal? The initial stabilization, where you stop the rot from spreading, takes about 1-2 weeks with proper drying and repotting. Full recovery, where the plant regains its plump form and establishes a robust new root system, can take a month or more. Patience is your greatest tool.
What does an underwatered succulent look like vs. an overwatered one? This is a critical distinction. An underwatered succulent will have wrinkled, shriveled, thin leaves that may curl. The plant looks deflated but the leaves are dry, not mushy. The soil will be bone-dry. An overwatered succulent has soft, mushy, translucent leaves that may drop easily. The stem or base may be discolored. The soil often feels damp. When in doubt, err on the side of underwatering—it’s much easier to fix with a thorough drink.
Recognizing the signs of overwatered succulents is a fundamental skill for any plant enthusiast. It transforms you from a passive caregiver into an attentive plant doctor. The process requires a shift in mindset: these are not thirsty houseplants but resilient desert dwellers that crave neglect. By learning to read their leaves, mastering the “soak and dry” method, and choosing the right soil and pot, you can turn the tide. My once-dying Sedum is now thriving, a daily reminder that sometimes, the best way to show love is to put the watering can down and simply let the plant be.