bluename
 How to Prevent Pest Spread in Succulent Soil Collections: A Grower's 2-Week Battle Plan
There's a special kind of dread that washes over a succulent collector. It's not the fear of overwatering or sunburn. It's the sinking feeling when you spot a single, tiny bug on one prized plant and realize your entire collection could be at risk. I've been there, staring at a fluffy white mealybug, knowing that pest spread in succulent soil is a silent, creeping threat. In my years of cultivating these resilient yet vulnerable plants, I've learned that prevention isn't just a step; it's the entire foundation. This guide is born from that hard-won experience, detailing the exact, methodical process I follow to create a fortress against infestations. I recently put my entire protocol to the test over a focused two-week period, and I'll share every step, observation, and crucial lesson learned.
My strategy hinges on three pillars: strict quarantine for new plants, systematic soil treatment, and vigilant environmental control. It's a holistic approach that addresses the problem both above and below the soil surface.
The Non-Negotiable First Step: Quarantine and Inspection
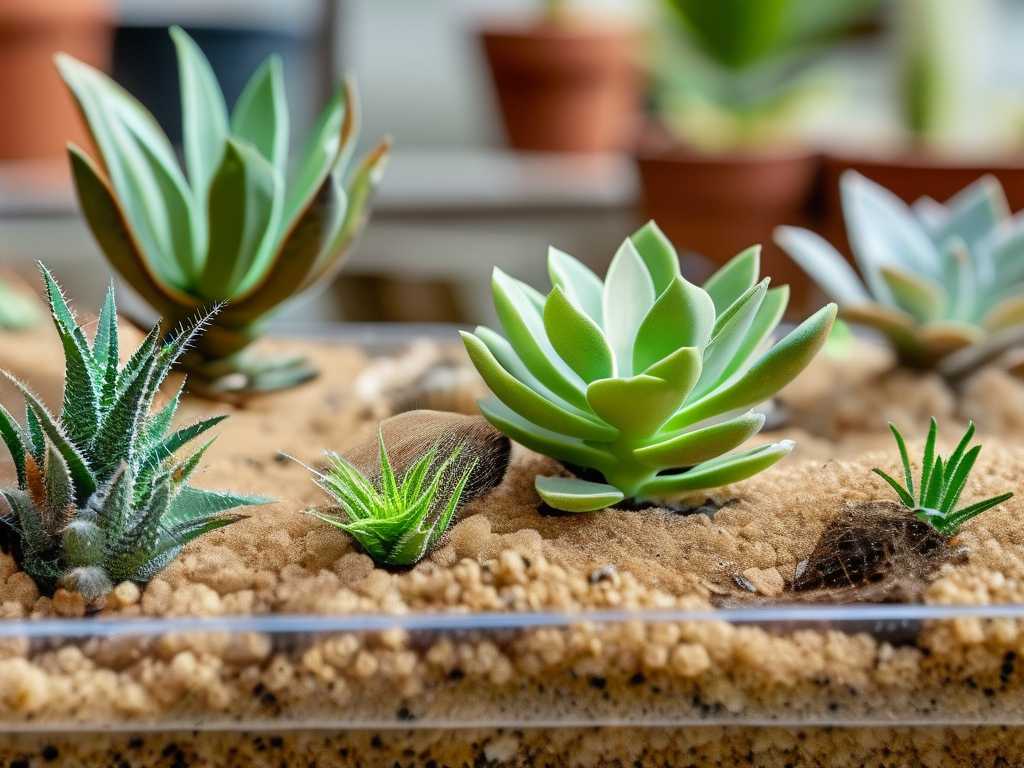
Every new plant is a potential Trojan horse. My rule is simple: no new succulent joins the main collection for a minimum of two weeks. I have a separate shelf, away from my other plants, dedicated to this purpose.
Here is my step-by-step intake process for every new succulent:
First, I perform a visual inspection under bright light. I look for the usual suspects: the cottony masses of mealybugs, the tiny, immobile bumps of scale, and the fine webbing of spider mites. I pay extra attention to the tight spaces where leaves meet the stem and the underside of the foliage.
Next comes the root inspection. I gently remove the plant from its nursery pot. This is critical, as many pests, like fungus gnat larvae or root mealybugs, live in the soil. I carefully brush away the old soil over a white paper towel. Seeing the bare roots allows me to check for any white, powdery residues or tiny, slow-moving insects.
For the next two weeks, the plant stays in its isolation zone. I water it sparingly and observe. During my recent two-week trial with a new Echeveria, this quarantine proved its worth. On day five, I noticed a few fungus gnats emerging from the soil. Because the plant was isolated, the problem was contained to a single pot.
The Pitfall and Solution: I used to think a quick visual check was enough. I was wrong. I once skipped the root inspection for a seemingly healthy Haworthia, only to introduce root mealybugs to my collection. The solution is to make root examination mandatory. For plants too delicate to bare-root, I now drench the soil with a diluted hydrogen peroxide solution (1 part 3% peroxide to 4 parts water) as a preventative treatment during quarantine.
Creating a Hostile Environment for Pests: Soil Treatment and Amendments
The goal here is to make your soil mix uninviting. I no longer use standard potting soil straight from the bag for my succulents. My recipe for prevention is a well-draining, gritty mix.
My standard preventive mix is: 40% bagged succulent/cactus soil, 30% perlite, 20% coarse sand, and 10% horticultural pumice. The excellent drainage prevents moisture retention, which discourages fungus gnats and other moisture-loving pests.
However, during my intensive two-week prevention focus, I took it a step further by incorporating natural, physical deterrents into the soil.
For all plants coming out of quarantine or being repotted, I began adding two amendments to my base mix. First, I sprinkled a thin layer of food-grade diatomaceous earth on top of the soil after potting and watering. DE is a fine powder made from fossilized algae. It's harmless to mammals but lethal to insects with exoskeletons, as it causes them to dehydrate. Second, I mixed in a small amount of mosquito bit granules into the soil. These contain Bacillus thuringiensis israelensis (Bti), a natural bacteria that targets and kills fungus gnat and mosquito larvae in the soil.
The Observation (Days 1-14): The effect was noticeable. In the treated pots, fungus gnat activity ceased within 4-5 days. The diatomaceous earth formed a dry, hostile barrier on the soil surface. By the end of the two weeks, the isolated Echeveria showed no new signs of pests, and the treated plants in my main collection had zero soil-borne insect activity.
The Pitfall and Solution: Diatomaceous earth loses its effectiveness when wet. My mistake was applying it and then watering from above, washing it away. The solution is to water your plants from the bottom (by soaking the pot in a tray of water) after applying DE to the surface. This keeps the dry barrier intact. I also learned to wear a mask when applying DE to avoid inhaling the fine dust.
Cultural Practices: Watering, Airflow, and Cleanliness
Pests thrive in certain conditions. By manipulating the environment, you tip the scales in your favor.
I adopted a strict "soak and dry" method, allowing the soil to dry out completely between waterings. Wet soil is a breeding ground for gnats. I also increased airflow around my collection by adding a small, oscillating fan that runs for a few hours each day. Good airflow helps soil dry evenly and discourages spider mites, who prefer still, dry air.
Sanitation became a daily habit. I removed dead leaves from the base of my plants promptly, as these provide perfect hiding spots for mealybugs. Every time I handled a plant, I cleaned my tools (tweezers, chopsticks) with isopropyl alcohol.
The Observation (Days 1-14): The combination of bottom-watering and increased airflow dramatically reduced the ambient humidity around the soil surface. The soil dried faster and more uniformly. This simple change felt like one of the most impactful in denying pests a comfortable home.
When Prevention Needs a Backup: Early Intervention Tactics
Despite best efforts, sometimes pests appear. During my two-week trial, I found a single mealybug on an older Jade plant in the main collection. My prevention protocol includes a ready response.
I keep a spray bottle filled with 70% isopropyl alcohol and a set of fine-tipped brushes. I dabbed the insect directly with alcohol, which dissolves its waxy coating and kills it on contact. For broader, unseen infestations, a soil drench with a diluted neem oil solution can be effective, though I use this sparingly and never in direct sunlight.
The Royal Horticultural Society (RHS) emphasizes that early detection and non-persistent, targeted treatments are key to managing pests without harming the plant or beneficial insects. I follow this principle, opting for precise, physical removal or topical alcohol application first.
Sustaining the System: A Routine of Vigilance
The two-week intensive period solidified my routine. Prevention is not a one-time task. It's a cycle. Now, every Sunday, I do a quick "pest patrol," inspecting a few plants closely. Every new plant goes through quarantine. Every repotting session includes preventive amendments.
My collection is now healthier, and the constant anxiety about infestations has faded. The peace of mind is worth every minute of the preventive care.
Questions I Hear from Fellow Collectors
"What's the one thing I should start doing today?" Start with quarantine. Even if it's just a separate windowsill, isolate every new plant for two weeks. It's the single most effective barrier against introducing problems.
"I'm scared to unpot and bare-root a new plant. What's the alternative?" If the plant is too fragile, keep it in its nursery pot but place the entire pot inside a clear plastic bag for 10-14 days. This will contain any flying pests. You can also treat the soil with a Bti drench (like mosquito bit tea) to target larvae without disturbing the roots.
"Are chemical pesticides a good preventive measure?" I avoid them as a preventative. According to integrated pest management principles, and supported by organizations like the American Horticultural Society, broad-spectrum chemical pesticides can harm soil health, lead to pest resistance, and are often unnecessary. Building healthy plants with good practices and using physical or biological controls first is a more sustainable and effective long-term strategy. Reserve chemicals only for severe, identified infestations where other methods have failed.
The journey to a pest-free succulent collection is built on consistency, not miracles. It requires a shift from reactive panic to proactive, calm routine. By building strong defenses at the points of entry and creating an environment where pests cannot easily establish, you protect not just individual plants, but the entire community you've worked so hard to cultivate. Your collection will thank you with robust, undisturbed growth.