bluename
 How to Fix succulents With Wilted Stem Surfaces: A 2-Week Rescue Diary
There’s a particular sinking feeling that hits every plant lover when you run your fingers along your favorite succulent and feel it—a soft, mushy, or wrinkled stem surface where there should be firm, plump resilience. I’ve been there, staring at a once-proud Echeveria, its stem telling a silent tale of distress. If you’re searching for how to fix succulents with wilted stem surfaces, you’ve likely felt that same panic. I want to walk you through not just the textbook steps, but my real, hands-on journey of diagnosing, treating, and nursing a succulent back from the brink over a critical two-week period. This guide is born from equal parts research and hard-won, dirt-under-the-fingernails experience.
Understanding Why Your Succulent’s Stem Goes Wilted and Mushy
Before you can fix the problem, you need to play plant detective. A wilted stem surface is a symptom, not the disease itself. Through trial and error, I’ve learned it typically points to one of three core issues:
- Overwatering and Root Rot: This is the arch-nemesis. Succulents store water in their leaves and stems. Constant wet soil suffocates roots, causing them to rot. This rot then travels up the stem, breaking down its internal structure and causing the surface to collapse, becoming soft and often discolored (brown or black).
- Physical Damage or Pest Infestation: A knock or scrape can bruise the stem tissue, creating a localized soft spot. More insidiously, pests like mealybugs or scale can suck sap and inject toxins, weakening the stem’s integrity in specific areas.
- Severe Underwatering: While less common for causing mushiness, extreme dehydration can cause stems to shrivel, wrinkle, and become limp. The texture is more dry and papery than wet and mushy.
My recent patient was a Sedum burrito (Burro’s Tail) whose plump beads started looking deflated, and the main stem near the soil felt suspiciously soft. I knew immediate action was required.
My Step-by-Step Rescue Protocol for a Wilted Succulent Stem
Here is the exact process I followed, moving from diagnosis to surgery to recovery care.
Day 1: The Unpotting and Diagnosis I gently removed the plant from its pot. The soil was cooler and damper than it should have been a full week after watering—my first clue. I carefully brushed away the soil to inspect the roots and stem base. The roots were dark, slimy, and broke off easily. The rot had started about an inch up the stem from the base. This confirmed my fear: advanced root rot. The wilting stem surface was just the visible tip of the problem.
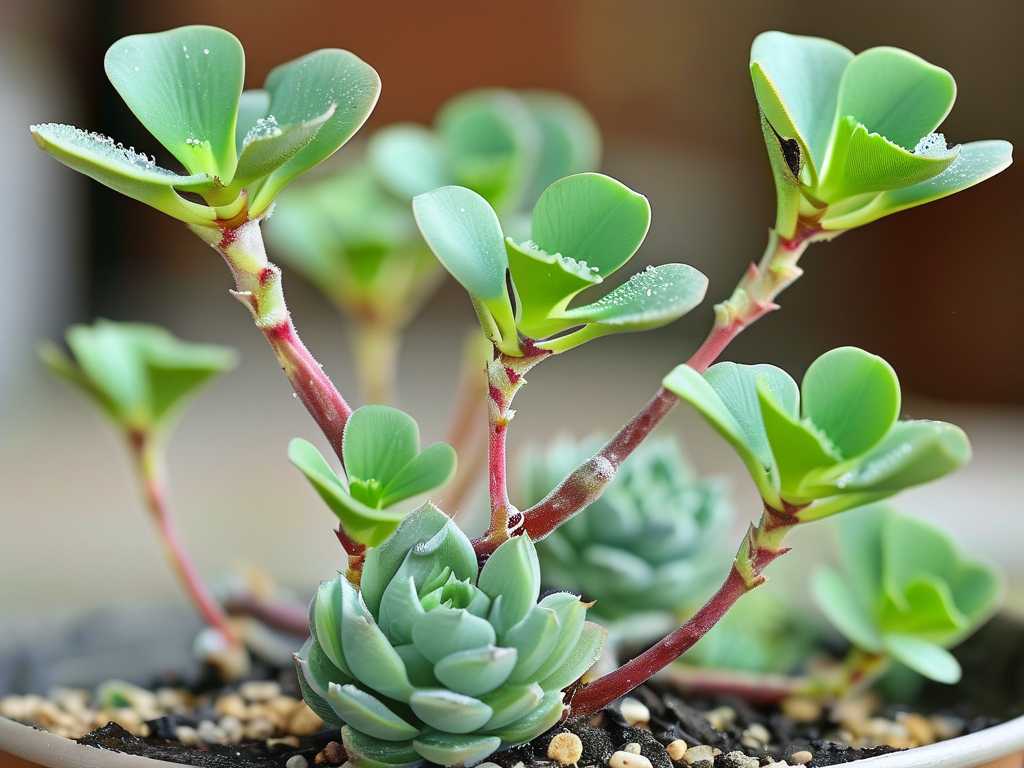
Day 1: The Surgical Procedure This is where you must be brave and decisive. Using a clean, sharp knife (I sterilize mine with isopropyl alcohol), I cut through the healthy, firm stem well above the mushy section. A clean cut is crucial for recovery. I removed all the rotten roots and stem material until only firm, green tissue remained. I then stripped off the lower leaves to expose about an inch of bare stem for rooting. The healthy top portion was set aside on a paper towel in a shaded, dry spot to let the cut end form a callus. This callus is a non-negotiable step—planting a fresh cut into soil invites new rot.
Days 2-4: The Callusing Period I left the beheaded plant top (often called a “cutting” or “propagation”) to dry. This took about three days in my ambient room conditions. The end must be completely sealed over and dry to the touch. During this time, I prepared a fresh, well-draining succulent mix. I use a 50/50 blend of a quality potting soil and perlite, as recommended by many horticultural societies for optimal drainage.
Day 5: Planting and the Beginning of Observation Once callused, I planted the stem in the dry, fresh mix. I did not water it. Not a single drop. The plant now had no roots to absorb water, and its stored moisture was sufficient. I placed it in a location with bright, indirect light—no harsh sun while it was so vulnerable.
The Critical 2-Week Observation and Recovery Timeline
This is where patience becomes your most important tool. You don’t fix a wilted succulent stem overnight; you monitor its journey back to health.
- Days 5-7: No visible change. The plant looked stable, neither improving nor declining. This was a good sign—it meant the rot had been stopped. I resisted the overwhelming urge to water. This was my first “common succulent problem” pitfall I had to avoid: premature watering out of anxiety.
- Days 8-10: I gave the pot a gentle wiggle. There was slight resistance, a hint that the first tiny root hairs might be anchoring. The leaves remained firm, not drawing down their stored water too quickly. On Day 10, I performed the “tug test”—an incredibly gentle upward pull. There was definite resistance. Success! Root initiation had begun.
- Days 11-14: With confirmed root growth, I performed the first watering. I used the “soak and dry” method, thoroughly drenching the pot until water ran out the drainage hole, then ensuring all excess water drained away completely. The plant’s response over the next 48 hours was remarkable. The previously slightly wrinkled leaves on the cutting plumped up noticeably. The stem itself remained firm and began to look less stressed. The surface was no longer wilted or soft; it had regained its turgor and integrity.
Pitfalls I Encountered and How I Solved Them
My journey wasn’t perfectly smooth. Here’s where I stumbled and how you can avoid it:
- The Pitfall of Impatience with Watering: In a past rescue attempt, I watered a cutting after only one day of callusing, fearing it would dehydrate. The stem turned mushy again within days. The Fix: Wait for a full, hard callus no matter how long it takes (3-7 days). Your succulent is a camel, not a fish.
- Using the Wrong Soil (Again): Early in my plant hobby, I’d reuse old soil or use a mix that wasn’t gritty enough. This compacted around the new, fragile roots, creating a damp microenvironment. The Fix: Always use fresh, sterile, well-draining mix for rescues. The investment is worth it. The Royal Horticultural Society (RHS) consistently emphasizes the critical importance of sharp drainage for succulent health, a principle I now swear by.
- Insufficient Light During Recovery: I once placed a recovering plant in a low-light area to “be gentle.” It became etiolated (stretched) and weak, slowing root development. The Fix: Provide bright, indirect light. This energy fuels root growth. The American Horticultural Society’s (AHS) light guidelines for succulents stress the need for high light levels for compact, healthy growth, which applies doubly during the stressful recovery phase.
Your Questions, Answered from My Experience
Can a succulent recover if the whole stem is mushy? If the entire stem, from soil line to tip, is soft and discolored, the chances are very low. However, you can still try to salvage individual healthy leaves for propagation. Pluck firm leaves, let them callus, and place them on dry soil to grow new plantlets. It’s a longer process, but it works.
How do I tell the difference between overwatering and underwatering? This is crucial. An overwatered, rotting stem is mushy, often dark, and may smell foul. Leaves might turn yellow and translucent. An underwatered stem is dry, shriveled, and brittle. The leaves will be wrinkled and dry. Touch is your best tool: squishy bad, crispy dry needs a drink.
How often should I water after the rescue? Abandon a schedule. After the initial post-rooting water, only water again when the soil is completely dry and the leaves show the very earliest signs of thirst (slight wrinkling). This could be every 10-14 days or longer, depending on your environment. When learning how to care for soft stem succulents, the “soak and dry” method and keen observation are your guides.
Watching a succulent with a wilted stem surface regain its strength over two weeks is incredibly rewarding. It teaches you more about plant physiology than a year of plain watering ever could. The keys are a swift, clean cut, infinite patience during callusing and rooting, and a disciplined approach to water and light. Remember, you’re not just saving a plant; you’re building the intuition and skills to prevent it from happening again. Your succulent collection will be all the stronger for it.