bluename
How to Choose succulents for Urban Rooftop Rock Gardens
I remember standing on my windy, sun-baked rooftop for the first time, dreaming of a green escape. The concrete jungle view was getting old, and I craved a low-maintenance slice of nature. That’s when I decided to build an urban rooftop rock garden. The biggest question, the one that kept me up at night, was this: How to choose succulents for urban rooftop rock gardens that wouldn’t just survive, but truly thrive in such a harsh, exposed environment? If you’re in the same boat, feeling overwhelmed by the sheer variety of succulents while worrying about wind, scorching sun, and weight limits, you’re in the right place. I’ve been through the trial and error so you don’t have to.
My journey from a barren roof to a flourishing, textured landscape taught me that selecting the right plants is more science than art. It’s about understanding their language—their form, texture, and hardiness—and matching it to your unique rooftop conditions.
Understanding Your Rooftop Microclimate: The Non-Negotiable First Step
Before you fall in love with a picture-perfect Echeveria, you need to have a serious talk with your rooftop. I learned this the hard way.
I started by mapping out the sun’s path over two typical days. My south-facing section got a brutal 10+ hours of direct, intense summer sun. The north side, sheltered by a parapet, was in bright shade for most of the day. The wind was a constant force, especially on the western edge. I also consulted a structural engineer to confirm my weight load capacity—a critical step for any urban rock garden that many DIY guides gloss over. Container weight, wet soil, and gravel add up quickly.
This reconnaissance mission is vital. Your rooftop isn’t just a “sunny spot”; it’s a mosaic of microclimates. Choosing plants without this intel is like throwing darts blindfolded.
The Champion Succulents for Harsh Rooftop Conditions
Through research and painful experience, I’ve categorized my top performers. These are the plants that laughed in the face of my rooftop’s challenges.
The Sun Warriors and Wind Defiers
These plants are the backbone of a drought-tolerant rooftop garden. They have compact, often low-growing forms that resist wind damage.
- Sempervivum (Hens and Chicks): My absolute number one recommendation. These are cold-hardy, sun-loving, and form tight rosettes that hug the ground. Wind? It just helps keep their centers dry. I planted a mix of Sempervivum arachnoideum (Cobweb Houseleek) and S. tectorum. After two weeks, not only had they anchored firmly in the gritty soil, but several had already produced tiny “chicks” on stolons. Their color intensified beautifully under the sun.
- Sedum (Stonecrop): Specifically, the creeping varieties like Sedum reflexum (Blue Spruce Stonecrop) and Sedum spurium (Dragon’s Blood). I used them as living mulch between larger rocks. They spread rapidly, their needle-like or rounded leaves forming a dense mat that stabilizes the soil. In just 14 days, I observed about an inch of new, vibrant growth. They are incredibly forgiving.
- Jovibarba: Often confused with Sempervivum, these are even hardier. Jovibarba hirta with its fuzzy leaves became a favorite textured element.
The Architectural Statement Makers
These add height, drama, and sculptural form to your succulent rock garden design.
- Agave parryi (Parry’s Agave): A stunning, symmetrical rosette with gray-blue leaves. It’s slow-growing, drought-tolerant, and can handle full sun and wind once established. I placed one as a focal point. The two-week observation showed zero stress; the leaves remained firm and the color pristine. It’s a living sculpture.
- Yucca filamentosa (Adam’s Needle): Surprisingly rooftop-tough. Its sword-like leaves and tall flower spikes scream desert elegance. It withstands wind, drought, and poor soil brilliantly.
The Textural Wonders and Spillers
These plants introduce fascinating textures and soften the edges of rocks and containers.
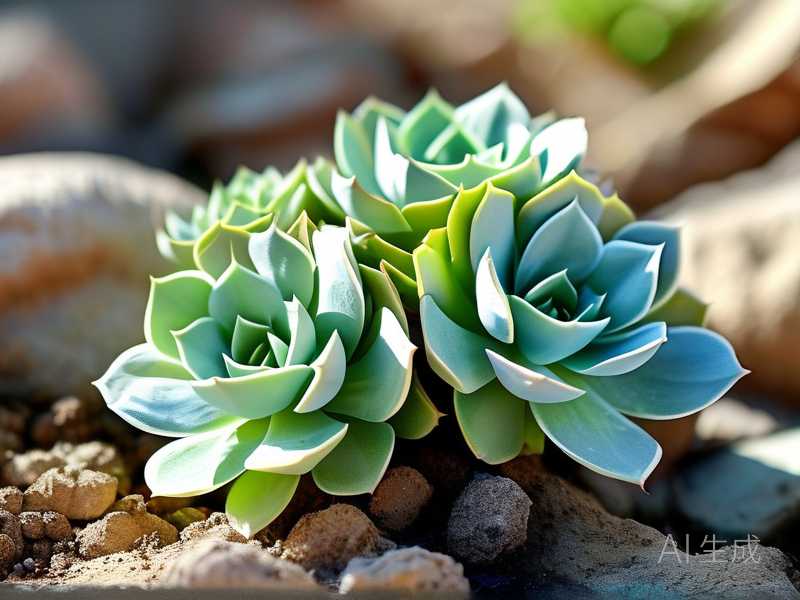
- Orostachys iwarenge (Chinese Dunce Cap): A delightful, low-growing succulent that forms monocarpic rosettes. It looks like a cluster of tiny, pastel artichokes. It thrived in a crevice between two rocks.
- Delosperma (Ice Plant): While not a true succulent in some classifications, its succulent foliage and dazzling, daisy-like flowers make it a perfect rooftop rock garden companion. Delosperma cooperi sprawled beautifully over my rocks, and after two weeks, it was covered in vibrant purple-pink blooms, attracting pollinators to my urban oasis.
My Two-Week Planting and Observation Log: The Real-World Test
Here’s exactly what I did and what happened. This is where theory met reality.
Week 1: Planting and The Initial Shock I planted on a cool, overcast morning—a pro tip to reduce transplant shock. My soil mix was brutally fast-draining: 50% coarse potting soil, 30% poultry grit (cheaper than perlite and provides great weight), 20% coarse sand. Every pot and bed had a generous layer of lava rock at the bottom for drainage.
I gently teased out the roots of each plant, placed them, and backfilled with my mix. I gave them a thorough initial watering to settle the roots.
The First Crisis: Within 48 hours, a few Echeveria ‘Lola’ I couldn’t resist including (against my better judgment) showed signs of sunburn on their outermost leaves—soft, translucent patches. The坑 (The Pitfall): I hadn’t hardened them off sufficiently. They came from a sheltered nursery bench.
The Fix: I immediately created temporary shade for them using a piece of burlap stretched over some stakes. I removed the clearly damaged leaves to prevent rot. For the next week, I watered only the base of these stressed plants early in the morning, avoiding the leaves.
Week 2: Adaptation and Triumph By day 10, the sunburned Echeverias had stopped deteriorating. New growth in the center looked tight and healthy. The temporary shade was removed.
Meanwhile, the champions were shining:
- The Sempervivum and Sedum colonies looked plump and happy. Their colors—russets, blues, and greens—deepened.
- The Agave drank up the sun, showing no distress.
- The Delosperma flowers opened wider each day.
- Crucially, after a sudden, heavy downpour, all my containers and beds drained completely within 20 minutes. The soil mix worked.
The two-week mark was a clear divider. The plants chosen specifically for harsh conditions were thriving. The less-suited ones needed coddling. It validated my research in the most satisfying way.
Key Selection Criteria: Your Succulent Checklist
Based on my experience, run every potential plant through this filter:
- Cold Hardiness: Check your USDA zone. Your rooftop is often a zone colder due to wind exposure. I always choose plants rated for at least one zone colder than my official one.
- Growth Habit: Low, spreading, or rosette-forming plants are best. Avoid tall, skinny, or top-heavy succulents (like some Crassula) that can snap in wind.
- Leaf Texture: Waxy, farinose (powdery coating), or hairy leaves often indicate better sun and wind resistance. The farina on Graptopetalum acts as a natural sunscreen.
- Water Needs: Stick to plants with truly low water requirements. As the Royal Horticultural Society (RHS) notes, the combination of full sun, wind, and excellent drainage on a rooftop creates an intensely arid environment, even in humid cities.
Designing for Impact and Survival
A rooftop succulent selection isn’t just about individual plants; it’s about creating a resilient community.
- Plant in Drifts: Group 3-5 of the same Sedum or Sempervivum together for visual impact and to create a micro-humid zone.
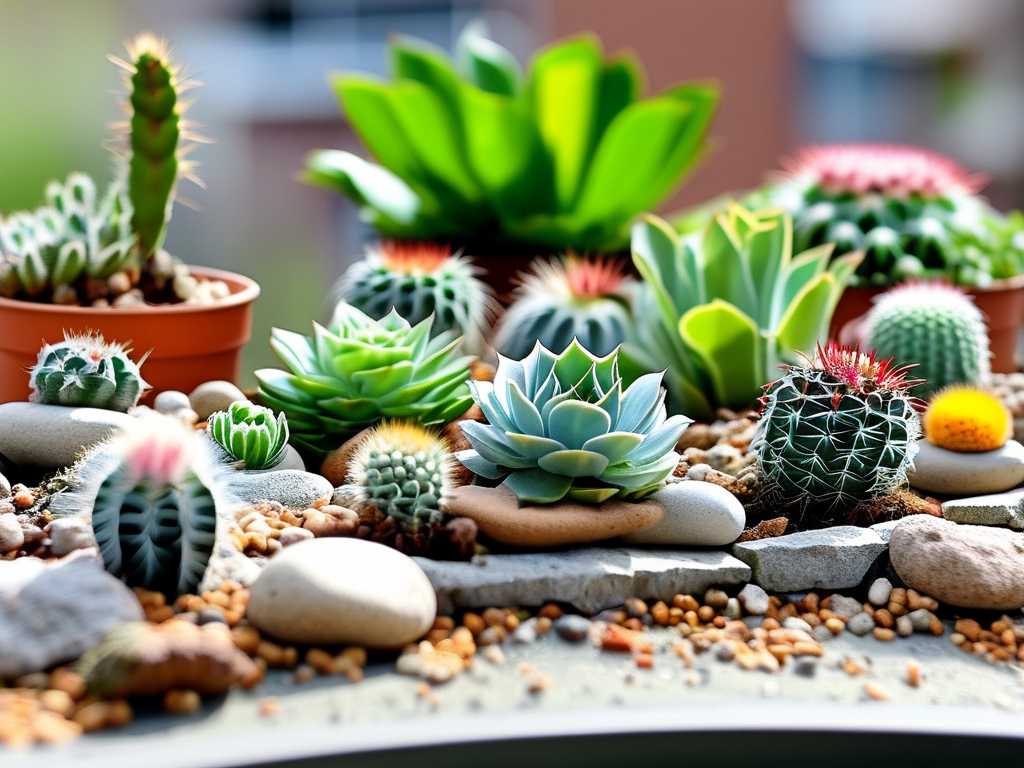
- Use Rocks Strategically: Rocks aren’t just decorative. They anchor soil, provide shade for root zones, and radiate heat at night, creating favorable microclimates. The American Horticultural Society’s (AHS) book on rock gardening emphasizes this principle.
- Layer Heights: Place taller, statement plants like Agave or Yucca in the center or back, with creeping Sedum spilling over the edges of planters.
How often should I water my rooftop succulent garden? For the first month, check weekly. Water only when the soil is completely dry several inches down. After establishment, in summer, you might water every 2-3 weeks. In spring and fall, maybe once a month. In winter, hardly at all. Always err on the side of underwatering.
What about winter? Will they die? Many of the champions listed, like Sempervivum, Sedum, and Jovibarba, are extremely cold-hardy. They go dormant. Ensure your soil mix is so well-draining that it never stays soggy in freezing weather, which is the real killer. For tender succulents, have a plan to move pots to a sheltered spot.
Can I use regular potting soil? Absolutely not. This is the most common mistake. Regular soil retains too much water and will compact, leading to certain root rot. A gritty, inorganic-heavy mix is non-negotiable for rooftop success.
Building my urban rooftop rock garden taught me patience and observation. It’s a dialogue with nature, even 10 stories up. By choosing succulents that are genetically wired for exposure—the Sempervivums, Sedums, and Agaves—you’re not just planting a garden; you’re building a self-reliant, beautiful ecosystem that reflects the rugged beauty of the urban skyline itself. Start with your microclimate, choose the tough guys, and give them the sharp drainage they demand. Your resilient, breathtaking oasis awaits.