bluename
How to Identify Nutrient Burn on Succulent Leaf Bases
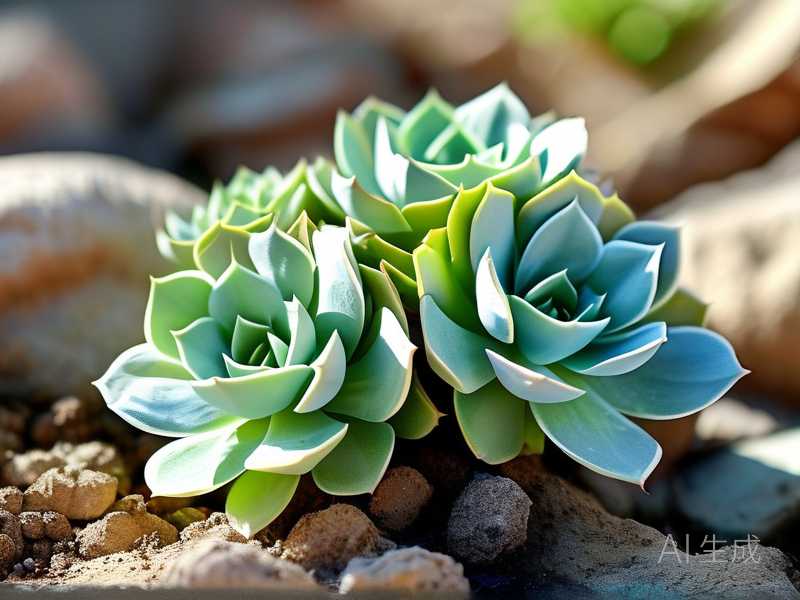
I remember the sinking feeling when I first noticed the strange, crispy discoloration creeping up from the base of my favorite Echeveria ‘Perle von Nürnberg’. The lower leaves, once plump and lavender-gray, were turning an unsettling yellow-brown, feeling papery and dry to the touch. I was confused. Was it underwatering? Sunburn? Or something else entirely? After weeks of research and hands-on trial, I finally pinpointed the culprit: nutrient burn on succulent leaf bases. This subtle but damaging condition is often misdiagnosed, leading well-meaning plant lovers like myself to inadvertently cause more harm. If you’ve ever seen unusual changes at the bottom of your succulent’s leaves, this guide will walk you through exactly how to identify nutrient burn, based on my own two-week diagnostic journey and the lessons I learned the hard way.
What Exactly Is Nutrient Burn in succulents?
Before we dive into identification, let’s clarify what we’re dealing with. Nutrient burn, also called fertilizer burn, isn’t a disease or pest. It’s a physiological injury. It happens when the concentration of soluble salts (primarily from fertilizer) in the soil becomes too high. This creates an osmotic imbalance, making it difficult for roots to absorb water. Essentially, the plant starts to dehydrate from the roots up, and the damage manifests visibly on the most mature tissues first—the older, lower leaves. Unlike overwatering, which often causes translucent, mushy leaves, nutrient burn typically presents as dry, scorched damage.
My Step-by-Step Diagnostic Process: A Two-Week Observation
When I suspected nutrient burn on my succulent’s leaf bases, I committed to a structured, two-week observation period. Rushing to conclusions can lead to incorrect treatment.
Week 1: The Initial Assessment and Isolation
My first step was immediate isolation. I moved the affected Echeveria away from my other plants to prevent any potential cross-contamination from misdiagnosed issues. I then performed a thorough initial check:
- The Leaf Base Examination: I gently lifted the plant and focused on the lowest leaves where the symptom originated. True to nutrient burn symptoms in succulents, the damage was concentrated at the leaf bases—the points closest to the stem. The tips of these leaves were often still intact. The color was a progressive scorch: light yellow at the very base, deepening to a crispy brown. The texture was key—brittle and dry, not soft.
- Soil and Pot Inspection: I checked the soil surface. A telltale sign I almost missed was a faint white crusting—a visible salt buildup. I also noted the pot type: a glazed ceramic pot with a single drainage hole. Poor drainage can exacerbate salt accumulation.
- Fertilizer Audit: I honestly reviewed my care log. I had, in my enthusiasm for growth, applied a diluted liquid fertilizer every other week during the growing season. While “diluted,” the frequency was likely too much for a succulent adapted to lean soil. The Royal Horticultural Society (RHS) advises that succulents require feeding “only once or twice during the growing season,” a guideline I had enthusiastically exceeded.
Week 2: Monitoring and Confirming the Pattern
I held off on any drastic action like repotting immediately. Instead, I simply stopped all watering and fertilizing to observe the plant’s response.
- Progression Tracking: Over the next seven days, I took daily photos. The damage did not spread rapidly like a fungal infection might. Instead, the existing scorched areas on the lower leaves became slightly more defined and crisp. Critically, no new leaves from the center rosette showed any signs of this burn. This was a major clue. Issues like sunburn or pests often affect new growth or random leaves, but identifying fertilizer damage on leaf bases often reveals this “older leaves first” pattern.
- The “Touch Test”: Throughout the week, I gently felt the affected leaf bases and the stem. The stem remained firm and healthy. The damaged leaves were desiccated but not rotting, confirming a drying injury rather than a bacterial or water-logged one.
Key Visual Signs: How to Spot Nutrient Burn vs. Other Issues
By the end of my two-week watch, I could confidently differentiate nutrient burn from other common problems. Here’s what to look for:
- Location, Location, Location: Damage starts exclusively on the oldest, lowest leaves at their bases. It’s a ground-up issue.
- Color and Texture: Look for a scorched or crispy brown appearance on the leaf base, sometimes with a yellowish halo. The texture is dry and papery. As the American Horticultural Society (AHS) notes in their plant problem guides, chemical injury often presents as “marginal scorching or browning” that is dry.
- Growth Pattern: The plant’s core and new growth remain unaffected initially. The plant may also exhibit stunted growth overall, as its roots are stressed.
- Soil Evidence: A white or yellow crystalline crust on the soil surface or pot rim is a dead giveaway of excess salt buildup.
Common Look-Alikes I Ruled Out:
- Overwatering: Causes soft, mushy, often translucent leaves that may fall off at a touch. Color is darker, black/brown, and can affect any leaf.
- Sunburn: Presents as bleached, flat, scorched patches usually on the top surfaces of leaves most exposed to light, not specifically at the bases.
- Natural Senescence: Older leaves dry up and are reabsorbed, but they typically do so evenly from the tip inward and are easily plucked away, leaving a clean base.
The Pitfalls I Encountered and How I Fixed Them
My journey wasn’t smooth. I made mistakes that could have cost me my plant.
Pitfall 1: The Over-Flushing Fiasco Once diagnosed, I knew I needed to leach the soil. In a panic, I drenched the pot repeatedly under running water. The mistake? I didn’t ensure the pot was draining freely. The waterlogged soil I created nearly caused root rot on top of the burn. Solution: I learned to leach properly. I took the plant to the sink, watered it thoroughly until water ran freely from the drainage hole, waited 15 minutes, and repeated this process four times. This gradual flushing dissolves and removes salts without drowning the roots.
Pitfall 2: The Immediate Repotting Urge After flushing, I immediately repotted into fresh, dry succulent mix. This shocked the already stressed roots. Solution: The correct method is to leach the soil thoroughly first, then allow the plant to drain and the soil to dry to a slightly damp state (not bone dry) over 2-3 days before repotting. This reduces transplant shock.
Pitfall 3: Underestimating Recovery Time I expected quick improvement. When the scorched leaves didn’t magically heal, I worried my fix failed. Solution: I accepted that the damaged leaves will not recover. The goal is to stop the progression. New growth will be the indicator of success. It took nearly a month before I saw compact, healthy new leaves emerging from the center.
The Recovery Protocol: What Actually Worked
- Complete Fertilizer Holiday: I stopped all fertilizer for the remainder of the growing season and the following dormancy period.
- Corrected Watering Technique: I adopted the “soak and dry” method exclusively, ensuring every watering resulted in complete runoff, which helps flush minor salt accumulations naturally.
- Long-Term Soil Strategy: When I eventually repotted, I used a gritty, well-draining mix (a 50:50 blend of succulent soil and perlite/pumice) and opted for an unglazed terracotta pot, which allows soil to breathe and salts to wick out through the walls.
- Conservative Future Feeding: Now, I only feed my succulents once, at the very beginning of the active growth season, with a fertilizer diluted to half the recommended strength. Less is truly more.
How can I tell if it’s nutrient burn or just old leaves dying? Natural leaf reabsorption is a slow, even process where the leaf gradually dries from the tip back, becoming flat and papery before detaching cleanly. Nutrient burn causes localized, often uneven browning and crisping at the base while the leaf tip may still be plump, and the leaves often cling on despite being damaged.
Can a plant recover from severe nutrient burn on the leaf bases? Yes, if the growing point (the center rosette) is unharmed. The plant will not heal the scorched leaves; they will remain scarred or eventually be shed. Recovery is signaled by the production of new, healthy leaves from the center. The focus must be on saving the root system and core.
How often should I fertilize my succulents to prevent this? For most home growers, fertilizing once a year at the start of the growing season is sufficient. Use a balanced, water-soluble fertilizer diluted to 50% strength. Remember, succulents thrive on neglect and lean soil conditions. When in doubt, skip the fertilizer.
Identifying nutrient burn on succulent leaf bases requires a careful eye and patience. It’s a lesson in moderation. The most vibrant, resilient succulents in my collection are those I’ve fed the least and observed the most. By learning the distinct signs—the basal scorching, the crispy texture, the salt-crusted soil—you can intervene early, correct your care routine, and ensure your succulent’s foundation remains strong for years of healthy growth.