bluename
How to Hang succulents in Hanging Terracotta Pot Holders: A Two-Week Journey from Trial to Triumph
I love my succulents, but my windowsills are overflowing. I wanted to bring that lush, green vibe higher up, to eye level, and create a living tapestry. That’s when I decided to master how to hang succulents in hanging terracotta pot holders. It seemed simple enough: get some pots, some plants, and hang them. But as any plant enthusiast knows, the devil is in the details—especially when gravity is involved. If you’ve ever worried about soil spilling, pots cracking, or plants stretching sadly toward a distant light source, you’re in the right place. I embarked on a two-week experiment, and here’s everything I learned, step-by-step.
My goal was clear: create a stunning, healthy hanging display using classic terracotta. I chose terracotta for its porosity, which helps prevent overwatering—a common killer of succulents. But its weight and fragility when hung presented a unique challenge.
Gathering the Right Materials
You can’t build a stable house without a good foundation. The same goes for a hanging succulent display.
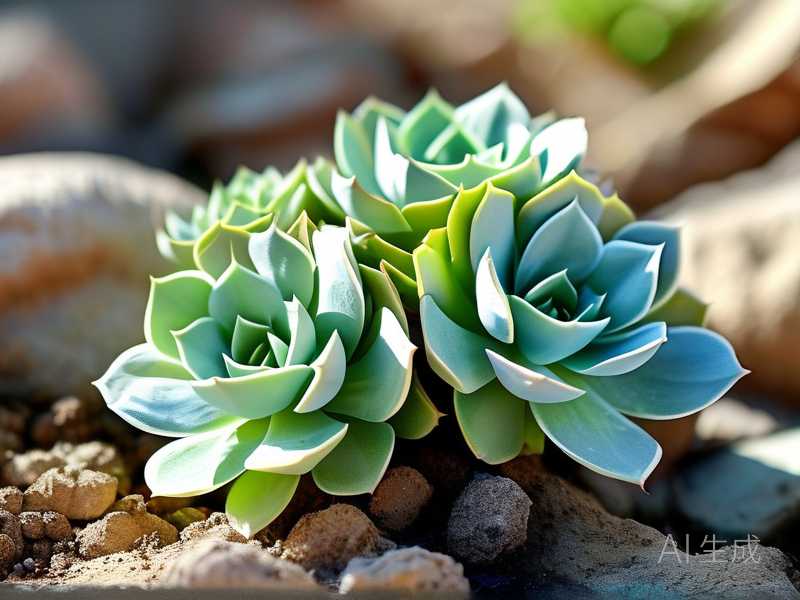
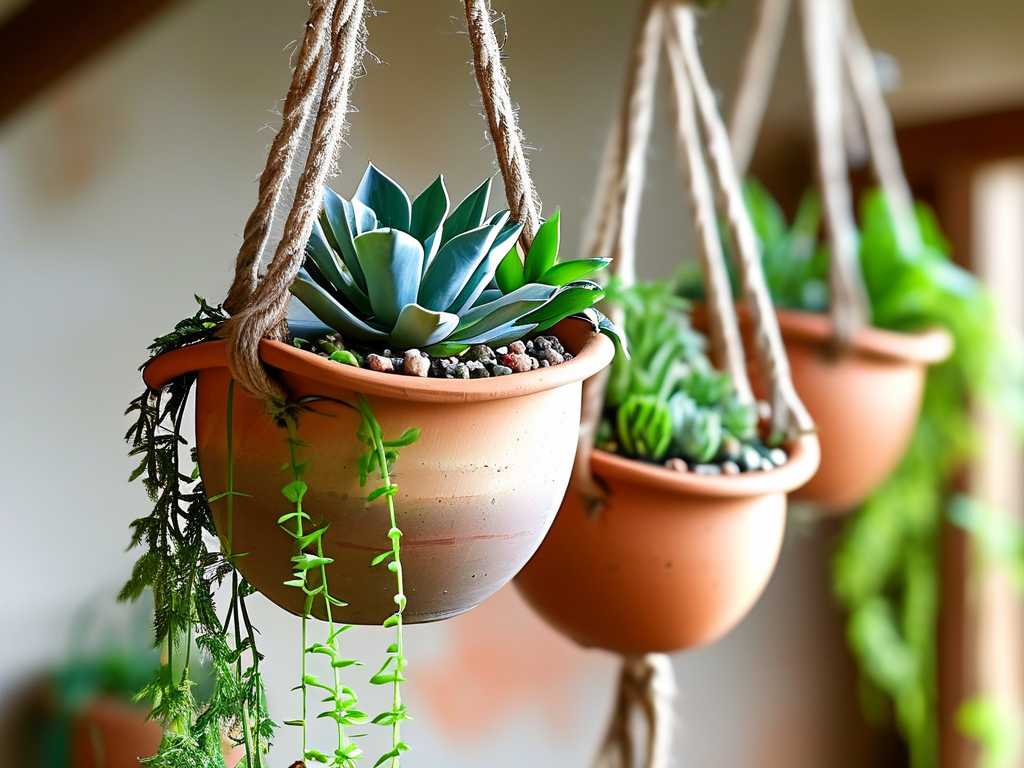
First, I selected my hanging terracotta pot holders. I opted for ones with a wide, stable lip for the hanging rope to grip securely. I avoided pots with overly delicate rims. Next, the succulents: I chose a mix of trailing varieties like String of Pearls (Senecio rowleyanus) and Burro’s Tail (Sedum morganianum) for the edges, with rosette-forming types like Echeveria ‘Lola’ and Graptopetalum for the center. This variety ensures visual interest and different growth patterns.
For soil, I bypassed standard potting mix. Succulents need sharp drainage. I used a pre-mixed cactus and succulent soil but amended it further with extra perlite (about a 2:1 ratio of soil to perlite). This was my first crucial step toward preventing waterlogged roots.
The hardware was key. I used strong, braided nylon cord for its durability and resistance to weather. A sturdy S-hook rated for more than the total weight and a solid ceiling hook completed my kit. Underestimating hardware strength is a recipe for disaster.
The Step-by-Step Planting Process
This is where the real work begins. I laid out all my materials on a covered table.
Step one was preparing the pots. I placed a small, curved piece of broken terracotta over the drainage hole. This prevents soil loss while allowing water to flow freely. I then filled each pot about one-third full with my gritty soil mix.
Next, I gently removed each succulent from its nursery pot, teasing apart any circled roots. I placed the largest, central plant first, building the arrangement around it. The trailing plants were positioned near the edges so they could gracefully spill over. I held each plant at the desired height and backfilled with more soil, tamping lightly to remove large air pockets. I left about a half-inch of space below the rim for watering.
Crucially, I did not water them in immediately. Freshly disturbed roots are prone to rot. I let the plants settle in their new dry home for about 24 hours. This was a lesson learned from past over-eager mistakes.
The Hanging Installation
Now for the moment of truth. I attached the S-hook to my ceiling hook, which I had drilled into a ceiling joist for absolute security—never just into drywall. I carefully threaded the nylon cords through the pot holder’s holes, using a secure knot like a double fisherman’s bend. I lifted the pot, testing the weight. It felt solid.
I hung the first pot in its chosen spot, a location that receives bright, indirect light for most of the day. Direct afternoon sun through a window can magnify heat in terracotta, potentially baking the roots. I repeated the process for two other holders, creating a small cluster.
The Two-Week Observation Log
This is where my real education happened. I monitored everything closely.
Days 1-3: The succulents looked a bit shocked, which is normal after repotting. No watering yet. The terracotta felt cool and dry to the touch.
Day 4: I performed the first light watering. I used a long-spouted watering can to direct water to the soil, not the leaves, until a few drops just barely ran out the bottom. The terracotta darkened as it absorbed moisture. I noticed the pots dried out significantly faster than my plastic pots on the sill—a clear benefit.
Days 5-7: The plants began to perk up. The Echeveria’s leaves felt firm, a sign of good hydration. However, I spotted my first problem: the String of Pearls at the very back of one pot wasn’t getting enough light. Its pearls were slightly spaced out, a sign of etiolation (stretching for light) beginning.
Day 8-10: I rotated each pot 180 degrees to ensure all sides received equal light. This simple fix would encourage even growth. I also noticed that dust settled on the leaves more quickly than I anticipated, so I gently brushed them with a soft makeup brush—a handy trick I picked up from a forum discussing terracotta succulent hanger care.
Day 11-14: The plants showed clear signs of establishment. New, compact growth appeared on the rosettes. The trailing stems began to lengthen. The soil was completely dry, so I watered again, following the same “soak and dry” method. The terracotta worked perfectly, wicking away excess moisture and preventing the dreaded “wet feet.”
The Pitfalls I Encountered (And How I Solved Them)
It wasn’t all smooth sailing. Here are the hiccups and my solutions:
-
The Leaning Tower of Succulents: After my first watering, one pot holder seemed slightly off-balance. The soil had settled unevenly. Solution: I took the pot down, added a bit more soil to the lighter side, and gently re-tamped. Now, I make sure to tap the pot sides while filling to settle the soil uniformly.
-
The Hidden Thirst Trap: Because terracotta breathes, the soil dries faster. I almost fell into my old “weekly watering” routine, which would have been too frequent. Solution: I adopted the “finger test,” inserting my finger an inch into the soil. Only if it was completely dry did I water. The Royal Horticultural Society (RHS) emphasizes this “drench then drought” cycle as ideal for succulent health, confirming my approach.
-
The Knotty Problem: One of my initial knots slipped slightly under the pot’s weight after a few days. Solution: I re-hung it using a more secure knot and left longer tails. I learned that checking the integrity of your knots is as important as checking the soil.
-
Light Distribution: As noted, the plants on one side started stretching. Solution: Regular rotation (every 7-10 days) is non-negotiable for a DIY hanging succulent planter to grow evenly. It’s a simple five-second task with huge benefits.
Maintaining Your Hanging Masterpiece
Beyond the two-week mark, the routine is simple. Water only when the soil is bone dry. Rotate for even sun. During the growing season (spring/summer), a half-strength balanced fertilizer can be used once a month. In winter, water much more sparingly. The American Horticultural Society (AHS) advises reducing watering for most succulents during dormancy to mimic their natural arid cycles.
Frequently Asked Questions
What is the best way to water hanging succulents? Take the pot down if possible. Place it on a towel and water thoroughly until water drains out, then let it drip dry before re-hanging. If it’s too heavy, use a long-spouted can and water slowly, ensuring you don’t just wet the surface.
Can all succulents thrive in hanging terracotta pots? Most can, but some prefer more moisture. Focus on drought-tolerant varieties like Sedum, Echeveria, Senecio, and Crassula. Avoid moisture-loving succulents like some Sansevieria varieties for this setup.
How do I know if my ceiling hook is secure enough? This is paramount. Always drill into a ceiling joist or a solid beam. Use a stud finder. For heavy pots, a toggle bolt in drywall can work, but for true peace of mind, anchoring into wood is best. The combined weight of wet soil, terracotta, and plants is more than you think.
Hanging succulents in terracotta pot holders has transformed my space. The initial effort of choosing the right materials, planting carefully, and installing securely paid off in a vibrant, low-maintenance display. The two-week adjustment period was crucial for spotting and correcting small issues before they became big problems. Now, I have a living sculpture that breathes life into my room, a testament to the perfect marriage of form and function. With a little patience and these hands-on tips, you can confidently create your own.