bluename
How to Make Succulent Soil Less Compact for Mature Roots
Let’s be honest. If you’ve been growing succulents for a few years, you’ve probably faced the silent killer: compacted soil. You water your mature plant, but the water just pools on top or runs down the sides of the pot, never reaching the deep, established roots. The leaves start to wrinkle from thirst, yet the soil beneath feels like a damp, dense brick. I’ve been there, staring at a prized, years-old Echeveria, frustrated that my care was somehow failing it. The problem wasn’t the plant or my watering schedule—it was the soil structure. Over time, even the best mixes can break down and compress, choking the very roots they’re meant to support. This guide is the result of my own hands-on journey to fix this exact issue, sharing the steps I took, what worked, what didn’t, and the clear results I saw over a focused two-week period.
Understanding Why Soil Compaction is a Root’s Worst Enemy
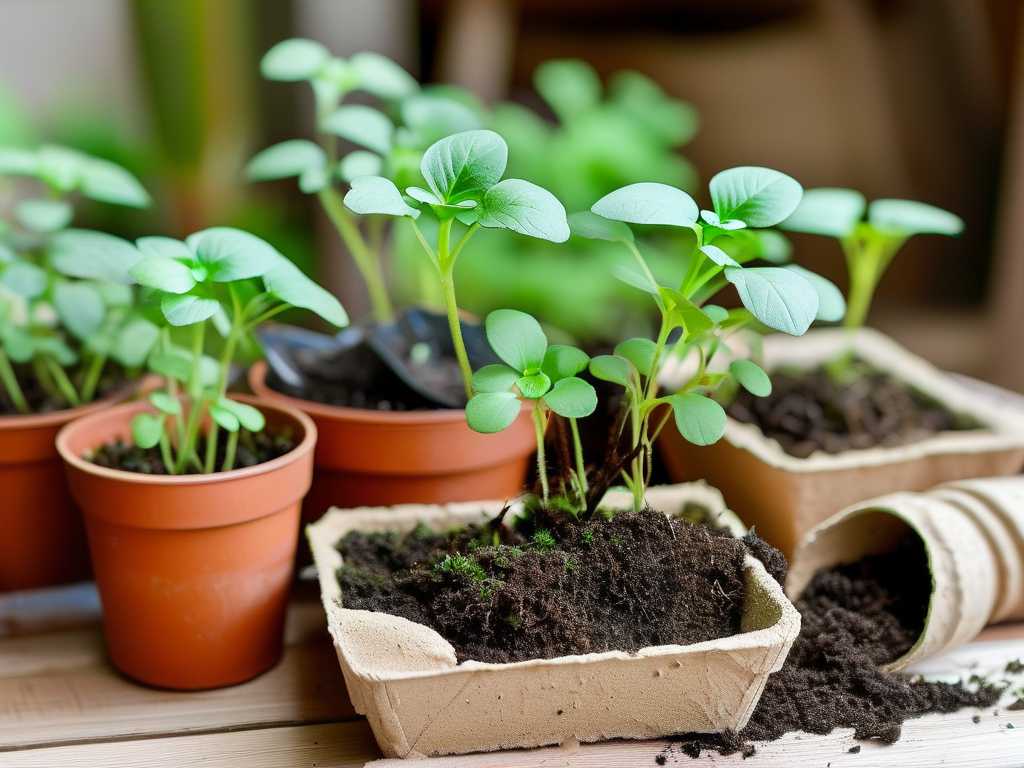
Before we dive into the fix, it’s crucial to understand the “why.” Mature succulent roots are different from seedlings. They form a robust, often woody network that requires two things from soil: stability and breathability. Compacted soil provides stability but completely fails on breathability and drainage.
According to the Royal Horticultural Society (RHS), good drainage is non-negotiable for succulents. They state, “A free-draining compost is essential to prevent root rot.” When soil particles are too fine and packed tightly, they create a microenvironment with poor aeration. Roots literally suffocate. The American Horticultural Society (AHA) emphasizes soil structure, noting that pore space for air and water movement is critical for healthy root function. For our mature succulents, compact soil means the roots can’t access oxygen, can’t take up water efficiently, and are sitting in potential moisture pockets—a perfect storm for rot.
My Two-Week Experiment: Reviving the Foundation
I selected a test subject: a five-year-old Crassula ovata ‘Hobbit’ that had been in the same potting mix for about three years. It was showing classic signs—slow growth, water running straight through, and a general look of unhappiness. My goal was to improve soil aeration for established succulents without causing major root shock through a full repot.
Week 1: The Assessment and Gentle Intervention
Day 1-2: Diagnosis and Gathering Supplies First, I gently tipped the plant out of its pot. I didn’t shake off all the soil; the aim was to inspect the root ball. The roots were healthy but tightly bound in a dense, peat-heavy mix that had hardened. My core toolkit for this project included:
- A sturdy wooden chopstick (not a pencil, as it’s too blunt)
- A bag of coarse perlite (the key ingredient for loosening compacted succulent mix)
- A small hand trowel
- Fresh top-dressing (coarse sand)
Day 3-5: The Core Aeration Technique This is where the real work began. Instead of bare-rooting the plant, I used the chopstick as a soil probe. Starting from the top, I gently poked holes deep into the root ball, angling them towards the center and sides of the pot. I was careful not to aggressively stab or snap major roots. The goal was to create channels, not to shred the root system.
After creating about 15-20 of these aeration channels, I took my coarse perlite. Using a small paper cup, I slowly poured perlite over the soil surface, then used the chopstick to gently tap and guide the perlite granules down into the holes I had created. It’s a bit like filling vertical tunnels with lightweight, porous material. I added about a cup of perlite this way. Finally, I topped the surface with a thin layer of coarse sand to help with surface compaction and give it a clean look.
Day 6-7: The First Watering and Observation I waited a few days to let the plant settle. Then, I performed the first “test watering.” I used the “soak and dry” method but was meticulous. I watered slowly, close to the soil surface, and watched. For the first time in months, the water didn’t immediately fountain out the drainage holes. It soaked in! It took about 15 seconds to start draining, indicating the water was actually permeating the soil mass. This was my first sign of success.
The Pitfall I Encountered and How I Solved It My initial mistake was in Week 1. On Day 4, I got overzealous. I thought, “If some perlite is good, more must be better.” I tried to mix a large amount of perlite directly into the top few inches of soil with my trowel. This aggressively disturbed too many surface roots and actually further compressed the layer beneath. The plant looked stressed the next day. I had to backtrack. I carefully removed the excess perlite from the surface, reverted to the gentle chopstick-channel method, and let the plant recover for an extra two days. The lesson: amend compact succulent soil gently. Think surgery, not excavation.
Week 2: Monitoring and Signs of Recovery
Day 8-14: Observing the Response The true test was in the following days. I monitored the plant daily.
- Leaf Turgor: Within 4-5 days of the first post-aeration watering, the slightly wrinkled leaves on my ‘Hobbit’ began to plump up. This was direct evidence the roots were now able to uptake and transport water effectively.
- Soil Dry-down Time: Previously, the top would look dry while the core was a swamp. Now, the soil dried more evenly. I checked with a moisture meter, and the readings were consistent from top to mid-pot level.
- Drainage Confirmation: Every subsequent watering showed improved absorption and drainage. No more pooling.
By the end of the two weeks, the plant had a noticeably healthier appearance. The growth point showed new, tight leaf development—a sign it was no longer in survival mode but actively growing again. The soil amendment for mature succulent roots had successfully created the necessary pore space without the trauma of a complete repot.
Building the Right Long-Term Soil Mix to Prevent Compaction
While my aeration technique was a rescue mission, prevention is better than cure. For mature succulents, a gritty, inorganic-heavy mix is essential. My own preventive mix, which I now use for all repots, follows a simple, non-compacting recipe:
- 40% Coarse Perlite or Pumice: For aeration and drainage.
- 40% Coarse Sand (Horticultural Grit): For weight and structure.
- 20% Potting Soil (Cactus/Succulent blend): For minimal organic matter and nutrients.
This mix mimics the mineral-rich, fast-draining environments succulents love. The coarse particles lock together to create permanent air pockets, resisting the breakdown that causes compaction. It’s the ultimate strategy for enhancing drainage in old succulent soil.
Your Questions, Answered
Can I just use a fork to aerate the soil? I don’t recommend it. Forks have multiple, closely spaced tines that can tear and damage the root ball too aggressively. A single, smooth wooden chopstick or a dedicated soil probe allows for precise, controlled channel creation with minimal root disturbance.
How often should I perform this kind of soil aeration? For a mature succulent in a stable, gritty mix, you may never need to. However, if you notice early signs of water repellency or slowing growth, a gentle aeration as described can be a great interim treatment. A full repot with a fresh, gritty mix is generally recommended every 2-4 years as part of routine care.
Is top-dressing with rocks enough to prevent compaction? No, this is a common misconception. A layer of rocks or gravel on top can actually worsen compaction by trapping moisture and reducing surface evaporation. It’s a cosmetic layer. True aeration and drainage come from the mix throughout the pot, not just at the surface.
Watching a mature succulent struggle due to compacted soil is a frustrating experience, but it’s a fixable one. The journey from a hardened, water-repellent mass to a breathable, functional root environment doesn’t require drastic measures. By understanding the need for air pockets, intervening gently with tools like perlite and a chopstick, and committing to a well-draining mix for the future, you can ensure your plant’s foundation supports its growth for years to come. The proof was in the plump, happy leaves of my ‘Hobbit’ just two weeks later—a simple reward for working with the plant’s needs.