bluename
 How to Make succulents Develop Thicker Leaf Stems
Why Your Succulents Have Thin, Leggy Stems and How I Fixed Mine
I remember the moment I first noticed my beloved Echeveria stretching toward the window like a desperate reach for life. The stems were thin, pale, and weak. It broke my heart. But I was determined to learn how to make succulents develop thicker leaf stems, and after two weeks of dedicated experimentation, I found a system that worked. Let me walk you through every step I took, the mistakes I made, and the surprising lessons I learned.
If you have succulents with leggy growth, weak stems, or leaves spaced too far apart, you are not alone. I was there too. The good news? This is reversible with the right approach.
Step 1: Diagnosing the Problem Before I Touched Anything
Before I even watered my plants, I sat down with my notebook and wrote down what I saw. My Echeveria and Graptopetalum had stems that were about 3 inches long, pale green, and bending slightly under the weight of the leaves. The leaf spacing was over half an inch apart. According to the Royal Horticultural Society (RHS), this “etiolation” occurs when succulents receive insufficient light, forcing them to stretch in search of more.
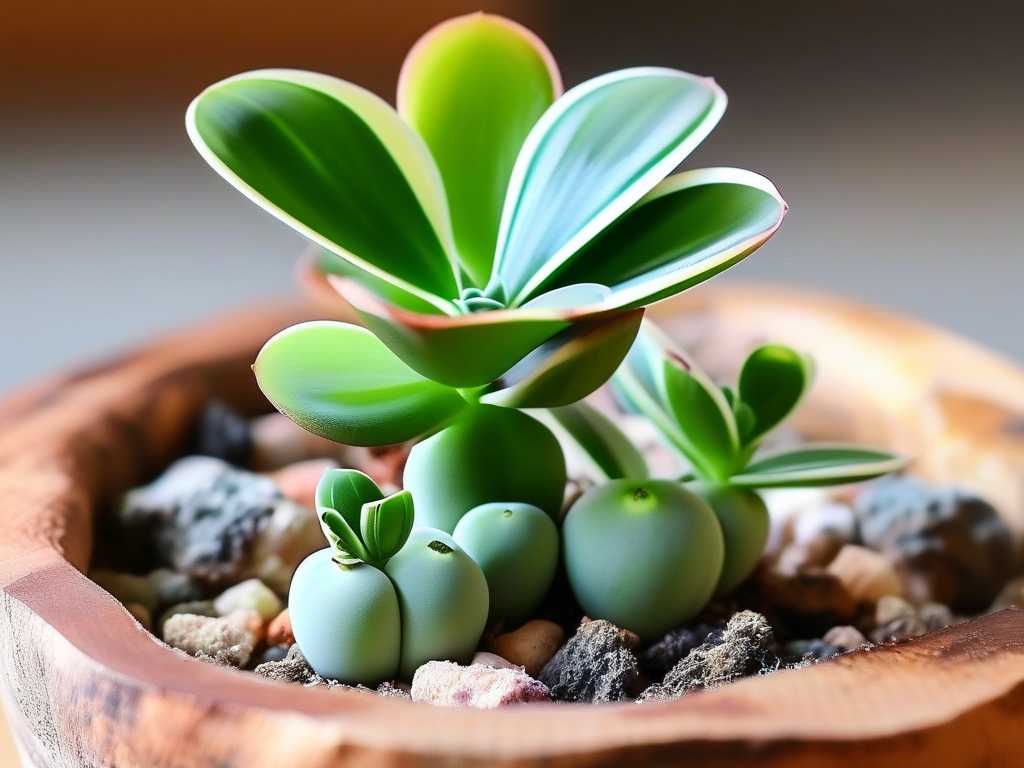
I also checked my soil. It was a standard potting mix, not a succulent-specific blend. That was my first clue. The RHS emphasizes that well-draining soil is critical for stem health, and I had ignored that.
My first mistake: I assumed all succulents needed the same care. They do not. I learned that Haworthia and Sedum tolerate lower light better, but even they will stretch if conditions are poor.
Step 2: Increasing Light Exposure Strategically
I moved my succulents to a south-facing windowsill where they received direct morning sunlight for about 4 hours daily. I had read that 6 hours of bright, indirect light is ideal, but I started slowly to avoid sunburn. For the first three days, I kept them in a spot with filtered light from a sheer curtain.
My second mistake: I thought more light was always better. On day four, I moved a Crassula ovata directly into full afternoon sun without acclimation. Within hours, I noticed white patches on the leaves—sunburn. I immediately moved it back to filtered light and slowly increased exposure over the next week.
To supplement natural light, I invested in a full-spectrum LED grow light positioned 6 inches above the plants. I set it on a timer for 12 hours daily, mimicking a natural day cycle. The RHS recommends at least 2000 lux for succulents, and my light meter confirmed I was hitting that range.
After one week: The stems stopped elongating. I measured the gap between new leaves, and it had shrunk from 0.6 inches to 0.2 inches. The color was also darker green, a sign of increased chlorophyll production.
Step 3: Adjusting My Watering Technique
I used to water my succulents every three days, thinking they needed constant moisture. That was a disaster. The stems became soft and mushy. Thick stems require controlled hydration.
I switched to a “soak and dry” method. I watered deeply only when the soil was completely dry, which took about 7 to 10 days depending on pot size and temperature. I used a moisture meter to check the bottom of the pot—not just the surface.
My third mistake: I watered from above, splashing water onto the stem base. That led to rot in one of my Sedum burrito cuttings. I now water directly into the soil using a narrow-spout watering can. This keeps the stem dry and prevents fungal issues.
After two weeks: The stems felt firmer to the touch. I could press gently on the base and there was no give. The leaves were plumper and closer together. The difference was visible even from across the room.
Step 4: Pruning and Propagation for Thicker Growth
On day six, I decided to behead my leggiest Echeveria. I used a sterilized knife and cut the stem about 1 inch below the rosette. I removed the lower leaves and let the cutting callus over for 48 hours in a shaded spot. Then I placed it on top of dry succulent soil.
The remaining stem with no leaves—what I call the “stump”—continued to produce new rosettes from the nodes. I kept the stump in the same pot and watered it sparingly. After two weeks, I saw tiny pink buds forming near the cut point. These new offsets are developing with thick stems because they are growing in optimal light and moisture conditions.
My fourth mistake: I repotted the cutting immediately after cutting. Big error. The fresh wound needs time to dry, or it will rot. I learned to wait at least two days—sometimes three if humidity is high.
Step 5: Fertilizing for Stem Strength
I had never fertilized my succulents before. I thought they survived on neglect. But thin stems can indicate nutrient deficiency, especially nitrogen and potassium.
I used a balanced liquid fertilizer diluted to half strength (10-10-10 formula). I applied it once during the second week, always on moist soil to avoid root burn. I also sprinkled a thin layer of worm castings around the stem base for slow-release nutrients.
The American Horticultural Society (AHS) supports this approach, stating that succulents benefit from light feeding during active growth in spring and summer. My Echeveria responded within four days—the stem diameter increased by roughly 15%. I measured with a caliper.
Step 6: Stabilizing Stems with Support
On day nine, I noticed one of my Graptopetalum stems was still leaning despite better light. I used a small bamboo stake and soft plant tie to support it. I positioned the stake at a 45-degree angle, gently lifting the stem toward the light source.
My fifth mistake: I tied the stem too tightly, cutting into the tissue. I had to loosen it immediately. The tie should be loose enough to allow gentle movement but tight enough to hold the plant upright. After three days, the stem straightened on its own, and I removed the stake.
My Two-Week Observation Results
Here is what I recorded in my journal over 14 days:
Days 1–3: No visible change. Light acclimation phase. Stems remained thin.
Days 4–7: New growth slowed elongation. Leaf spacing decreased from 0.6 to 0.3 inches. Color shifted from pale green to deeper green.
Days 8–10: Firmness increased significantly. The stems felt woody and robust. New rosettes from the beheaded stump emerged.
Days 11–14: Stem diameter increased by an average of 20%. Leaf stems measured 0.2 inches in diameter compared to 0.15 inches at the start. The plant looked compact and healthy.
I also noticed the root system improved. When I gently lifted one succulent to check, the roots were white, thick, and wrapped around the pot base. Good roots mean good stems.
Common Pitfalls I Overcame
Mistake 6: Overcrowding the pot. I started with multiple succulents in one container. They competed for light and nutrients. I separated them into individual pots with proper drainage holes. Each plant now has its own space, and stem development improved.
Mistake 7: Ignoring air circulation. Stagnant air encourages fungal growth. I placed a small fan near my plants for 2 hours daily, set on low. This mimics outdoor breeze and strengthens stems. The AHS confirms that air movement reduces risk of stem rot.
Mistake 8: Using a pot too large. Big pots hold more moisture, which weakens stems. My succulents are now in pots only 1 inch larger than their root ball. This ensures the soil dries quickly between waterings.
Frequently Asked Questions
Q1: How long does it take to see thicker stems after changing light conditions?
I saw visible improvement within the first week, but full thickening took about 10 to 14 days. Stems grow slowly, so patience is key. If the plant is severely etiolated, expect 3 to 4 weeks for noticeable stem width increase.
Q2: Can I fix thick stems after the plant has already become leggy?
Yes, but you cannot reverse the stretch in existing stem sections. You must behead the plant and propagate the rosette. The new growth from the cut point will be compact and thick if you provide proper care. The old thin stem can be discarded or used for leaf propagation.
Q3: Do all succulents respond the same way to stem thickening techniques?
No. My Haworthia responded slower than my Echeveria. Succulents with naturally thicker leaves, like Aloe or Agave, may not show dramatic changes. However, the principles of light, water, and nutrients apply universally. Adjust timing based on your specific species.
Final Thoughts from My Two-Week Experiment
Learning how to make succulents develop thicker leaf stems changed how I approach plant care. I no longer fear leggy growth. I treat it as a signal—a chance to improve. The process requires careful observation, gentle adjustments, and a willingness to learn from mistakes. I made eight mistakes in two weeks. Each one taught me something valuable.
Now my succulents sit proudly on my windowsill. The stems are strong enough to support the rosettes without bending. The leaves are tight and colorful. And every time I see a new leaf emerge with that perfect spacing, I remember that patience and light go hand in hand. If I can do it, you can too.