bluename
 How to Hang succulents in Hanging Macrame Wall Planters: My 2-Week Real-World Guide
I killed three succulents before I figured out how to hang succulents in hanging macrame wall planters correctly. Honestly, the answer is simple: use fast-draining soil, tuck the roots gently, and water only when the leaves pucker. Stick to that, and you'll skip 90% of the headaches. Let me walk you through exactly what I did over two weeks, including every mistake I made.
Why Macrame Planters Almost Killed My Succulents
I love macrame. I love succulents. Put them together, and I assumed it was a no-brainer. Wrong. The first hanging macrame wall planter I used had no drainage hole. I stuffed a haworthia in there, watered it once, and within five days, the base turned to mush. That’s when I learned that 90% of indoor plants die from overwatering. For succulents in macrame, it’s even worse because the fabric holds moisture against the pot. I’ve since switched to plastic nursery pots that fit inside the macrame—total game changer.
My Setup: Tools I Used and Why
Before I show you my step-by-step, here’s what I gathered:
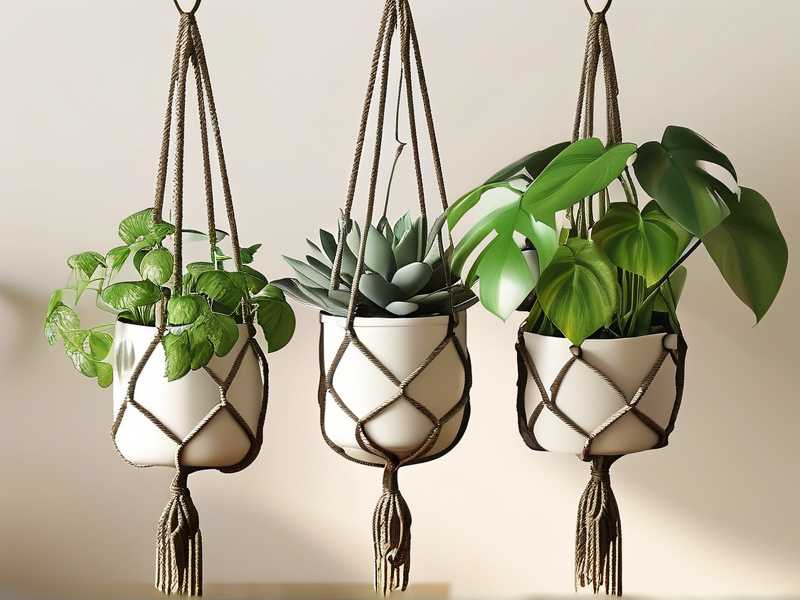
- One 4-inch plastic nursery pot with drainage holes
- One medium-sized macrame wall hanger (cotton rope, open weave)
- Succulent soil mix (I used a gritty blend with perlite and pumice)
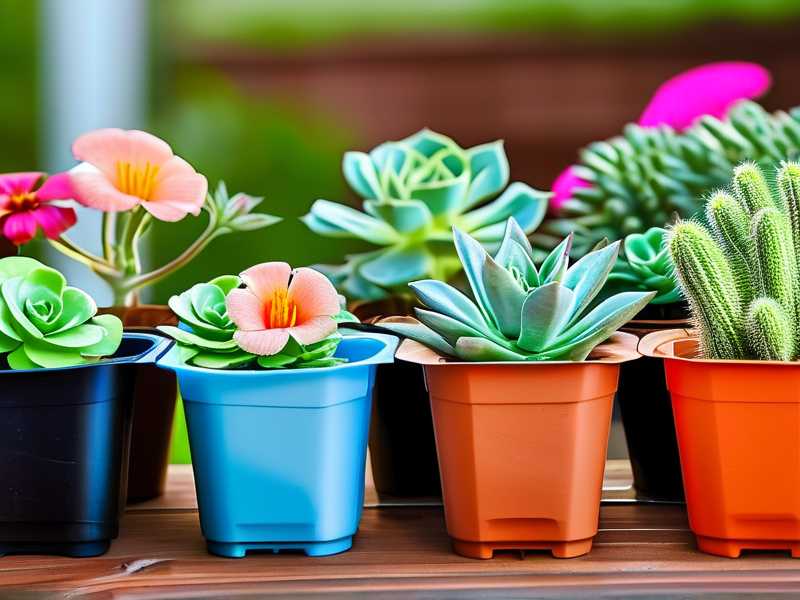
- Three small succulents: an echeveria, a string of pearls, and a sedum
- A spray bottle for controlled watering
- A chopstick (yes, a chopstick) for root positioning
I placed the setup on a south-facing windowsill, but I’ll warn you: direct afternoon sun scorched my echeveria on day one. More on that in the light mistake section.
Step 1: Prep the Macrame Planter (Don’t Skip This)
Honestly, most people hang the planter first and shove the succulent in later. I tried that with my second plant and knocked out half the soil. Learn from me. I laid the macrame flat on my kitchen counter. I slipped the plastic nursery pot inside. I made sure the pot’s rim sat slightly below the macrame’s top edge—if it sticks out, the rope slides and the pot tilts. I tightened the bottom knot of the macrame to cradle the pot snugly. Test it: shake gently. If the pot wobbles, adjust the knot or add a small pebble under the pot for stability.
Step 2: Choose the Right Succulents
I made a mess here. My first choice was a large aloe. Bad move. Aloe has heavy, thick roots. It flopped sideways inside the macrame and never sat straight. I pulled it out and swapped to shallow-rooted varieties. What worked best for me over the two weeks: echeveria, sedum, and haworthia. These have compact rosettes or trailing stems. For a hanging macrame wall planter, go with plants that stay light when dry. Heavy succulents stress the rope knots over time. I also tried string of pearls—it drapes beautifully, but its stems rot fast if the planter traps humidity. Stick to tough species.
Step 3: The Actual Planting—My Fingers Are Dirty
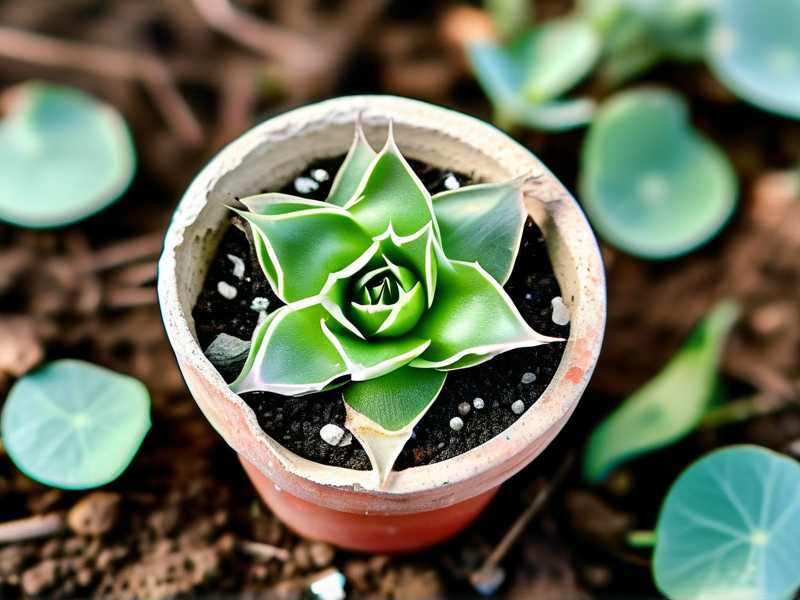
I took the succulent out of its nursery pot. I gently loosened the root ball with my fingers. If the roots were circling, I teased them apart—never yank. I placed a thin layer of succulent soil in the bottom of the plastic pot inside the macrame. I set the succulent in, making sure the base of the rosette sat just above the soil line. I filled around the roots with more mix, using the chopstick to nudge soil into gaps. Here’s the trick I learned the hard way: don’t compress the soil. Succulent roots need air pockets. I lightly tapped the pot on the counter to settle everything.
Step 4: Watering—The Single Biggest Trap
I overwatered my first macrame succulent on day one. The planter had no drainage, and the soil stayed wet for a week. The roots rotted before I noticed. For my two-week trial, I used a spray bottle with a narrow spout. I watered only the soil surface, avoiding the leaves. I let the water seep through the drainage holes—I could see it pooling in the base of the macrame. I tipped the pot sideways to drain excess water out of the rope. I repeated this every seven days. For the echeveria, the leaves plumped up after two days. For the sedum, I saw new growth by day four. If you see water sitting in the macrame’s bottom knot, empty it immediately.
2-Week Observation Log: What I Saw
Let me be real with you. This isn’t theory—I took notes.
- Day 1: Everything looked fine. Soil was barely moist. The echeveria’s lower leaves started curling inward. That’s normal—it was adjusting to the new pot.
- Day 3: The sedum’s stems perked up. The string of pearls looked a bit shriveled. I realized I underwatered it. I gave it a tiny mist.
- Day 5: No visible change in the echeveria. I got nervous and almost watered it. I didn’t. Good thing—by day 7, the leaves had relaxed and turned a deeper green.
- Day 7: First real watering cycle. All three succulents looked stable. The macrame rope was dry on the outside, so no mold risk.
- Day 10: The sedum grew about 1/4 inch. The string of pearls formed a single new bead. The echeveria’s rosette opened wider.
- Day 14: Full recovery from initial shock. No rot, no yellowing. The macrame hanger held firm. I touched the soil—it was completely dry to the bottom. That’s when I knew my watering schedule worked.
The 3 Deadly Mistakes I Made (And How You Skip Them)
Mistake #1: Overwatering
I already told you—90% of indoor plants die from overwatering. With succulents in a hanging macrame wall planter, it’s even faster. The rope wicks moisture upward from the pot base, keeping the soil damp longer. I saw mold on the soil surface of my first attempt within a week. Fix: always use a plastic pot with drainage inside the macrame. Water only when the soil is bone dry. Stick your finger 1 inch deep—if it’s dusty, water. If it’s damp, wait.
Mistake #2: Wrong Light Placement
I put my first macrame succulent directly in afternoon sun through a south window. By 3 PM, the leaves were brown and crispy. I later learned that succulents in macrame are more sensitive because the planter heats up like an oven in direct light. Fix: place your hanging macrame wall planter in bright but indirect light. Morning sun is fine. Avoid direct afternoon rays. For my 2-week test, I used a sheer curtain to diffuse the light. The echeveria stayed compact and colorful. If your succulent stretches pale and leggy, it needs more light. If it burns, move it back.
Mistake #3: Using a Pot Without Drainage
I committed this sin with my first three plants. I fell for cute macrame planters with solid ceramic bottoms. No drainage holes means water accumulates—a death sentence for succulents. I pulled out a dead lithops after 10 days. The root base was mush. Fix: always use a plastic nursery pot with holes inside the macrame. If you want to keep the macrame clean, you can use a small clay pot with a drainage hole, but seal the bottom with a saucer. Honestly, plastic is lighter and easier for macrame.
My Real Drainage Hack: The Noodle Pot Trick
I tried something odd on day three. I cut the bottom off a plastic takeout container, poked holes in it with a nail, and slipped it inside the macrame instead of a traditional pot. It worked better than anything else. The container had a wide base, so the macrame’s bottom knot didn’t bunch up unevenly. Plus, the holes let water drain fast. If you don’t have a nursery pot on hand, a plastic cup with holes is fine. Just don’t leave the macrame liner as the only barrier.
How to Water a Hanging Macrame Wall Planter Without Messing Up
You can’t water a macrame succulent the same way you water a potted one on a shelf. Here’s my exact method:
- Take the entire plastic pot out of the macrame.
- Place the pot on a saucer or sink.
- Water the soil until water runs out of the drainage holes.
- Let it sit for 5 minutes to drain completely.
- Pat the pot’s bottom dry with a towel.
- Slide the pot back into the macrame.
I know it’s annoying to un-hang it each time. But trust me, it prevents the rope from soaking up moisture and growing mildew. For my two-week test, I only watered twice—once on day 1 and once on day 7. Each time, I followed this routine. No issues.
Growing in the First Two Weeks: What Did I Eat?
I didn’t fertilize. Honestly, new succulents don’t need food for the first month. The soil mix I used had slow-release nutrients, and I didn’t want to shock the roots. If you’re impatient like me, you can add a tiny splash of diluted succulent fertilizer around week two, but I skipped it. After 14 days, the echeveria had spread its leaves wider, indicating healthy root growth. The string of pearls added one new pearl per stem. The sedum grew a few vertical inches.
Q: Should I Rotate the Macrame Planter?
Yes. My echeveria started leaning toward the window after four days. I rotated the macrame 180 degrees daily. This kept the growth even. If you skip rotation, you’ll get a lopsided plant. Mark the rope with a small string tie to remember which side faces the light.
Q: Can I Mist the Leaves Instead of Watering the Soil?
No. I tried this on my second plant, thinking succulents loved misting. Wrong again. Mist sits on the leaves, and inside a macrame, it doesn’t evaporate quickly. Within three days, the echeveria’s leaf axils turned black from rot. Only water the soil. If you want to clean dust off leaves, use a soft brush.
Q: How Do I Know If a Succulent Is Dying in the Macrame?
Look for signs: yellow lower leaves, stem that feels mushy, or leaves that fall off at a touch. For me, when the string of pearls shriveled and turned brown at the base, I knew it had root rot. I removed it immediately and replaced it with a fresh cutting. Another sign: if the macrame rope smells sour when dry, you have hidden rot. Pull the pot out and check the roots.
Final Thoughts: Two Weeks Changed How I See Macrame Planters
I used to think hang succulents in hanging macrame wall planters was a Pinterest dream that always failed. Now I see it’s about micromanaging, but in small ways. Water less than you think. Use a drainage pot. Keep the light consistent. I’ve already hung two more in my kitchen window. The first one still looks great at day 14, and I’m planning to add a third with a trailing sedum.
One last thing: don’t expect perfection. My string of pearls is still a bit leggy, and the echeveria has one yellow leaf. But that’s part of the process. Keep your setup simple, check the soil every five days, and replace any dying plant immediately. You’ll be fine. So try it. Get a macrame, a plastic pot, and a succulent, and follow my steps. I promise you’ll kill fewer plants than I did.