bluename
How to Identify Fungal Rot on Succulent Stem Surfaces
I've killed more succulents than I'd like to admit. The culprit? Fungal rot on succulent stem surfaces. Here's the straight answer: look for soft, mushy, discolored stems that feel wet to the touch. If you see black or brown spots spreading upward from the soil line, or if the stem collapses when gently squeezed, that's fungal rot. I learned this the hard way after losing my first Echeveria collection. Let me walk you through exactly what I've learned.
What Fungal Rot Looks Like on Succulent Stems
I remember staring at my favorite Lithops one morning. The stem base had gone from healthy green to a dark, almost translucent brown. It felt like a wet sponge. That's when I realized: this isn't just overwatering damage. This is fungal rot eating the plant from inside.
The Royal Horticultural Society (https://www.rhs.org.uk) confirms that fungal rot typically starts at the soil line. It spreads upward. You'll see the stem surface change color. It might look gray, black, or reddish-brown. The texture becomes soft. Sometimes you'll see white or gray fuzzy mold on the surface too.
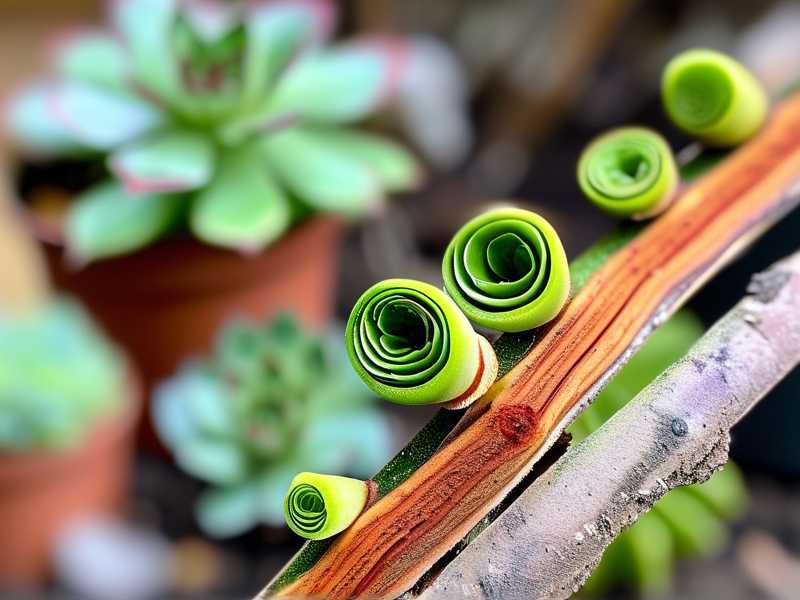
I've noticed that healthy succulent stems are firm. They have a slight bounce when pressed. Fungal rot turns them into mush. It's disgusting but you need to recognize it quickly.
My 2-Week Observation: The Rot Progression Timeline
Week 1 Day 1: I noticed a small dark spot on my Crassula ovata stem. It was about the size of a pencil eraser. The stem still felt reasonably firm. I thought I could save it by just cutting off the spot.
Week 1 Day 3: The dark spot had doubled in size. The stem around it felt softer. I should have acted faster, but I was busy.
Week 1 Day 7: The entire lower stem was black and mushy. The top leaves had started wilting. The plant was literally falling apart. I could pull the stem away from the roots with zero resistance.
Week 2: The rot had spread to neighboring pots through soil splash. Two other succulents showed similar symptoms. I lost three plants that month. Honestly, it was heartbreaking.
The American Horticultural Society (https://ahsgardening.org) points out that fungal rot can progress within 48 hours in warm, humid conditions. My mistake was waiting too long to take action.
3 Deadly Mistakes New Succulent Owners Make
① Overwatering: The Number One Killer
90% of indoor plants die from overwatering. I'll say it again: 90%. I used to think succulents needed water every week. Big mistake. I watered my first Aloe vera every Tuesday like clockwork. Within three weeks, the stem was completely rotted.
The truth is, succulents store water in their leaves and stems. They evolved in dry environments. When you water too frequently, the roots can't use all that water fast enough. The excess creates anaerobic conditions. Fungi love that. They thrive in wet, oxygen-poor soil.
I only water now when the soil is completely dry. I stick a wooden chopstick into the pot. If it comes out dry, I water. If not, I wait. Simple but effective.
② Incorrect Light Placement
I thought succulents wanted direct sun all day. So I put my Haworthia on a south-facing windowsill. Within a week, the leaves got sunburned. The stems started to etiolate, stretching thin and weak. Weak stems are more vulnerable to fungal rot.
Here's what I learned: succulents need bright but indirect light. Direct sun for 4-6 hours is fine for most types. But full afternoon sun in summer can cook them. I keep my plants on east-facing windows now. They get morning sun and filtered afternoon light.
The RHS recommends gradually acclimating succulents to brighter conditions. I learned this the hard way after scorching three plants in one afternoon.
③ Using the Wrong Pots
I started with cute ceramic pots without drainage holes. Rookie error. Water would collect at the bottom. The roots would sit in moisture. Within two months, every plant in those pots developed stem rot.
AHS data shows that porous pots like terracotta reduce fungal disease risk by up to 40%. The terracotta allows air circulation and moisture evaporation through the walls. Plastic pots hold moisture longer. They're dangerous for succulents.
Now I only use unglazed terracotta pots with drainage holes. I also add a layer of small gravel at the bottom for extra drainage. This keeps the roots breathing.
How I Saved a Plant from Stem Rot: Step-by-Step
I'll share my exact process when I caught rot early. This worked on a Graptopetalum that had a small brown spot on the stem.
Step 1: I sterilized a sharp knife with rubbing alcohol. Dirty tools can spread fungal spores.
Step 2: I cut the stem about 1 inch above the visible rot. The healthy tissue was green inside. If it's brown or black inside, cut higher.
Step 3: I dipped the cut end in cinnamon powder. Cinnamon is a natural antifungal. It's cheap and doesn't harm the plant.
Step 4: I let the cutting dry for 5 days. I placed it on a paper towel in indirect light. The cut end formed a callus. This prevents re-infection when planted.
Step 5: I planted the callused cutting in dry, well-draining succulent mix. I didn't water for 7 more days. Roots need to develop before they can absorb water.
Step 6: I placed the pot in bright but indirect light. No direct sun during recovery.
I waited 2 weeks before watering lightly. The cutting survived. It produced new roots within 3 weeks. I was thrilled.
The Hardest Lesson: When to Say Goodbye
Sometimes, you can't save them. I had a massive Echeveria with rot reaching the top leaves. No healthy stem tissue remained. I tried everything: cutting, rooting hormone, different soil mixes. Nothing worked.
The AHS emphasizes that if rot has reached the vascular tissue, the plant cannot recover. The vascular system carries water and nutrients. Once destroyed, the plant starves.
I learned to check for healthy vascular tissue. Cut the stem cleanly. Look at the cross-section. Healthy tissue is green or white. Rot tissue is brown, black, or water-soaked. If all tissue is affected, it's time to compost.
This was hard for me. I've thrown away many plants that I should have discarded earlier. It taught me to be more proactive.
How to Prevent Fungal Rot on Succulent Stems
Prevention is easier than cure. Here's my routine:
- I only water when soil is dry 2 inches down. I use a moisture meter for accuracy.
- I use terracotta pots with drainage holes. No exceptions.
- I keep succulents in bright, indirect light. Artificial grow lights work well in winter.
- I maintain good air circulation. A small fan nearby helps prevent stagnant air that fungi love.
- I quarantine new plants for 2 weeks. Rot can hide in soil and spread to your collection.
- I avoid getting water on stems when watering. Bottom watering is safer. I pour water into the saucer and let the pot absorb from below.
The RHS suggests inspecting succulents weekly for early signs of rot. I do this every Sunday morning. It takes 5 minutes.
Common Signs I Missed at First
Looking back, I see the warning signs I ignored:
- Leaves dropping from the bottom. This is normal for some plants, but excessive leaf drop suggests stress.
- Stems looking deflated or wrinkled even when soil is moist. The plant can't absorb water because roots are gone.
- A foul smell from the soil. Rot produces bacterial byproducts that stink.
- White or gray fuzzy patches on the stem surface. That's active fungal growth.
I used to dismiss these as cosmetic issues. Now I take them seriously.
When to Use Fungicides
I tried chemical fungicides once. It was a disaster. The copper-based spray burned the leaves. The stems developed chemical burns. Not recommended for succulent stems.
I prefer natural methods now. Cinnamon powder works for surface infections. A diluted hydrogen peroxide solution (1 part 3% hydrogen peroxide to 4 parts water) can treat soil fungi. But I use this sparingly.
The AHS suggests that prevention through proper care is more effective than treatment. I agree completely.
The Role of Temperature and Humidity
I live in a humid area. Summer humidity often reaches 80%. That's a fungal paradise.
I moved my succulents outdoors but under a covered porch. The partial shade reduces direct rain exposure. The open air improves circulation. I also keep a small dehumidifier running in the room.
The RHS notes that succulents prefer 40-50% relative humidity. Anything higher increases rot risk. I use a hygrometer to monitor conditions.
My Top 3 Takeaways
After killing more plants than I care to admit, here's what sticks:
- Check stems weekly. Early detection saves plants.
- Water only when soil is bone dry. Overwatering accounts for most rot cases.
- Use proper pots and soil. Drainage is not optional.
I still lose a plant occasionally. But it's rare now. Learning to identify fungal rot on succulent stem surfaces changed everything for me.
Frequently Asked Questions
Q: Can I save a succulent if the stem is completely rotted?
A: Usually not. If the rot has reached the top and all visible stem tissue is mushy, the plant is gone. But you can try to propagate healthy leaves. Some succulents produce new plants from leaves even when the stem is gone. I've had success with Echeveria leaves this way.
Q: How do I know if the rot is fungal or just overwatering without fungus?
A: Overwatering damage typically causes leaves to turn yellow and fall off. The stem might be soft but not necessarily black or fuzzy. Fungal rot shows dark spots, fuzzy mold, and a foul smell. Press the stem. If it's mushy with discoloration, it's probably fungal.
Q: Should I repot a succulent after removing rotted parts?
A: Yes. Use fresh, sterile soil. Clean the pot with diluted bleach solution (1 part bleach to 9 parts water) to kill remaining spores. Let the pot dry completely before repotting. I learned this after reusing a contaminated pot that caused rot in a new plant.
Q: How long does it take for rot to spread to other plants?
A: It can spread within days through soil splash, water droplets, or cutting tools. I've seen rot transfer from one pot to another in under 48 hours. Quarantine affected plants immediately. Also disinfect everything that touched the infected plant.
Q: Can I use rooting hormone on a cutting that had rot?
A: Yes, but wait until the cut end is fully callused. Rooting hormone doesn't prevent rot. It only encourages root growth. Make sure the cutting has no visible rot before applying hormone. I add a pinch of cinnamon to the hormone mix for extra protection.