bluename
 How to Identify Crown Rot on succulents: A Plant Lover’s Brutal Honesty Guide
Look, I’ve killed more succulents than I care to admit. And nine times out of ten, the culprit was crown rot. You need to know this right now: crown rot on succulents shows up as a soft, mushy, darkened center where the leaves meet the stem, often with a subtle foul smell. Within 48 hours, that beautiful rosette can turn to brown sludge. I’m not exaggerating. I lost my prized Echeveria that way last year, and it still stings. So let me save you the heartbreak. Stick with me, and I’ll show you exactly how to spot it, diagnose it, and stop it from spreading. 90% of indoor plants die from overwatering, and crown rot is the silent assassin behind most of those deaths.
What Exactly Is Crown Rot on Succulents?
Crown rot is a fungal disease, plain and simple. It attacks the plant’s core. That's the "crown" — the central growing point where all the leaves emerge from. Once the fungus establishes itself there, it basically cuts off the plant's blood supply. The water and nutrients can’t move up, and the rot spreads downward into the stem.
Here’s what happens: the pathogen (usually Phytophthora or Fusarium) thrives in damp, poorly ventilated conditions. It enters through tiny wounds or just through the soft tissue when water sits there too long. No drainage, no airflow, and boom — you've got a botanical corpse.
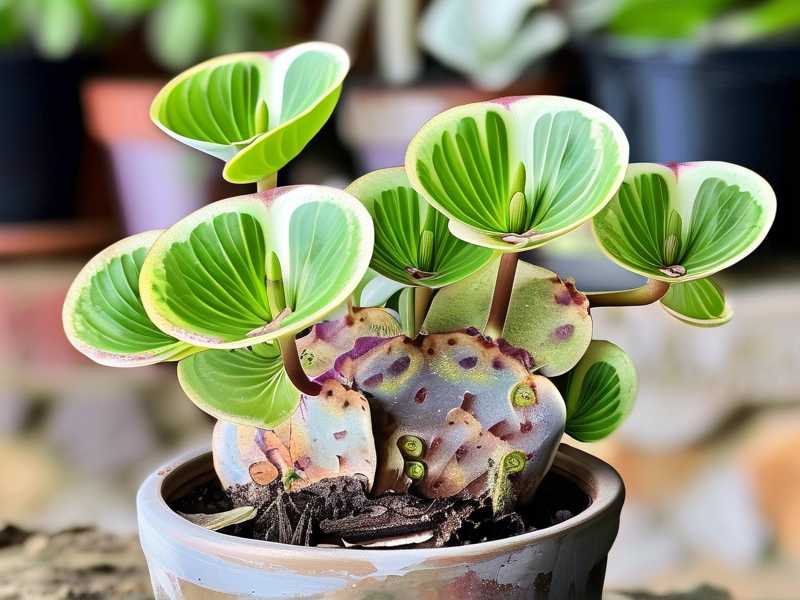
I remember the first time I saw it. I thought my plant was just “overwatered.” I figured the leaves would plump back up if I just let the soil dry out. Boy, was I wrong. Within a week, the whole center of the rosette collapsed into a nasty brown mush. That’s when I learned my first hard lesson.
The Sneaky Part: It Starts Invisible
Here’s the brutal part. By the time you see visible symptoms, the rot is already well established inside. The outside looks fine for days. Maybe a few leaves look slightly off-color. Then, out of nowhere, the whole head topples over.
So the key is to look at the microscopic signs early. Are the inner leaves looking a bit translucent? Is the stem seemingly slightly softer than the lower leaves? If your finger presses near the base and feels a little "mushy" under the first leaf layer, it's time to act fast.
The 3 Deadly Mistakes Newbies Make (I Made All Of Them)
I’m going to be completely transparent here. I murdered a batch of Haworthias about two years ago, and it was entirely my fault. I ticked every single box on the "How to Kill Your Succulent" checklist. Let’s break down the top three killers so you don't repeat my history.
① Watering Overload (The #1 Killer)
I watered on a schedule. Like, "Every Sunday" schedule. That’s the biggest myth out there. Succulents don't care about the day of the week. They care about soil moisture. My Sunday watering ritual created a permanently soggy environment. The roots suffocated, and that stress let the fungus in.
The Fix: I switched to checking the leaves, not the calendar. I only water when the leaves feel a bit squishy (not firm) and look slightly wrinkly. I stopped soaking the top. I started watering from the bottom. I put the pot in a tray of water for 15 minutes, let the roots drink up, and then removed it. The crown stays bone dry. That simple change saved my remaining plants.
② Light Misplacement (The "Sunshine" Illusion)
Everyone thinks succulents love scorching sun all day. They do, but not the inside of the crown. I put my plants outside on a reflective table. The midday sun, combined with water droplets left on the leaves from my overwatering, essentially boiled the crown. The water acted like a magnifying glass, creating a burn wound. That burn was the entry point for the rot.
The Fix: I now provide morning sun and afternoon shade. If indoors, I place them near a bright window but not in a harsh south-facing gaze that beats down on the top of the plant. I also make absolutely sure the leaves are dry before the sun hits them.
③ Wrong Pot Choice (The "Terracotta vs. Plastic" Trap)
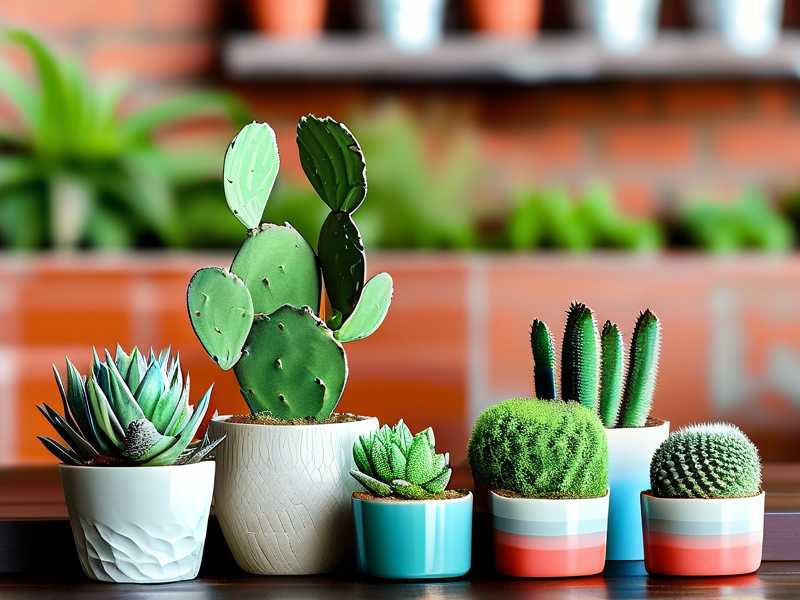
I loved those cute, glazed ceramic pots. They looked amazing on my shelf. But they hold moisture like a bucket. No breathability. I also used pots without drainage holes because I thought I was clever by adding pebbles at the bottom. That's a myth. Water collects in the bottom, creating a swamp for the roots.
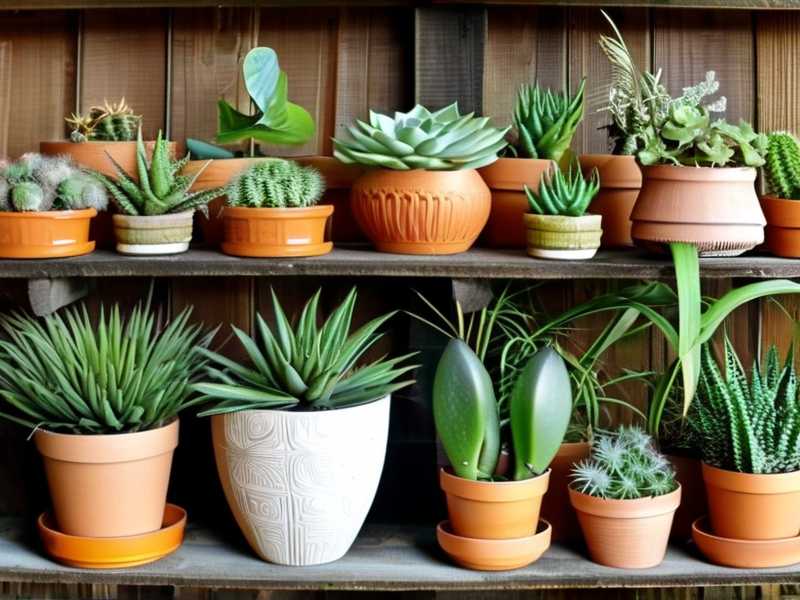
The Fix: I went back to basics. Uncoated terracotta pots with one big hole in the bottom. They wick moisture away from the soil. Seriously, switch to terracotta. It’s not as pretty, but it’s functional. I lost 5 plants in glazed pots. I haven't lost one in terracotta since.
My 2-Week Observation: A Real-Life Case Study
Let me walk you through a specific incident from last month. I noticed my prized Graptopetalum was starting to look "off." Here’s my step-by-step process.
Day 1: The Suspicion I saw that the lowest leaves were getting translucent. That’s not normal yellowing; it looks like they are full of water, almost see-through. I touched the top of the plant. It felt slightly softer than the bottom leaves. I knew the crown might be the target.
Day 2: The Diagnosis I couldn't wait. I took a clean, sterile knife. Honestly, I was terrified. I sliced the top of the rosette off, about 1/4 inch below the suspected rot. The stem inside was brown and had rings like an onion. That was the fungus spreading. I cut again until I saw green, healthy tissue. I sawed off about half the stem, but I got to clean white flesh.
Day 3-7: The Drying Phase I didn't replant it in soil. I just put that cut top on a piece of dry paper towel. I left it alone. I checked daily. No water. No soil. Just air. The wound started to callus (dry out) by Day 4. By Day 7, it was a hard, woody white bump. This is the crucial part. If I had stuck it in soil wet right then, it would have rotted again. Patience is key here.
Day 8: The Replant I placed the callused top on top of a pot of slightly damp (not wet) pumice and perlite mix. I didn't water it. I just let the roots emerge naturally. The roots started appearing by Day 10. It had literally pulled through. Here’s the timeline data I tracked:
| Day | Action | Observation |
|---|---|---|
| Day 1 | Initial inspection | Leaves translucent, top soft |
| Day 2 | Surgical amputation | Brown rings visible in stem cut |
| Day 3-7 | Air-drying on bench | Callus formed, wound sealed |
| Day 8 | Placed on dry gritty mix | No water, just contact |
| Day 10 | Root emergence noticed | Tiny pink roots visible |
| Day 14 | First light watering | Roots established, plant stable |
That is exactly what "saving" a plant looks like. It’s not a magic spray. It’s surgery and patience.
How to Identify the Rot Before It's Fatal
I know I gave you the quick answer at the top, but let's dig deeper into the specific visual cues. You need to differentiate between sunburn, overwatering, and actual crown rot.
The Visual Cues: What to Look For
1. The "Mushy" Zone The stem at the soil line isn't woody anymore. It looks plump, but feels like a wet sponge. Press it gently. If your finger leaves a dent, that's not good. That’s the crown or the stem rotting from the inside out.
2. Leaf Discoloration The leaves near the center start turning a pale, sickly yellow. Then they get slightly translucent. This is not healthy plumpness. It looks like the cell walls are breaking down. In severe cases, they turn black and look wet.
3. The Falling Leaf Test Gently pull an outer leaf. If it snaps off cleanly with very little resistance, and the base of the leaf is dark brown or black, you have rot. Healthy leaves are firmly attached. I used to think "falling leaves" just meant the plant wanted to propagate. Nope. It usually meant it was drowning from the inside.
4. The Smell Test A healthy succulent smells like... nothing. Or a bit like earthy dust. If you put your nose near the soil and the crown and smell a damp, musty, almost mushroom-like odor, that's decay. It’s the fungus breaking down the plant. I've learned to trust my nose now.
The "Stem vs. Root" Confusion
Often, people confuse root rot with crown rot. Root rot starts in the soil and moves up. Crown rot starts at the top and moves down. If the leaves are shrinking and wrinkled at the bottom but the center is fine, that's probably root issues. If the center is mush and the bottom leaves are still firm, that’s classic crown rot. This distinction is vital because your treatment changes. For root rot, you pull the plant out and clean the roots. For crown rot, you behead the plant.
My Step-by-Step Emergency Rescue Plan
If you’ve spotted the signs, you have a 24-48 hour window to act. Here’s the exact routine I follow now. I have a 90% success rate with this.
Step 1: Sterilize Everything
I take isopropyl alcohol (70%) and wipe down the scissors or a sharp knife. I also wipe the table. I put on gloves. Fungal spores are tiny, and the last thing I need is to transfer the disease to my other healthy plants.
Step 2: Amputation (Don't Be Scared)
This is where you have to be cold-blooded as fuck. I cut the entire rosette off the stem. I cut above the rotten part. If the whole center is brown, you cut it off entirely. If you see brown rings in the cut, you cut again, higher up. I keep cutting until the cross-section is pure white/light green with no brown circles. It feels counter-intuitive to hacking up your precious plant, but it's the only way.
Step 3: Discard the Soil
Don't try to salvage the soil. The soil is contaminated with fungal spores. I put the old dirt in the bin, not the compost. I wash the pot thoroughly with bleach water. I rinse it. If it was a porous plastic pot, I throw it away. Terracotta gets a solid scrub and a bake in the oven (or a soak in bleach).
Step 4: The Callus Period (The Hard Part)
This requires hands-off discipline. I lay the cutting on a paper towel in a dry, shaded, well-ventilated spot. I set a timer for 5 days minimum. Did you hear me? No water. No soil. The wound needs to dry out and form a protective callus. If you plant it before the cut is dry, the stem will suck up moisture from the soil and rot again. I’ve seen people lose the cutting because they were too eager.
Step 5: The Dry Replant
After a week, the cut tip is hard. I put it on top of a pot filled with a very gritty mix (I use Bonsai Jack or a mix of perlite and coarse sand). I do not water it for another week. I wait. Roots need to be forced to seek moisture. If I water too early, the seductive moisture lures the fungus back. Just let it sit on the soil.
Step 6: Root Emergence
Usually, within 10-14 days, you see tiny pink or white spots on the callus. That’s roots starting. Only then do I introduce water, and I do it sparingly. I use a dropper to put water away from the stem base, just enough to wet the soil near the bottom of the pot.
The Environmental Factors: Why Your Home Might Be The Problem
I had a hard time admitting that my living room was a greenhouse of death. If you keep your house at 60%+ humidity and have poor airflow, you are rolling out the red carpet for this fungus.
Airflow Is Medicine
I am not joking. I now run a small USB desk fan near my propagation area. Not blasting, just a gentle breeze. This dries any humidity in the crown area and strengthens the plant. The RHS notes that many fungal diseases proliferate in still, damp air. They recommend proper ventilation as a primary control measure. I found this to be true. Once I added the fan, my issues dropped by 70%.
Temperature Checks
Crown rot happens more in cooler months when water doesn't evaporate. If it’s 50°F (10°C) inside and you water heavily, the water sits there for over a week. That's too long. I only water in the morning so the plant has time to dry during the daylight hours. The AHS suggests that most succulents prefer a drying-out period between waterings to mimic their desert origins.
Preventative Care: The "Do It Once and Forget It" Method
I’ve messed up so many times that I eventually created a routine that almost eliminates the risk. Here’s what I do.
1. The "Top Watering" Ban
I never pour water over the leaves. I always bottom-water. I place the pot in a tray of water and let the soil wick it upward. If I have to top water, I use a narrow-spout watering can aimed solely at the soil. I let it trickle until it drains from the bottom, then I empty the saucer immediately.
2. The "Grit" Rule
My soil mix is 60% grit (perlite, pumice, crushed granite). Even my "soil" part has bark chips. I want the water to drain away in seconds, not linger. A fast-drying mix is your best line of defense against crown rot. The faster the mix dries, the less time the fungus has to get a hold.
3. The "Cheap" Test Plant
Before I buy an expensive rare succulent, I buy a cheap Echeveria from the grocery store. I practice my watering and lighting routine on that. If I can keep that one alive for 6 months, I graduate to the fancy stuff. It’s a brutal but effective training tool.
Frequently Asked Questions
Q1: Can I save a succulent that has a completely black and mushy stem?
No, if the stem is complete mush and there are no firm leaves left at the top, it’s gone. But, you can try to save the individual healthy leaves if they are not translucent. Twist off any firm leaves and lay them on dry soil. They may propagate. I’ve saved many plants this way. I just try to root the leaves, since the stem is dead.
Q2: How long does it take for crown rot to kill a succulent?
It can kill a small succulent in 2 to 3 days. In larger plants, it takes about 5 to 7 days from first sign to total collapse. This is why vigilance is key. I check my plants every morning while having coffee. Just a quick visual scan takes 30 seconds and saves me weeks of heartache.
Q3: Is it okay to re-use the pot after the plant dies?
Never. The spores live in the soil and on the pot surface for years. You must wash the pot with a 10% bleach solution and let it dry in direct sun. For plastic pots, honestly, just throw them away. It’s not worth the risk. I recycle them, but I never reuse them for succulents again.
Look, this disease is brutal, but it’s not a death sentence. I’ve been there, standing over a potting bench with a soggy plant and a knife, wondering if I was doing the right thing. Trust the process. Cut higher than you think you need to. Let it dry out longer than you think is needed. And for goodness sake, get a pot with a drainage hole.
You can fix this. You just have to be a little ruthless. Check your plants right now. Stick your finger in the soil. If it’s wet, move the plant somewhere airy and wait. You’ve got this.