bluename
 How to Prevent Stem Rot on succulents (Before It's Too Late)
Stem rot on succulents is the silent killer hiding in your cute little pot, and honestly, it's the #1 reason I kept finding mushy, lifeless bodies of my favorite plants. If you catch a soft, squishy base or blackened stem, cut it off immediately and repot in dry, gritty soil. That's the fast fix. But to truly prevent it, you need to stop making the three deadly mistakes that almost every beginner makes. I've killed more succulents than I care to admit, and I'm here to tell you, 90% of indoor plants die from overwatering, not neglect. So let's get your hands dirty and save your collection.
I remember my first Echeveria. It was beautiful, a perfect rosette of powdery blue. I watered it every three days, thinking it was thirsty. Within two weeks, the stem turned into a brown, translucent mush. I was horrified. That's when I started researching like a mad scientist, experimenting, and logging every single detail. Now, after years of raising dozens of different species, I've cracked the code on how to keep stems firm and healthy. Let's dive into the real-world steps, the mess-ups, and the fixes that actually work.
The 3 Deadly Sins of Succulent Care (And How to Avoid Them)
Let's be real. You don't need a green thumb to kill a succulent. You just need to be too nice, or too careless. I see it all the time in online forums. People post a photo of their dying plant, and nine times out of ten, they've committed one of these sins.
Deadly Mistake #1: Watering on a Schedule (The Overwatering Trap)
This is the big one. The absolute root cause of most stem rot. I used to set a calendar reminder to water every Sunday. What a disaster. You cannot water succulents on a human schedule. They don't care what day it is. They care about soil moisture.
The problem is, when you water too frequently, the soil stays wet. The roots, which need to breathe, end up sitting in water. They suffocate and die. This creates an entry point for bacteria and fungi. That's exactly when the stem starts to rot from the inside out.
My Rule: I never water unless the soil is bone dry. I stick my finger in the drainage hole, or I use a wooden chopstick. If it comes out with damp soil, I wait. Simple as that. My Echeverias now go for 2-3 weeks between waterings in normal indoor conditions.
Deadly Mistake #2: Lighting Missteps (Too Much or Too Little)
Weirdly enough, bad lighting can cause rot too. If you don't give your succulent enough light, it gets "leggy" and weak. It stretches out, looking for the sun. This weak, pale growth is extremely susceptible to rot. It just doesn't have the structural integrity to fight off infection. It's like a plant with a weak immune system.
On the flip side, scorching direct afternoon sun can burn the stem, creating a wound. And a wound is an open door for rot. I've seen it happen. My poor Haworthia got sunburned right at the soil line, and within a week, that spot turned black and mushy.
My Fix: I keep my succulents in a south-facing window, but I filter the intense midday sun with a sheer curtain. They get about 6 hours of bright, indirect light. If they start stretching, I move them closer to the glass. If they start burning, I back them off. It's a constant dance, but it keeps them strong and rot-resistant.
Deadly Mistake #3: Using the Wrong Pot (The Size and Material Trap)
This one kills me because it's so easy to fix. I bought a beautiful, glazed ceramic pot with no drainage hole because it was "cute." It was the last time I ever did that. Without a drainage hole, excess water has nowhere to go. It pools at the bottom, and your plant's roots are literally soaking in a swamp.
Also, a pot that's way too big for your plant is a problem. A huge pot holds way too much soil, which holds way too much water for the small root system. The water sits there, unused, creating a humid, rot-friendly environment.
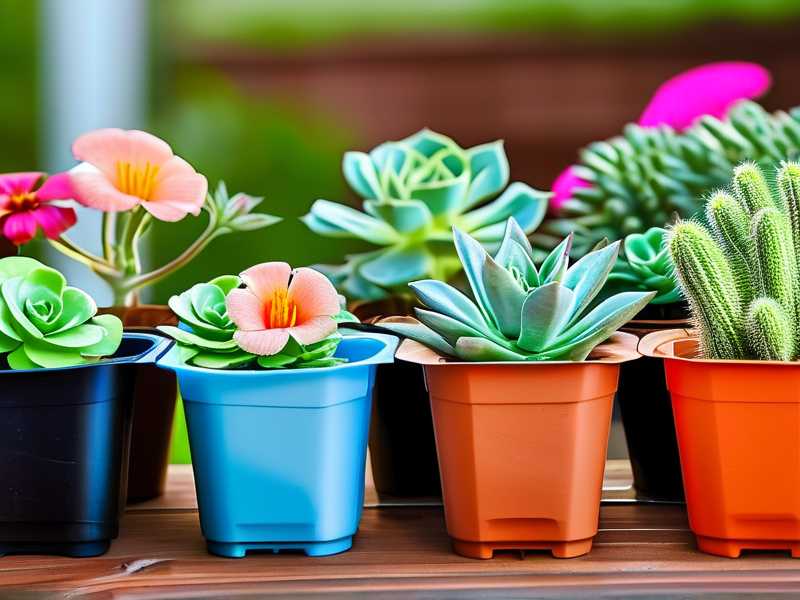
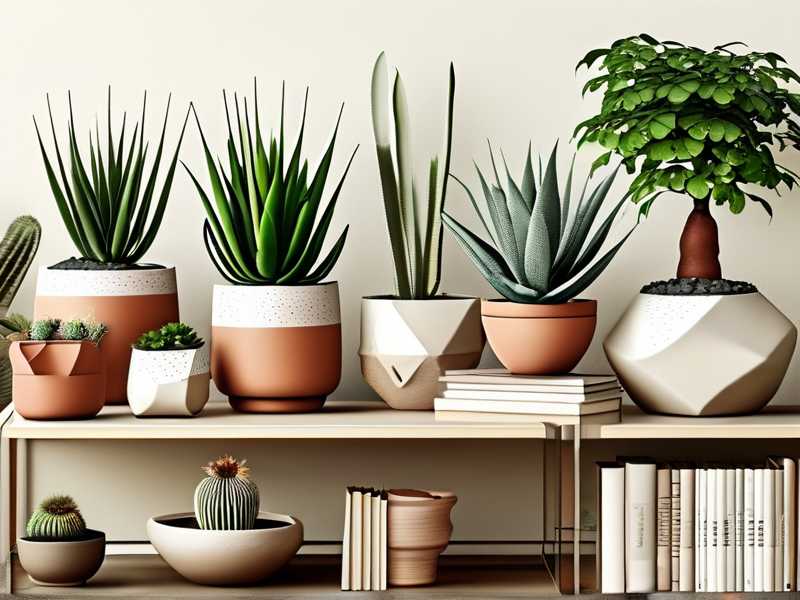
My Solution: I only use pots with at least one drainage hole. Terracotta is my best friend now. It's porous, so it wicks moisture away from the soil, helping it dry out faster than plastic or glass. I keep my succulents in small, snug pots. The pot should be about 1 inch to 1.5 inches larger than the root ball. It seems counterintuitive, but succulents like to be cramped.
My 2-Week Relocation and Dry-Out Test: A Real-World Experiment
To give you concrete proof, let me walk you through a recent experiment I did with a struggling Gasteria that had a tiny bit of softness at the base.
Day 0: I noticed the base of the stem felt a little squishy, but the leaves were still firm. I hadn't watered it in 3 weeks, but the soil was still damp. I pulled it out of its plastic nursery pot. The roots were a mess – mostly brown and mushy.
My Steps:
- I gently washed all the soil off the roots.
- I took a clean, sharp pair of scissors and cut away all the dead, mushy roots.
- I also snipped off the very bottom of the stem, just to be safe, cutting about 1/4 inch above the rot.
- I dusted the cut end with cinnamon powder, which is a natural antifungal. (It smells nice too!)
- Then, I let it sit on a paper towel for 3 full days. Leaving it out in the air is crucial. It allows the cut wound to callus over. I can't tell you how many people skip this step and plant it immediately, only to have it rot again. The cut needs to dry and harden.
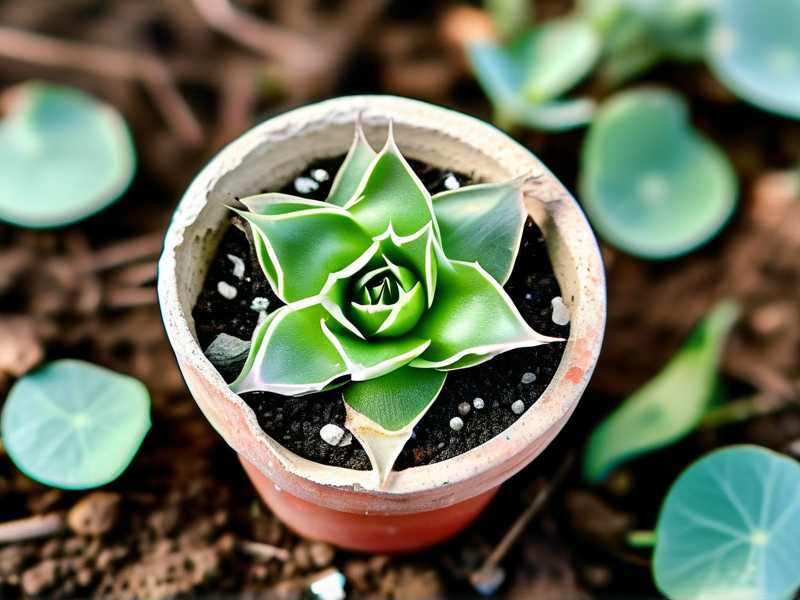
Day 4: I planted the Gasteria in a small terracotta pot. I used a really gritty mix – 50% perlite, 50% cactus soil. No watering. I placed it in my north-facing window, which gets bright but indirect light.
Day 6: The soil was completely dry. I checked the stem. It felt firm. The bottom of the cut had turned a clean, pale tan color. It was healing.
Day 8: I gave it a light watering from the bottom. I placed the pot in a tray of water for about 15 minutes, letting the roots drink up what they needed. This encourages roots to grow downward, searching for moisture, instead of staying shallow and wet.
Day 14 (The Results): I gave it a gentle tug. It felt anchored in the soil, meaning it had grown new roots. I carefully lifted it out. The stem was rock solid, and there were bright pink, healthy new roots sprouting. The rot was gone. It had worked.
The key wasn't just one action. It was the combination of removing the rot, letting it callus, and using a super well-draining pot and soil. I also learned that my anxiety to "nurture" it with water was exactly what was killing it. I had to just leave it alone for those two weeks.
The Perfect "Stem Rot Prevention" Potting Mix
You don't need a fancy-expensive brand. You can make the perfect mix at home. Honestly, if you use the soil from your garden or a random bag of "potting soil," you're asking for trouble. That stuff is for tropical plants, not desert dwellers. It holds way too much water and will suffocate your succulent's roots.
My Go-To Recipe:
- 2 parts regular cactus potting soil (I use a generic brand).
- 1 part coarse perlite.
- 1 part coarse sand or fine gravel. I use aquarium gravel sometimes, it works great.
Why this works? The perlite and sand create air pockets. Water flows through freely. It doesn't clump or stay soggy. I've tested this mix against pure cactus soil, and the pure soil held moisture for days longer. My custom mix dries out in about 2 days in the right pot. Airflow at the roots is your best friend in the fight against rot.
Watering 101: The "Soak and Dry" Method Done Right
Watering isn't about giving your plant a sip. It's about mimicking a desert rainstorm. You want a heavy downpour followed by a long dry spell. This flushes out salts and encourages deep root growth. A light misting every day is the worst thing you can do. It keeps the soil surface damp, which keeps the top of the stem damp, which leads to rot.
Here’s exactly what I do:
- When the soil is completely dry (stick your finger in!), I take the pot to the sink.
- I pour water slowly over the soil until it runs out of the drainage hole. I let it gush out for a solid 30 seconds.
- I let the pot sit in the sink for another 10 minutes to make sure all the excess water has drained.
- I put it back on its saucer and don't touch it again until the soil is bone dry.
This method forces the roots to work. They drink up what they need, and then the soil quickly dries out, leaving them in a safe environment. My plants have never looked better since I started doing this. I had a colleague who watered her jade plant with a teaspoon every other day. It was constantly dropping leaves and the stem was getting soft. I told her about the soak-and-dry method and she finally repotted it. She told me a month later it was growing like crazy.
Identifying the Rot Early (Before It's Too Late)
I want you to check your plants right now. This is just like a health check. Look for these early warning signs. If you catch it early enough, you might be able to save the top of the plant even if the bottom is rotting.
Sign #1: The "Squishy" Test
Gently squeeze the stem near the base. It should be firm, like a crisp bell pepper. If it feels soft, squishy, or like a water balloon, that's the #1 sign of stem rot.
Sign #2: Discoloration
Healthy succulents have a solid color. If you see a dark, brown, or blackish ring forming at the base of the stem, especially right at the soil line, that's a huge red flag. It starts small, but it spreads fast.
Sign #3: Leaves Falling Off
Are the lower leaves falling off easily? Like, you just brush the pot and they drop? And do they look translucent and waterlogged? That's a classic sign of root rot that's traveling up to the stem. It means the plant is too overloaded with water, and the cells are bursting.
If you see any of these, don't panic. Pull the plant out of the pot immediately. Check the roots and the stem. If you catch it while the top is still healthy, here's the "surgical intervention" I use:
- Take a sterile knife or scissors. Wipe the blade with rubbing alcohol.
- Cut off the rotted bottom of the stem cleanly.
- Keep cutting up the stem until you see completely green, white, and firm tissue. There should be no brown or black spots left in the cross-section.
- Let it callus for 3-5 days.
- Then, you can plant it in your perfectly draining mix and water it after another week.
This is how I saved my favorite Pachyveria. I chopped off a whole 3 inches of stem and the rosette was left on top. It rooted beautifully within a month. To give you more peace of mind, experts at the Royal Horticultural Society often note that good drainage and airflow are the cornerstones of succulent health, which I've found to be absolutely true. Similarly, the American Horticultural Society has resources highlighting the importance of understanding your plant's native habitat to provide proper care.
Humidity, Airflow, and Other Environmental Factors
This is a sneaky one. Even if you water perfectly, high humidity can be a killer. If your plant is sitting in a bathroom that you use for steamy showers, or in a room with no air circulation, the moisture in the air can sit on the stem and leaves. It doesn't dry out, and boom, rot starts.
I keep a small fan in my plant corner. It's on a low setting for a few hours a day. It gently moves the air around, which helps the soil dry out faster and keeps the plant surfaces dry. It’s a game-changer. And it's cheap.
Also, don't crowd your plants. Give them space. If they are packed together, the foliage traps humidity. It's like a little rainforest on your windowsill, which is the exact opposite of what they want. I used to have all my succulents crammed onto one shelf. They looked nice, but the ones in the middle were constantly struggling. I thinned them out, and everyone is happier.
Repotting: The Shock Therapy That Saves Lives
Sometimes, rot is already in the soil. Maybe you bought a plant from a store and didn't change the soil. Store-bought succulents often sit in moisture-retentive peat moss, which is terrible for them.
I have a strict rule: "Repot on Day 1." As soon as I bring a new succulent home, I take it out of the nursery pot. I remove all the peat moss or store soil from the roots. I give it a thorough check for any root rot. Then I repot it in my "Perfect Mix" mentioned above.
I can't stress this enough. Don't wait for it to adjust. Don't water it for the first week. Just repot it and let it settle. This prevents a huge percentage of problems down the line. It's the most proactive thing you can do.
What If It's All The Way Dead? (Lessons from My Graveyard)
I've been there. You do everything right, but the rot was just too aggressive. I remember one time, I had a beautiful Adromischus that just melted into a puddle overnight. It wasn't a total loss though. I use my "failures" as learning data.
I actually have a notebook now. It sounds nerdy, but I track every plant I have. When I watered it, what the weather was like, if I added any fertilizer. When something goes wrong, I can look back and pinpoint the exact mistake. I highly recommend doing this even for just a few plants. It took me buying a succulent from a big-box store that was already doomed to rot for me to understand how important good soil is. The plant looked fine in the store, but the soil was gritty, wet, and full of fungus gnats. I learned to always knock off that soil first.
If your plant is a total loss, bin the soil. Don't reuse it. The fungus is in there. Sterilize the pot with a bleach solution (1 part bleach to 10 parts water) before you use it again. This is the crucial housekeeping step that prevents the sad cycle from repeating. I made the mistake of using the same pot and new soil without sterilizing, and I lost a second plant to the same root rot. Never again.
My Top 5 "Do's" to Guarantee a Rot-Free Succulent
If you take nothing else away, remember these five daily habits that truly work:
- Do use pots with drainage holes. It’s non-negotiable. I don't care how good a pot looks.
- Do use a gritty soil mix. I buy this in bulk because I repurpose it for all my plants.
- Do water only when the soil is bone dry. I check with my finger or a chopstick.
- Do provide excellent airflow. A simple desk fan works wonders.
- Do quarantine new plants for two weeks before introducing them to your collection. They can carry pests and diseases that don't show up immediately.
FAQs I Get From Friends Every Week
Q1: How often should I water my succulents to avoid rot?
There is no fixed schedule. I water mine every 2 to 3 weeks in the summer, and maybe every 4 to 6 weeks in the winter. The soil dryness level is the only indicator you should trust. Let the soil be your guide, not the calendar. If you are unsure, wait an extra few days. Succulents handle neglect much better than over-attention.
Q2: Can I use any pot as long as the plant is healthy?
No. The material of the pot matters a lot. Terracotta is breathable and helps the soil dry quickly. Plastic pots hold moisture and are dangerous for overwaterers. Glazed ceramic pots are nice but also hold moisture. For a safe bet, always pick terracotta over plastic or glass.
Q3: My succulent has stem rot. Is it too late to save it?
Usually not! If the top rosette or the top leaves are still firm and healthy, you can "behead" the plant. Cut the healthy top off with a clean, sterilized knife. Make sure there is no rot left on the cutting. Let the cut end callus for a few days, then plant it in fresh, dry gritty soil. This is the most common way to save a precious specimen.
The Final Verdict on Protecting Your Collection
Preventing stem rot isn't about being a perfectionist. It's about being observant and learning from your mistakes. It’s about resisting the urge to "love" your plants with too much water. I know it sounds simple, but it’s a skill that takes time.
Start by changing your soil mix. Then, forget about watering on a schedule. Your succulents will silently thank you by growing strong, beautiful, and staying rot-free. You can do this. Just be patient and let them be dry. The hardy little guys are worth the effort.