bluename
How to Hang succulents in Wall Planters: A No-Fail Guide for Vertical Gardens
Let me get straight to the point. Hanging succulents in wall planters works best when you choose shallow planters with drainage, use gritty well-draining soil, water only when leaves show slight wrinkling, provide 6 hours of bright indirect light, and secure planters firmly into studs or use heavy-duty adhesive hooks. Skip the misting bottle. Skip the tiny magnetic pots. And stop watering on a schedule — that killed my first two wall gardens before I even figured out what went wrong.
I've now kept a thriving vertical succulent wall in my kitchen for over two years. Before that, I lost about $120 worth of plants and made every single mistake you can imagine. Honestly, the learning curve hurt more than my wallet. So if you're standing in your living room holding a wall planter and a handful of echeveria right now, I wrote this for you. I'll walk you through exactly how I do it today, including the failures that taught me the most. And I promise, by the end, you'll feel ready to drill that first hole with total confidence.
Why Wall Planters Kill Succulents (And How to Fix It)
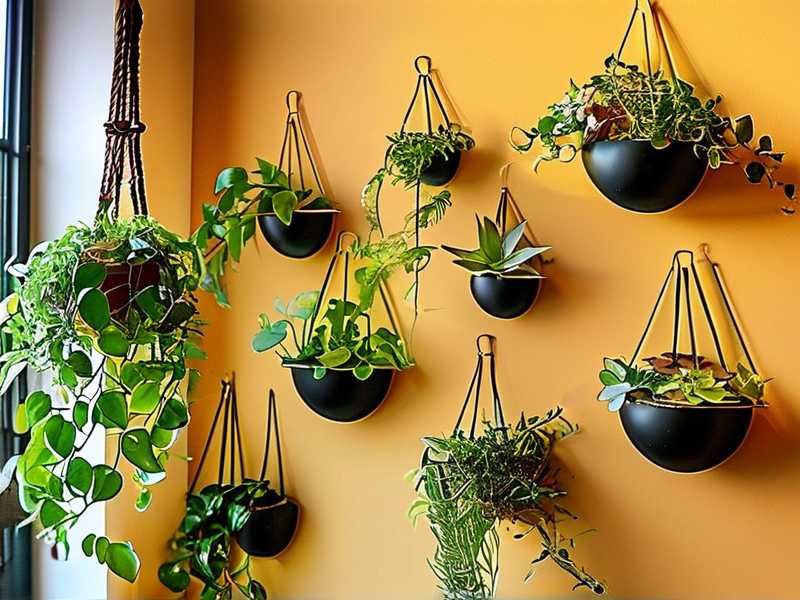
Look, not gonna sugarcoat it here. Wall planters work against succulents' natural instincts. In the ground or in regular pots, those roots can chase moisture downward. But on a wall, everything sits sideways or with very shallow soil depth. Water drains immediately, roots have nowhere to stretch, and the soil dries out far faster than you'd expect. On top of that, vertical placement changes how water flows. You get dry patches and soggy pockets simultaneously, sometimes in the same planter.
It's a balance game between dry roots and root rot. And the margin for error is much thinner than you think.
That said, the payoff is gorgeous. Living plant walls soften hard edges, bring texture and depth into any room, and turn empty vertical spaces into conversation pieces. My downstairs bathroom used to have a blank wall above the toilet. Now it looks like a tiny desert hanging garden, and honestly, it makes people smile when they visit. I've had guests ask me if I'm a professional horticulturist. I'm not. I just killed enough plants to learn what to avoid.
90% of indoor plants die from overwatering
Let me say that again loud and clear: 90% of indoor plants die from overwatering. I didn't pull that number out of thin air. It's a widely referenced statistic in horticultural circles. Succulents, in particular, hate sitting in wet soil. Their roots literally suffocate and rot. But here's the ironic thing about wall planters — they seem dry quickly on the surface, so beginners panic and water more. Then the lower half of the planter stays damp for days because it's compressed and doesn't evaporate evenly. That combo inevitably kills plants.
I learned this the hard way. My very first attempt at a vertical succulent garden ended in disaster. The echeveria looked barely wrinkled at the edges, and I thought it needed a drink. Turns out it had been watered two days prior, and I basically drowned it. Within ten days, the stems turned mushy and brown. I pulled them out and found roots that looked like wet string. Never again.
Now, I don't water on a schedule. I check for physical signs. If the leaves feel slightly firm and plump, no water needed. If they show subtle wrinkles or feel a bit deflated, that's my cue. It's taken about two weeks of testing in each planting location to get the rhythm right. But once you nail it, your plants will reward you.
The Three Deadly Mistakes Every Beginner Makes
Mistake #1: Overwatering (The Silent Killer)
I mentioned this already, but it deserves deeper attention. Most people pour water into wall planters like they'd water a fern. That's a disaster. Succulents store water in their leaves as a survival mechanism. They're built for drought. They want the soil to completely dry out between waterings. In wall planters, this becomes doubly important because the lack of soil volume means water doesn't disperse evenly.
I remember with my third planted wall, I used a spray mister regularly because it looked so dry and dusty. Within three weeks, the bottom rows were absolutely rotting. Soil compaction created uneven moisture zones. The top plants were thirsty while the bottom roots were falling apart. That was a painful lesson.
The actual fix? Water deeply, but rarely. Use a squeeze bottle with a narrow nozzle to target each rosette's roots. Let the soil completely dry out for several days afterward. Honestly, most succulents in wall planters need water only once every 9-14 days, depending on your indoor humidity and planter depth.
Mistake #2: Wrong Light Positioning
Here's something nobody told me when I started: succulents need far more light than you'd think. The cute indoor succulent arrangements you see on Pinterest? Most of them are slowly dying in that dark corner they're photographed in. Succulents stretch themselves into weird, leggy shapes when they're starved for light. They lose their compact form and begin reaching desperately toward any available window.
I once hung a wall planter on my north-facing hallway wall because it looked gorgeous there. Two weeks later, my echeveria had basically imploded. The rosettes became flat, pale, and hopelessly elongated. I thought they had a disease. Turns out they were just starving for sunlight.
What I do now is simple. I test any wall location for about a week before hanging plants. I watch how light moves through that area during the day. South or east-facing walls are usually your safest bet. And if you genuinely don't have enough natural light, I'd honestly recommend skipping succulents and choosing artificial options, or pushing yourself to invest in a proper grow light panel, because no amount of pot adjustments can substitute for actual sunlight.
Mistake #3: Wrong Planter Choice
The world of wall planters looks inviting on Etsy and Amazon. Those ceramic geometric shapes with the glossy glazes? Gorgeous. Those tiny glass terrarium-looking pots glued onto boards? Adorable. Total hazards for succulents. Nine times out of ten, they don't have drainage holes. And succulents absolutely require drainage, especially in a vertical setup where you can't tip the pot upside down.
My first wall garden used those pots. Beautiful geometric diamonds with zero drainage. I thought I could compensate by watering carefully. I couldn't. The water pooled at the bottom of these little coffins, and the earliest sign was fine, but eventually, you could smell sour soil. When I finally pried the plants out, their roots had drowned.
Through trial and error, I learned to pick only planters that meet these criteria: drainage holes built-in, breathable mounting design that allows airflow behind the pot, and shallow depth, no deeper than three inches. Look for angled pocket planters that hold one succulent each, or long felt pocket systems designed for vertical gardening. These allow roots to breathe and water to exit quickly. That one change improved my survival rates dramatically.
Choosing the Right Plants for Vertical Display
Let's be honest, not all succulents belong on walls. Some grow tall and top-heavy. Others spread aggressively like ground cover. These compact growers are the real MVPs for wall display.
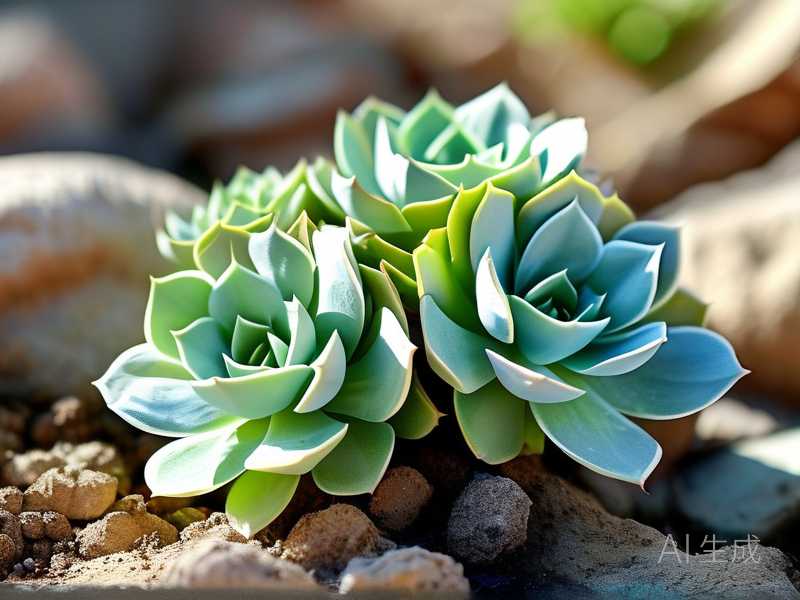
In my experience, echeveria varieties hold up beautifully because their rosette shapes photograph well and stay compact with enough light. String of pearls (with those delicate chains) cascades elegantly if given proper drainage. Haworthia tolerates lower light better than most. Some sedums trail naturally and fill out pocket planters nicely.
Oh, and the eventual growth habit matters too. I made the mistake of planting a tree-like jade cutting into one of my wall pockets. After four months, it got too heavy and started tearing the planter mount away from the wall. I have a tiny hole to patch in that wall now, which reminds me every single day to check growth habits before I get committed and attached to a given plant.
Tools and Materials You Actually Need
Let me simplify. You don't need dozens of fancy gadgets to make this work. But your success rate shoots way up if you gather these items first:
- Wall planter with drainage holes (or a stable frame that will let you drill your own)
- A hand drill and masonry or drywall bits depending on your wall type
- Appropriate wall anchors or toggle bolts (yes, you need them for anything over approximately three pounds; that lesson cost me a shattered planter when it fell right off the wall)
- Fast-draining succulent soil blend. You can make your own with potting mix, coarse perlite, and poultry grit at roughly a 3:2:3 ratio
- A narrow-spout watering bottle
- Flexible plant tweezers (invaluable when you're planting into tight vertical pockets)
- A small level and measuring tape
- Long-term slow-release succulent fertilizer (it helps because fresh soil often lacks nutrients for long-term container growing)
That's it. Nothing more. I tried using a smaller set of tools initially and just created frustration, frankly. Spend the extra handful of dollars before you start, not after your plants start suffering because you weren't set up properly.
Step-by-Step Mounting Guide: From Empty Wall to Lush Living Art
Step 1: Assess Your Wall and Choose the Right Mounting System
Before drilling a single hole, you need to know exactly what lies behind your wall surface. I've hung these on drywall, plaster, and brick. Every single surface has required a different approach.
If you hammer a nail into drywall and hang a five-pound planter on it, you're going to wake up one morning to soil and plant fragments all over your floor. It happened to me. The ceiling of my old apartment hallway had a series of interesting marks on it when I moved out for exactly this reason.
For drywall, you almost always want toggle bolts or robust drywall anchors rather than simple screws. For plaster, go slower with a masonry bit to avoid cracking the surface. For brick, wash and install the planter with masonry plugs. And for tile bathroom walls, use specialized glass and tile drill bits with a spray mist to cool them.
Honestly, the most secure options I've used involve finding a stud or studs and mounting plywood or a metal rail to it before attaching the planters. This spreads weight evenly and avoids pulling individual anchors out of drywall. Especially if you have multiple planters in one installation, having a mounting rail that secures into adjacent studs has been my safest solution. I use two large stainless steel screws per stud, and honestly, two years later, it hasn't budged a millimeter.
Step 2: Waterproof the Backing or Wall if Needed
If you're mounting indoors near windows or above appliances, add any damp-proofing barrier to protect your wall from minor splashes and condensation. On old plaster walls, moisture marks stain permanently. The planters themselves can trap humidity against the surface. A clear waterproof plastic spacer layer between pot and wall is not wasteful, it protects your home.
Step 3: Layout Planning
Before filling up any pot, I always plan where each plant will go by photographing the empty wall and sketching the general arrangement on a note paper. Place the most sun-needy species in the upper or sun-exposed positions. Trailing species should sit near the bottom edge so they cascade vertically without blocking other plants or hanging carelessly across walkways.
One thing I learned through experience, and yes, this was a two-week logistical nightmare, is that wall pockets produce different stress levels per row. The upper plants receive more light but also suffer from artificial heat near ceilings, while lower rows experience decreased airflow and possible pet interference. So arrange accordingly and don't randomly place plants into spots you just like.
Step 4: Create a Backing Board that Fits Your Indoor Setting (If Using Pocket Planters)
Pocket planters without a rigid backing need extra preparation. I attach a piece of cedar board or rectangular lattice framework to anchors or studs. Cedar handles moisture well and doesn't rot quickly. Then I screw the felt pockets into the wood. For store-bought planters that include a rigid frame, skip straight to the next step.
Step 5: Fill with Soil and Plant
When you work vertically, soil gets messy. And I promise you, soil runs down the walls by gravity every single time you water or plant.
Prepare your potting substrate by dampening it slightly. Not too wet, just enough moisture so it doesn't run everywhere when you're handling it. Place the soil loosely in each pocket. Use your plant tweezers to position roots gently, ensuring adequate root-to-soil contact and no air pockets beneath. Press down gently but not firmly. Over-compressed soil suffocates root structures, traps water, and creates the rot environment we're all trying to avoid.
For any trailing plant, guide leaves through the planter opening before filling the rest for tidy presentation patterns.
Step 6: Mount Your Planters Securely
Hold the planting assembly in place against the wall and level it. Mark the attachment points carefully. Drill the guide holes and install the anchors. Place the planter over the anchors and tighten screws gradually so you don't crack anything.
Fit the water catch tray if you plan to hang alive plants indoors. Honestly, a draining system that spills water all over your floors eventually ruins the plant or causes you to under-water because of cleanliness. I use a low-profile drip tray mounted just below the plant level that I empty with a small siphon tube, or choose designs that catch excess water within the pocket's bottom set.
Step 7: Allow Plants to Settle for Two Weeks Before Judging Results
I break this rule frequently because I get excited. I always regret it. Honestly, every succulent you repot into a wall planter needs a solid fourteen days to adjust to its new orientation, light exposure, root disturbance, and water schedule. If it shows leaf drop in the first week, don't water more. More often than not, those leaves are just reacting to transplant stress. Let it sit near the same brightness location, check the soil moisture with a finger instead of watering, and watch.
A Personal Two-Week Testing Diaries (Bathroom Installation)
Because I want to be 100% practical, let me share one recent install in my primary bathroom, where the lighting is medium rather than bright, so this highlights how to test conditions:
- Day 1: I mounted 3 haworthia and 2 crassula into an aluminum pocket board anchored into studs. I watered lightly once.
- Day 3: Soil surfaces felt dry but leaves were firm. No change. I left them alone.
- Day 7: One haworthia showed slight leaf wrinkling, so I watered just the root zone with roughly 15 ml each.
- Day 9: The same haworthia displayed very small separation between outer leaves. I thought transplant shock was worse but saw eventual recovery was progressing.
- Day 14: Root structure was secure, leaf plumpness returned, and two new pups appeared near the base of a crassula. Success.
I learned this lesson from an earlier failed hanging attempt in that exact bathroom, and I always test under real-time internal conditions. Never assume that because other rooms in your house support succulents, any wall in any other space will too.
How Watering Changes in Vertical Systems
The central challenge is that water travels downward in a planter, which remains true for a hanging wall planter. The top row drains right through the soil quickly while the bottom row collects runoff. So if you water each pocket the same amount from top to bottom, the lower ones will get increasingly oversaturated over time. You have to account for that runoff pattern when watering.
Now, what I currently do is very literal: water from the bottom row upward and give smaller quantities to the bottom pockets. The top pockets get slightly more water, since they're also exposed to more air currents and tend to dry faster. You adapt quickly once you check your soil regularly.
Light Requirements Checklist
Wall position must deliver appropriate light for whatever species you've selected. Let me explain practical cues. Morning sun from the east is mild and usually excellent for echeveria and graptopetalum in all climates with clear natural sunlight. South-facing windows provide strong light, which helps red-tinged varieties develop their brightest hues. West-facing means harsher afternoon sun, so shade thinner-leaved species like haworthia. North-facing positions remain challenging; succulents survive there only under supplemental LED lighting or if they're specifically low-light varieties.
I tried hanging gorgeous echeveria on a far north-side wall in my old home office. Long story short, they stretched into etiolated stems within weeks. I switched to haworthia and a lovely Gasteria, which tolerate dimmer positions, and finally, I was able to keep visible plants in that space. If you absolutely must use more light-hungry kinds in dim positions, placing an inexpensive grow bulb in an adjacent floor lamp can be a game-changer.
Seasonal Care Differences
With vertical gardens, seasonal weather inside changes everything. When heating runs in winter, dry, hot air rising toward the ceiling directly dries out upper planter pockets. You may need to shift the arrangement higher or lower seasonally, or at least alter water frequency monthly.
During summer months, windows open and breezes move across the growing surface, increasing plant evaporation. So bottom rows may dry faster than they do in winter. Please don't set fixed watering schedules that might overwater in winter or underwater in summer, and never rely on a calendar. Stick to the fingertip check method described above.
Diseases and Pests in Wall-Mounted Succulents
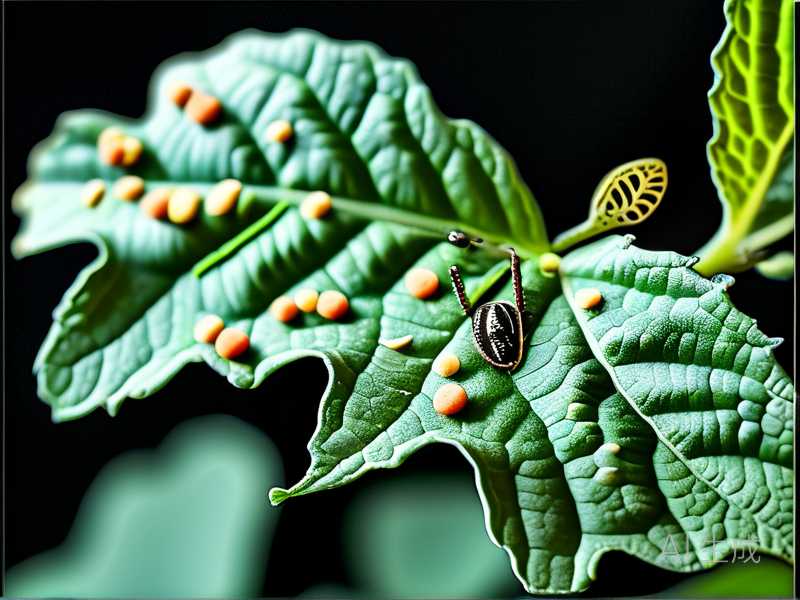
Using wall pocket planters means plants sit in less-than-ideal air conditions. Mealybugs are my enemy. They adore the cozy crevices between leaf rosettes and pot edges. In wall arrangements, that white cottony pest can spread spiderweb-style down your structure before you even notice. It's easy to catch if you inspect every row during your weekly maintenance, twisting leaves around to check hidden undersides.
If you do find mealybugs or scale, act fast. Remove affected plants to isolation. Treat them with isopropyl alcohol on cotton swabs immediately. Avoid broad-spectrum pesticides because they damage the protective farina coating (that powder substance) on succulent leaves permanently. The white dusty coating never comes back and those plants always look permanently smudged.
Safety Precautions for Hanging Planters Above Seating Areas
I realize this is mundane, but please don't hang heavy planters above the seating area. My brother hung a medium-size planter above his living room couch and during the night one of the mounting anchors failed. The whole thing crashed to the cushion just hours before someone would have sat there. He got lucky. I've always secured heavier fixtures with chains attached to structural reinforcements and avoided seating placements ever since.
If your wall planter contains heavy soil, or if you live in seismic zones, consider placing them above walkways or nooks where no one lingers below.
Effective Long-Term Plant Flips
Eventually, wall planters have back or side areas that might not get enough light, causing leaning growth. This problem grows progressively worse and can break the apex branch. Rather than waiting until stems contort and dramatically lean downward, rotate your hanging pockets around weekly. A few varieties will forgive less light, but they all benefit from slight rotation.
Also, pruning off old leaves and spent stems periodically avoids clumpy shaggy looks and keeps planting clean. You'll find that trailing vines overwhelm smaller plantings within a few short months. Before they completely crowd out the slower plants, trim their stems back. Use that cut portion as cuttings to grow new free plants.
Types of Recommended Wall Planters
Any wall planter (commercially produced or handmade) must securely hold succulents upright. If planting directly into its shallow pocket frame, avoid ones deeper than 3 inches or open enough to encourage soil settling and water pooling. Materials matters. Ceramic and terracotta are breathable and look gorgeous but are heavy to mount indoors. Felt pockets stay lightweight and handy but rely on correct wall backing. Metal and plastic made-to-measure boards are indoor-friendly, but the metal conducts heat if exposed to sun through windows.
Factors that make pocket planters problematic? Inadequate drainage and slots too small to fit the root ball without squeezing greatly. Squeezed roots never establish properly, and they get thrown out of the planting hole with subsequent watering. I've watched this happen to friends who mounted awkward porcelain containers and both soil and roots started popping right out. Not fun.
Hybrid Install Idea Using a Wooden Pallet
If you intend to make a larger wall garden, maybe with many small succulents, one of the most effective and attractive vertical techniques I've ever had success with is attaching a flat wire mesh tray diagonally to an old wooden pallet backboard. Fill with succulent friendly substrate, then lay plants horizontally with roots pressed inward. Let them re-orient toward light within days. It looks magnificent when mature. Use weather-resistant caging for exterior installations.
I did that against my garage exterior wall and it added significant visual interest. However, maintain total drainage at the base to prevent water catching behind each pocket. In two years, no fungal issues occurred thanks to airflow behind and water exit features.
When to Rather Think Twice About Wall Planting
Honestly, wall planting is not ideal for very large succulent species, outdoor locations with freezing temperatures, or households with cats that jump onto shelves. Cats love biting succulent leaves and sometimes it can be toxic for them. They also might climb up and dislodge lightweight planters.
Similarly, if humidity tends to be overly high in the room, for instance in an unventilated bathroom, water evaporation from soil drops considerably. Soil can remain damp for many days. If prolonged periods of damp persist, you might find stem rot in plants that otherwise would thrive elsewhere. Provide fans or slightly crack an interior door to circulate air.
Frequently Asked Questions
1. How often should I water succulents in wall planters?
Honestly, there is no specific universal frequency because rooms differ. I water my south-facing corridor wall every ten to twelve days; the dimmer bathroom wall requires just fifteen milliliters per plant every sixteen days. The best method is to insert a wooden chopstick into each pocket. If it comes out completely clean and dry, water the plants. If any soil clings, wait. Overwatering is the fatal mistake beginners most frequently make.
2. Can I use regular potting soil for wall succulents?
You absolutely shouldn't. Regular houseplant potting mix contains too much peat and organic moistening components, holding excess moisture around the root area small and unprotected. For succulents in wall planters, I use my own soil mixture as I explained above (potting mix blended with extra perlite and fine poultry grit in around 3:2:3 ratio). If you prefer convenience, choose commercial cactus mix and then add extra perlite 50/50. That's a practical compromise to ensure healthier root zones.
3. Which succulents are best for indoor hanging wall planters?
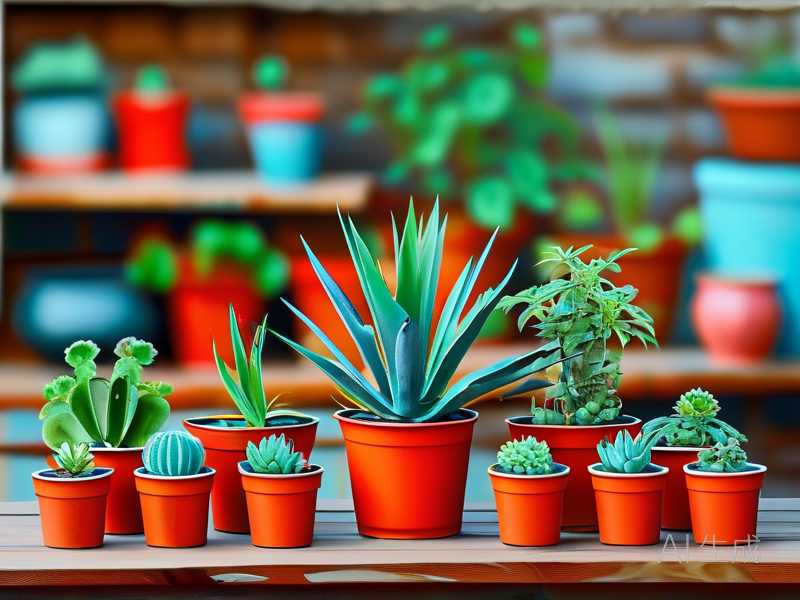
A. Compact rosettes (Echeveria, Haworthia, Graptopetalum) behave nicely under ordinary room conditions. B. Look also for adaptable forms (Sedum species, Crassula) for moderate light positions. C. Trailing kinds (String of Bananas or String of Hearts) dramatically soften vertical panel edges. The central principle I share: smaller leaf, compact shapes survive best, because wall conditions represent more demanding micro-environments for roots and moisture consistency.
My Final Word: Start Small, Stay Curious, and Keep Observing Daily
Go ahead, hang your first succulent wall planter. Be adventurous and a little patient. Collect those small satisfying successes. Check the soil with your fingertips. Make smarter choices with species and position. Accept that some plants might not survive your learning phase, and that these two weeks of attentive observation are more valuable than any fancy equipment.
We each become better growers when our plants die, honestly. Each failure taught me something profound about root tolerance, airflow requirements, and light preferences. Take detailed notes, keep a care journal, and observe every leaf wrinkle as feedback. In a few months, you'll find yourself completely in flow with vertical succulent planting, and that gorgeously lush wall will be worth every lesson learned.