bluename
 The Ultimate Aloe Vera Care Guide: From Brown Tips to Thriving Succulent
I’ve killed my fair share of succulents. There was the overwatered jade plant, the sun-scorched echeveria, and then, my first aloe vera. I thought it was foolproof. It wasn’t. I ended up with a mushy, brown-stumped plant that looked nothing like the plump, green healer I’d brought home. That failure sparked my journey. Now, after years of trial, error, and countless conversations with fellow enthusiasts, I’ve distilled everything into this definitive care guide for aloe vera succulents. This isn’t just theory; it’s a step-by-step playbook from my own windowsill.
Understanding Your Aloe Vera: It’s Not a Cactus
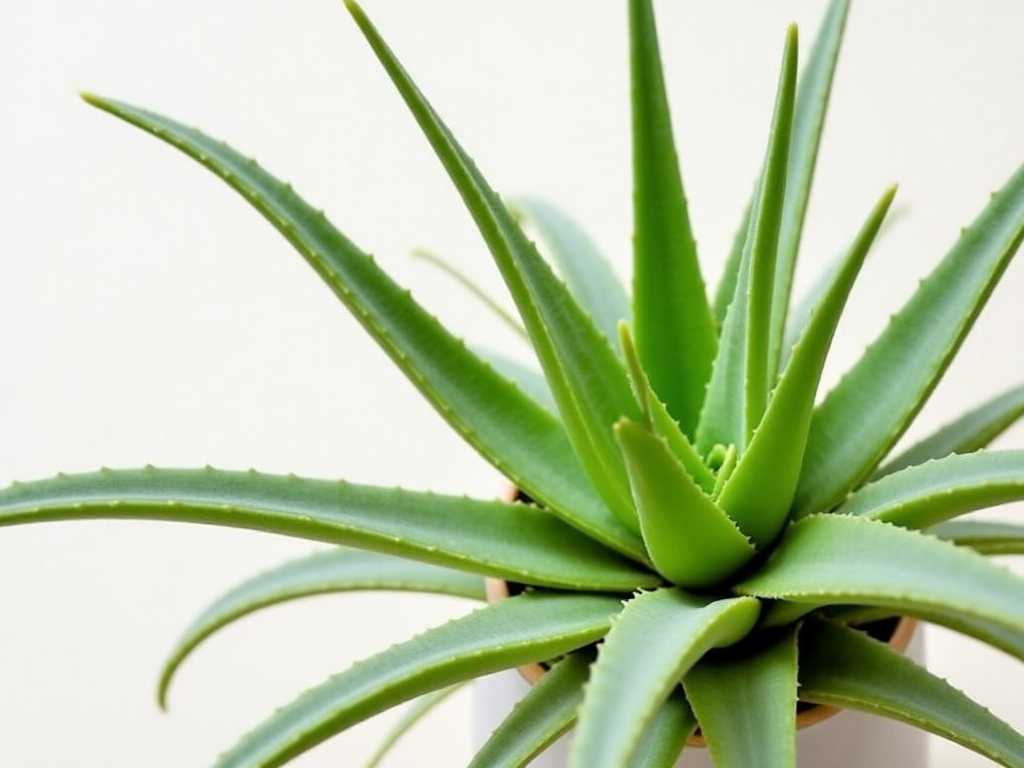
The biggest mistake is treating aloe vera like a desert cactus. While both are drought-tolerant, aloe vera is a succulent with specific needs. According to the Royal Horticultural Society (RHS), Aloe barbadensis miller (the common aloe vera) stores water in its thick, fleshy leaves, making it sensitive to overwatering. Its natural growth cycle involves periods of active growth and dormancy, which dictates our care routine. Getting this fundamental idea right changes everything.
My Two-Week Aloe Rescue & Observation Protocol
I recently adopted a struggling aloe from a friend. Its leaves were thin, curled inward, and had those telltale brown tips. Here’s exactly what I did, and what happened over the next 14 days.
Week 1: The Diagnosis and Immediate Action
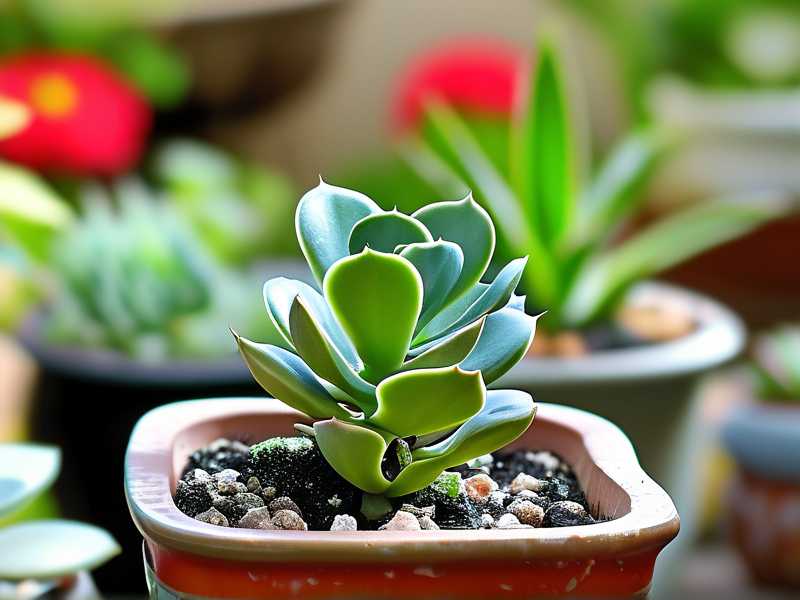
Day 1-2: The Potting Mix Intervention The plant was in dense, moisture-retentive soil. My first step was repotting. I used a mix I swear by: 2 parts cactus/succulent potting mix, 1 part perlite, and 1 part coarse sand. This creates the fast-draining, gritty environment aloe roots crave. I chose a terracotta pot with a large drainage hole, one size larger than the root ball. Terracotta breathes, pulling excess moisture away from the soil.
- The Mistake I Made Before: Using a decorative pot without a drainage hole. It led to hidden, stagnant water and root rot.
- The Solution: Always, always use a pot with drainage. If you love a cachepot, place the nursery pot inside it and empty the outer pot after watering.
Day 3-5: The Strategic Watering Hold After repotting, I did not water. This is crucial. Repotting causes minor root damage, and wet soil can lead to infection. I placed the plant in bright, indirect light (an east-facing window) and let the roots settle and any wounds callous over.
Day 6: The First Deep Soak On day six, I performed the “soak and dry” method. I took the pot to the sink and watered thoroughly until water streamed freely from the drainage hole. This ensures the entire root ball is hydrated. I then let it drain completely before returning it to its spot.
Week 2: Observing the Recovery
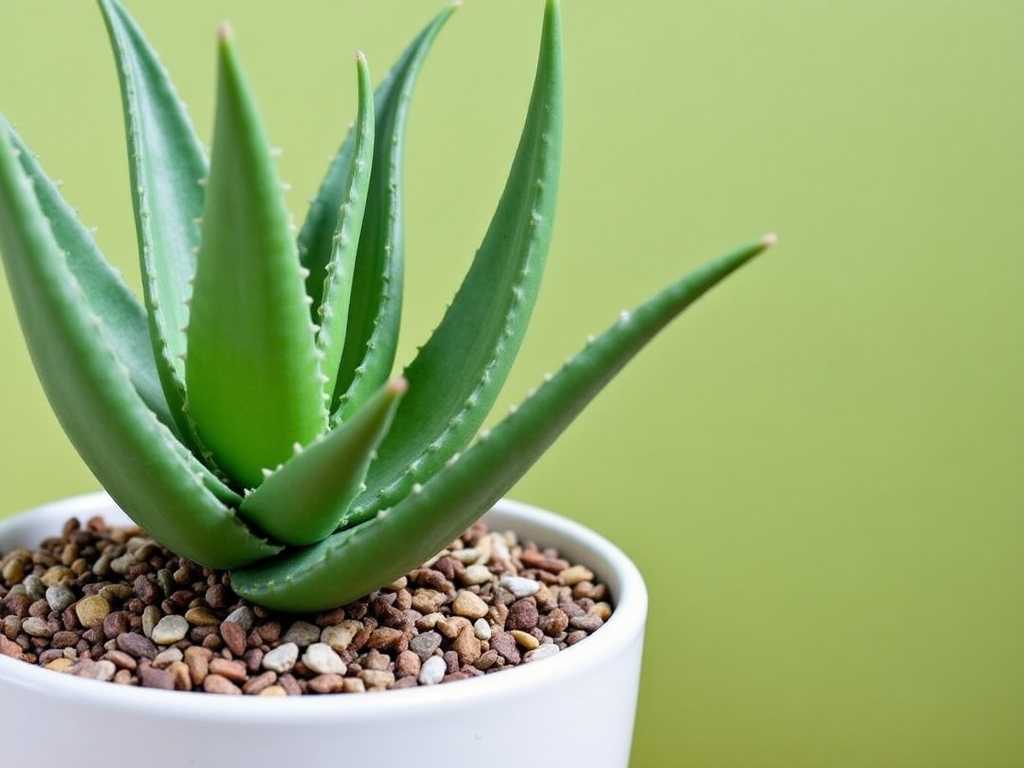
Day 7-10: Signs of Thirst Quenched The most dramatic change started here. The previously thin, curled leaves began to plump up. They felt firmer to the touch. The color intensified from a pale, stressed green to a deeper, healthier hue. This is the plant utilizing the stored water in its leaves, a sign the roots were functioning again.
Day 11-14: New Growth and Stability By the end of the second week, the plant was visibly stable. No further browning occurred on the existing tips. Most excitingly, I noticed the very beginnings of a new, small leaf emerging from the center rosette. This was the ultimate sign of successful recovery: active growth.
The Four Pillars of Perfect Aloe Vera Care
1. Light: Bright but Not Brutal Aloe vera loves light, but direct afternoon sun can bleach and scorch its leaves, causing brown or orange spots. My ideal setup is a south or west-facing window with a sheer curtain, or an east-facing window with direct morning sun. If you only have intense light, acclimate your plant slowly over a week.
- My Experience: I once left an aloe on a hot south patio. Within days, it turned a stressed reddish-brown. I moved it to a spot with afternoon shade, and the green gradually returned, though the scorched spots remained.
2. Watering: The Art of Neglect This is where most aloe vera succulents meet their end. The American Horticultural Society (AHS) emphasizes that overwatering is the leading cause of houseplant death. My rule is simple: water deeply, then wait until the soil is completely dry.
- My Technique: I stick my finger about 2 inches into the soil. If it’s dry, it’s time to water. In winter, when the plant is semi-dormant, this might mean watering only once a month or less. The leaves will tell you—if they start to pucker and thin slightly, it’s a safe signal for water.
3. Soil and Potting: The Foundation of Health As my two-week protocol showed, soil is critical. A heavy soil stays wet for days, suffocating roots. A quality cactus mix amended with extra perlite or pumice provides the aeration needed. Repot every 2-3 years in spring to refresh the soil and give roots room.
4. Temperature and Feeding: Keeping it Simple Aloe vera thrives in normal household temperatures (55-80°F). It dislikes cold drafts and frost. For feeding, less is more. I fertilize only during the active growing season (spring and summer) with a balanced, half-strength liquid fertilizer, no more than once a month.
Troubleshooting Common Aloe Vera Problems
Soft, Mushy Leaves? This is overwatering, often with root rot. Stop watering immediately. Unpot the plant, remove any black, mushy roots with sterile scissors, and repot in fresh, dry mix. Wait at least a week before watering again.
Thin, Curled Leaves? This is underwatering. Give it a thorough soak. The leaves should plump up within a week.
Brown Leaf Tips? Usually caused by mineral buildup (from tap water) or sporadic underwatering. I use filtered or rainwater when possible. You can safely trim the brown tips with clean scissors, following the leaf’s natural shape.
Leggy, Stretched Growth? This is etiolation—the plant is stretching for more light. Gradually move it to a brighter location. The existing growth won’t compact, but new growth will be tighter.
Can I use the gel from my homegrown aloe vera plant? Absolutely. For minor burns or skin irritation, cut a mature, outer leaf close to the base, slice it open lengthwise, and scoop out the fresh gel. Do a patch test first. Avoid using it if the plant has been treated with chemical pesticides you wouldn’t want on your skin.
Why is my aloe vera turning red or brown? This is usually a stress response, most commonly from too much direct sunlight (sunburn) or, conversely, from cold shock. Assess its location. A slight reddish tinge in very bright light can be normal, but a deep brown means it’s time to move it to a less intense spot.
How do I propagate new aloe vera plants? The easiest way is via the “pups” or offsets the mother plant produces. Wait until the pup is a few inches tall with its own roots. Gently separate it from the main plant during repotting, let the wound dry for a day, and then pot it in its own container with fresh succulent mix. Hold off on watering for about a week.
Seeing that struggling aloe return to vitality over just two weeks was a powerful reminder. Success with aloe vera isn’t about constant attention; it’s about understanding its language—the plumpness of its leaves, the color of its skin, the dryness of its soil. By mimicking its natural, gritty, sun-drenched habitat and respecting its drought-adapted nature, you’re not just keeping a plant alive. You’re cultivating a resilient, green companion that will thrive for years, offering its soothing gel as a reward for your thoughtful care. Start with the soil and the light, master the soak-and-dry method, and watch your aloe vera flourish.