bluename
 How to Grow succulents in Rock Gardens: A Hands-On Guide from a Fellow Plant Lover
I used to think my rocky, sun-baked backyard was a lost cause for gardening. The soil was poor, drainage was too fast, and the summer sun felt relentless. Then I discovered the perfect solution: growing succulents in rock gardens. This method isn't just about aesthetics; it's about creating an environment where these resilient plants truly thrive. If you're struggling with similar challenging spots or simply want a low-maintenance, striking garden feature, you're in the right place. I’ve moved from theory to practice, and I’m here to walk you through my real-world experience, complete with triumphs and a few stumbles along the way.
Why Succulents and Rocks Are a Match Made in Heaven
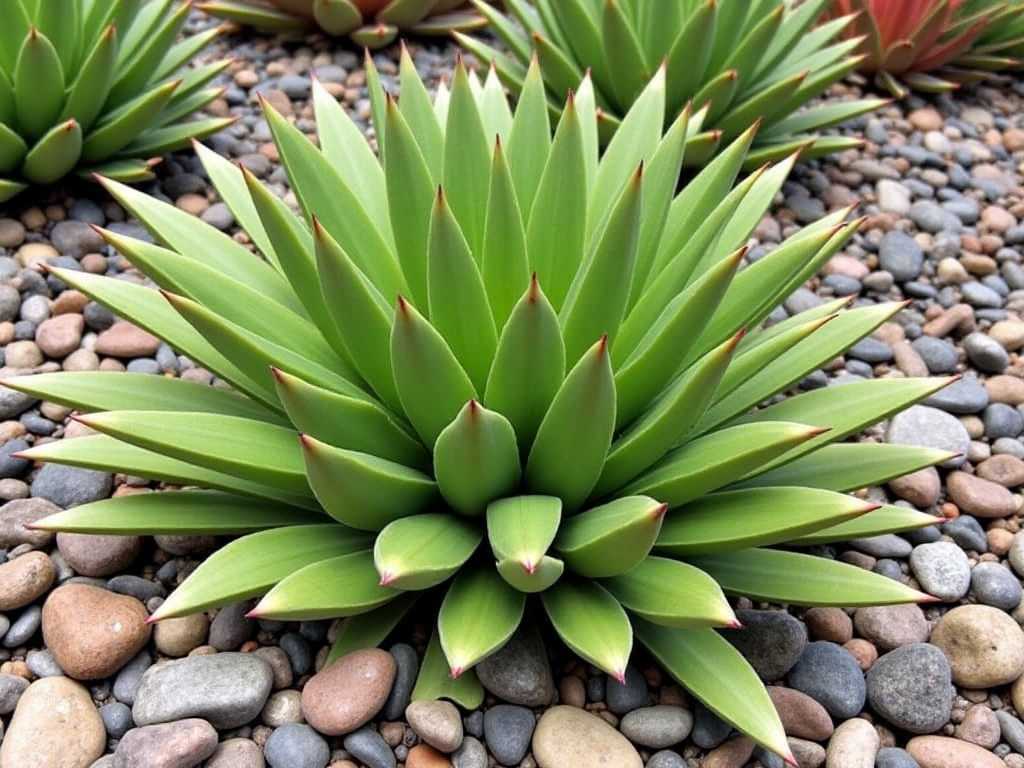
Succulents are survivors. They store water in their leaves, stems, or roots, making them perfectly adapted to gritty, well-draining conditions. A rock garden mimics their natural habitats—think mountain slopes or arid deserts. The rocks provide excellent drainage, regulate soil temperature by absorbing heat during the day and releasing it at night, and help suppress weeds. According to the Royal Horticultural Society (RHS), the key to succulent success is "sharp drainage," and a rock garden construction is one of the most effective ways to achieve it.
My Step-by-Step Process for Building a Succulent Rock Garden
I decided to convert a 4x6 foot corner of my yard. Here’s exactly what I did, following expert principles and adapting based on my own trials.
Choosing the Right Location and Materials
First, I spent a full day observing the sun patterns. Most succulents need at least 6 hours of sunlight. My chosen spot got morning sun and partial afternoon shade, which is ideal for preventing scorch in hotter climates. I then gathered my materials:
- Rocks: I opted for a mix of local sandstone boulders (for structure) and crushed granite (for top dressing). The American Horticultural Society (AHS) recommends using local stone when possible, as it looks more natural and is often more affordable.
- Succulents: I selected a variety for texture and color: Sedum reflexum (Blue Spruce Stonecrop), Sempervivum tectorum (Hens and Chicks), Echeveria ‘Lola’, and a trailing Sedum morganianum (Burro’s Tail) for a pot feature.
- Soil: This is critical. I created my own mix: 3 parts potting soil, 2 parts coarse sand, and 1 part perlite. This ensures the fast drainage succulents crave.
The Construction Phase
- Site Preparation: I marked the area and removed about 6 inches of existing soil. This is where I hit my first snag. The ground was compacted clay. Simply layering good soil on top would have created a "bathtub" effect, trapping water. Solution: I used a garden fork to deeply aerate the subsoil and then mixed in a 2-inch layer of gravel to break up the clay and improve sub-surface drainage.
- Building the Foundation: I placed the largest sandstone boulders first, burying them about one-third into the ground for stability. I arranged them in a loose, natural-looking group, not a neat row.
- Adding Soil and Plants: I filled the spaces between and around the rocks with my succulent soil mix. Before planting, I laid out all the succulents in their pots to finalize the design. I planted the Sempervivum and Sedum around the edges and the larger Echeveria as focal points. A key tip: I gently teased out the roots of each plant to encourage them to grow outward into the new soil.
- The Finishing Touch – Top Dressing: After planting, I covered all the exposed soil with a 1.5-inch layer of crushed granite. This was a game-changer. It locks in the soil, prevents erosion during watering, keeps the leaves dry (reducing rot risk), and gives a polished, professional look.
The First Watering and Initial Setup
I resisted the urge to water immediately! I let the plants settle for two days, allowing any minor root damage to callous over. Then, I gave the entire garden a deep, thorough soak until water ran freely from the base, ensuring the roots were encouraged to grow downward. I placed the potted Burro’s Tail in a strategic spot among the rocks.
My Two-Week Observation Log: Successes and Critical Lessons
This period was crucial for monitoring and adjustment.
- Week 1 Observations: The plants looked slightly wilted for the first 3 days—a normal sign of transplant shock. By day 5, they had perked up noticeably. The Sedum reflexum and Sempervivum showed no signs of stress. However, I noticed one Echeveria ‘Lola’ had a lower leaf starting to turn translucent and mushy. This was my second, and most important, snag. I had likely been over-enthusiastic with its specific watering or the soil around it wasn't draining quite as fast.
- The Fix: I immediately stopped all watering. Using a small spoon, I carefully removed the rotting leaf and gently scraped away the top dressing and some wet soil from around that plant's stem to allow air circulation. I didn't water the entire garden again for another 10 days. This quick intervention saved the plant.
- Week 2 Observations: The recovering Echeveria stabilized. New, compact growth indicated it was happy. The Sempervivum began showing hints of pink stress-coloration on its tips—a sign it was getting the perfect amount of sun. The Sedum groundcover started to show very slight new growth. The top dressing proved its worth by completely suppressing weeds and keeping the soil structure intact during a brief rain shower.
Essential Ongoing Care for Your Rock Garden Succulents
Based on my experience, here’s what works:
- Watering Wisdom: "Soak and dry" is the only method. I stick my finger under the top dressing into the soil. If it’s completely dry 1-2 inches down, I water deeply. In summer, this might be every 7-10 days; in winter, it can be once a month or less.
- Feeding: Succulents aren't heavy feeders. I use a diluted, balanced liquid fertilizer only once in early spring and once in mid-summer.
- Winter Protection: My Sempervivum and Sedum are frost-hardy. For tender succulents like Echeveria, I either move potted specimens indoors or use a frost cloth during unexpected freezes.
Troubleshooting Common Issues in a Rock Garden Setting
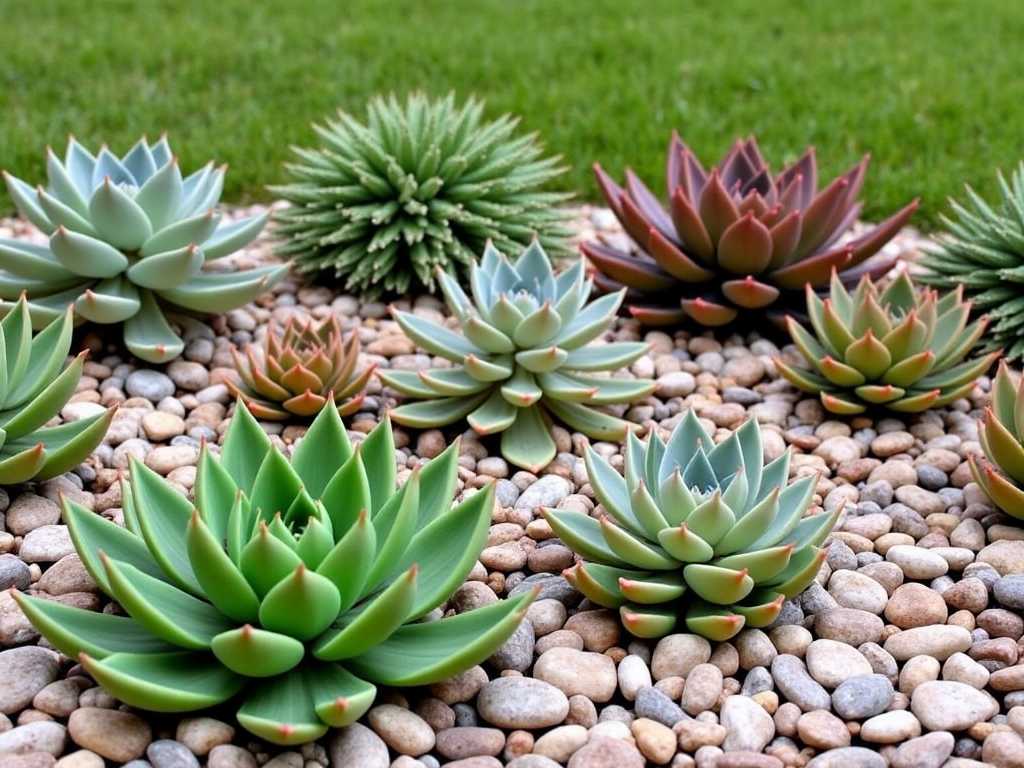
- Leggy or Stretched Plants: This means not enough sun. Consider relocating the plant to a sunnier spot within the garden or pruning and propagating the top.
- Pests: Mealybugs can be an issue. I spotted a few on my Burro’s Tail. Solution: I dabbed them with a cotton swab dipped in 70% isopropyl alcohol. Regular inspection is key.
- Rot (My Biggest Lesson): Always err on the side of underwatering. Ensure your soil mix is gritty enough and that water never pools around the stem.
Frequently Asked Questions
Can I create a succulent rock garden in a shady area? You can, but your plant choices will be limited. Focus on shade-tolerant succulents like some Sedum species (like Sedum ternatum) or Haworthia. Blooming and vibrant stress colors will be less pronounced.
Do I need to use special soil under the rocks? Yes, absolutely. The native soil is often unsuitable. Creating a deep, well-draining bed with a custom succulent mix is non-negotiable for long-term health. The rocks are part of the system, not a replacement for proper soil.
How do I prevent my succulents from overgrowing the rocks? Part of the charm is seeing them spread and fill in. For maintenance, you can gently trim back trailing varieties like Sedum. Sempervivum will produce "chicks" that you can easily pull off and replant elsewhere. It’s a sustainable way to expand your garden.
Growing succulents in a rock garden has transformed a difficult part of my yard into a point of pride. It’s a living, evolving sculpture that requires minimal input for maximum reward. The key takeaways are simple: invest time in building the right foundation with perfect drainage, don’t be afraid to get hands-on and adjust as you learn, and always listen to what your plants are telling you. Start small, apply these lessons, and watch your own rocky oasis come to life.